
How to Build the Fastest Pinewood Derby Car
Updated: May 12, 2023
Unlock the secrets to the ultimate Pinewood Derby car.
A few hours
Beginner
$20-50
Introduction
We’ll tell you our favorite tricks and tips and give you the basic physics behind why they work.Tools Required
- 3/8-in. Forstner bit
- Bandsaw or coping saw
- Drill
- Ruler
Materials Required
- Graphite
- Official Grand Prix Pinewood Derby Kit
- Sandpaper
- Tungsten weights
- Wood filler
Pinewood Derbies are a tradition in scouting. Let’s face it, racing cars is a lot of fun, even if they’re just handheld models. Building a derby car with your child is also a fun way to spend some time together, and it’s a great beginner woodworking project.
But it’s also fun to win, and to do that, you need to build a fast car. Here, we’ll walk you through how to turn a simple piece of pine wood into a car that’s guaranteed to burn up the race track.
Below are the regulations most Pinewood Derbies follow. It’s very important to follow these rules so you’re not disqualified and all of your hard work goes for nothing. Not all Pinewood Derbies are the same, so make sure to check with your local Scout District/Council rules to see if anything is different.
- Car Specifications: Width: 2-3/4”; Length: 7”; Weight: Maximum of 5 Ounces; Width between wheels: 1-3/4”
- The car must have been made during the year in which derby is being held.
- Wheel bearings, washers, and bushings are prohibited.
- The car shall not ride on springs.
- Only official Cub Scout Grand Prix Pinewood Derby wheels and axles are permitted.
- Only dry lubricant is permitted.
- Details, such as steering wheel and driver are permissible as long as these details do not exceed the maximum length, width and weight specifications.
- The car must be free-wheeling, with no starting devices.
- Each car must pass inspection by the official inspection committee before it may compete.
- If, at registration, a car does not pass inspection, the owner will be informed of the reason for failure and will be given time within the official weigh-in time period to make the adjustment.
After final approval, cars will not be re-inspected unless the car is damaged in handling or in a race.
Project step-by-step (9)
Bake the Wood Block
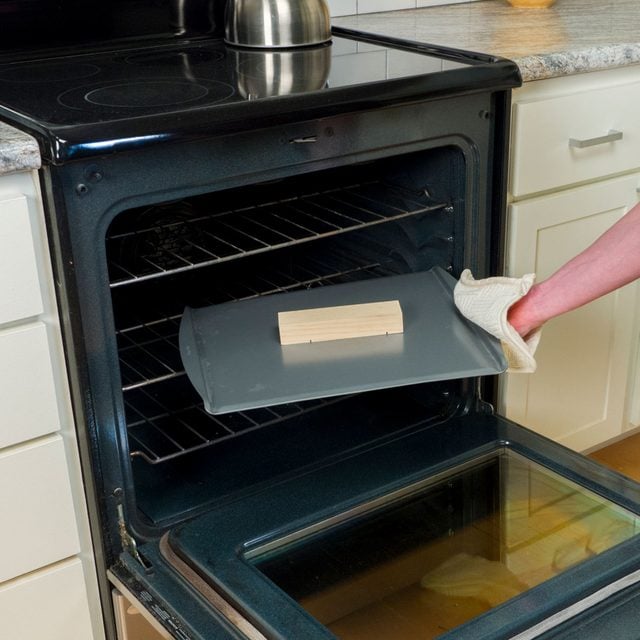
Wood holds water, and water adds weight. You want weight, but you’ll want the weight where it’s most beneficial. Pre-heat your oven to 250 degrees, then bake your block for 2 hours. All the water evaporates, allowing more control during the next few steps.
No Fancy Shapes

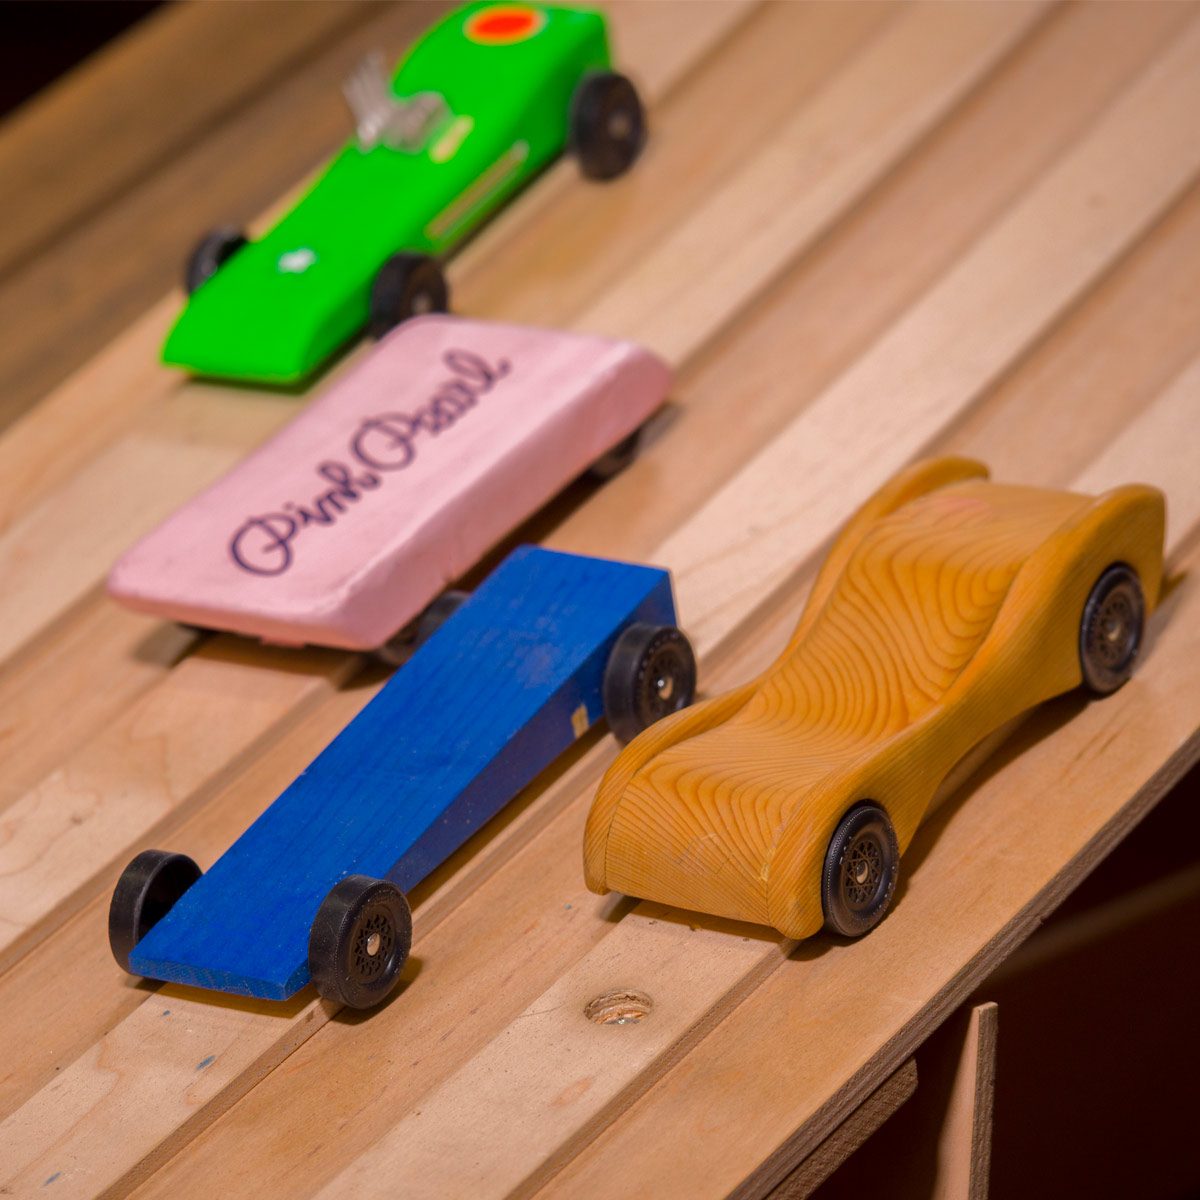
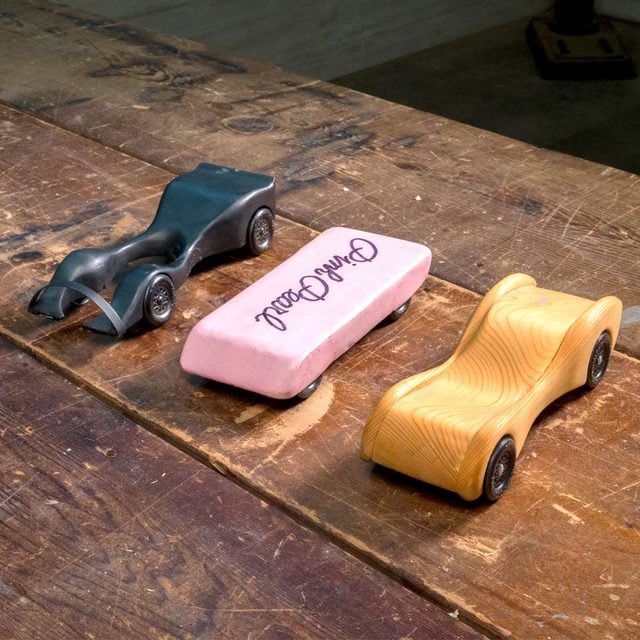
This is where some might differ in their approach to the Pinewood Derby. It’s okay to get creative with the look and design of your car. On the flip side of that, if your main goal is speed, you’ll need to keep it simple.
To go fast, it’s all about aerodynamics, and the best shape is a simple wedge. Just like a spoiler on the rear of a sports car, the wedge shape allows as much air to flow over the top of the car without hinderance while keeping the car pinned to the track.
The wedge here tapers from 5/16-in. to 7/8-in. A band saw and push stick are the quickest way to cut the wedge (wear safety gear and follow safety guidelines), but a coping saw works just fine. Sand the car body up to 220-grit.
Add Weights to the Pinewood Derby Car

The heavier your car is, the faster it’ll be, but it’s the location of the weight that makes the most difference. You can add small weights to the wood body of the car, so long as the it doesn’t exceed the total weight limit. The weight limit is five ounces, but check the rules for your local contest to be sure.
The ideal placement for the center of gravity is 7/8-in. in front of the rear axle. Too far forward and you’ll lose potential energy. Too far back and your car will pop a wheelie, ruining any chance for a win.
To make sure your car doesn’t exceed the weight limit, weigh all the parts before assembly. Leave a little wiggle room for paint, glue, stickers, etc.
Tungsten is the best weight because it’s heavy for its volume, allowing more precise placement.
Engineer the Wheels

There’s not much wiggle room for what you can do with the official wheels you have to use, but you are allowed to remove seems or imperfections in the plastic.
To do that, you can sand the wheels, and when you do, make sure to sand them as smooth as possible. Also, most wheels aren’t perfectly round right out of the package so getting them as round as you can helps a lot.
Smooth the Axles
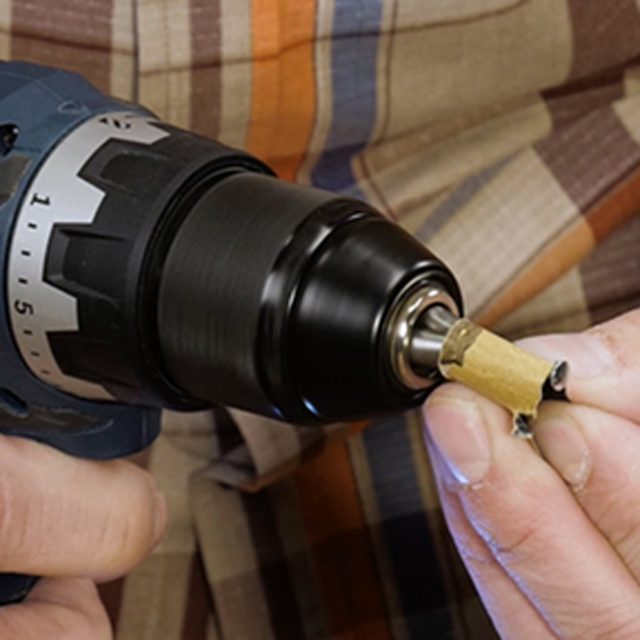
The stick nail axles included in the kit have little ribs along the shank and a flat nail head, both of which cause friction, slowing the wheels. Smooth the axles by putting them into a drill press and sanding them up to 2000 grit.
With the nail still in the drill press, round the inner face of the nail head with a file and sand it smooth.
Secure the axles to the car body, add graphite, spin the wheels and time the spin duration. A good axle set up will spin for about 45 seconds.
Ride on Three Wheels, if Allowed
To reduce even more friction against the track, raise one of the front wheels just slightly higher than the other so that it doesn’t touch the track. If you try this step, the center of balance needs to be exactly down the centerline of the body so that the car doesn’t wander on the track. Again, check with your local rules to see if this is allowed.
Use Graphite Lubricant
Because only dry lubricant is allowed, the most common solution is graphite. Where do you use the graphite? Everywhere; wheels, axles, axle slots. The type of graphite doesn’t matter. It all works, so buy the cheap stuff. Spin each wheel numerous times to help the graphite break down for maximum performance.
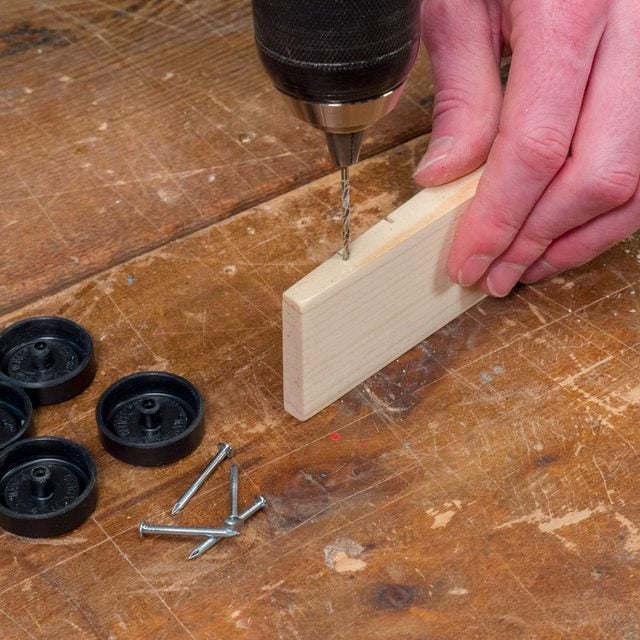
Cover the Wheels
This is an aerodynamics lesson. Exposed wheels allow air to flow over the front and then get caught under the rear. Next time you’re driving, notice how many exposed wheels are on the road. None.
To make “fenders”, outline their shape and mark the wheel centers on 1/2 in. pine. Drill a hole with a 1-1/4 in. Forstner bit at the wheel center, and then cut out the rest of the shape with a handsaw. Glue the fenders to the body.
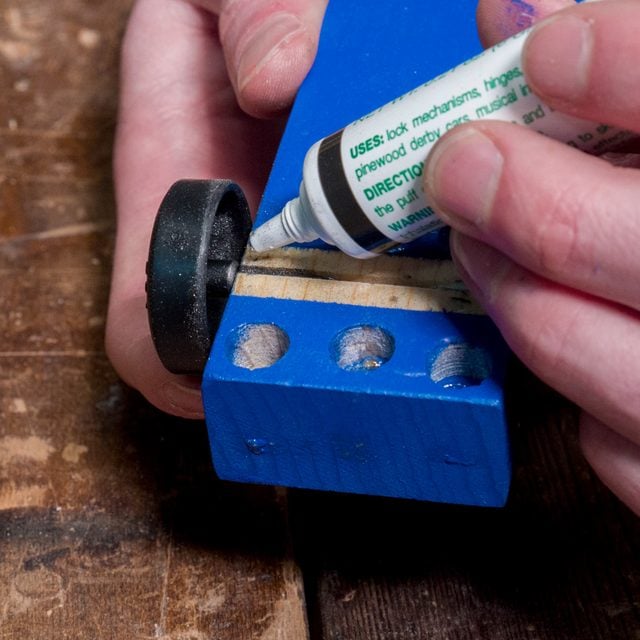
Quick Starter
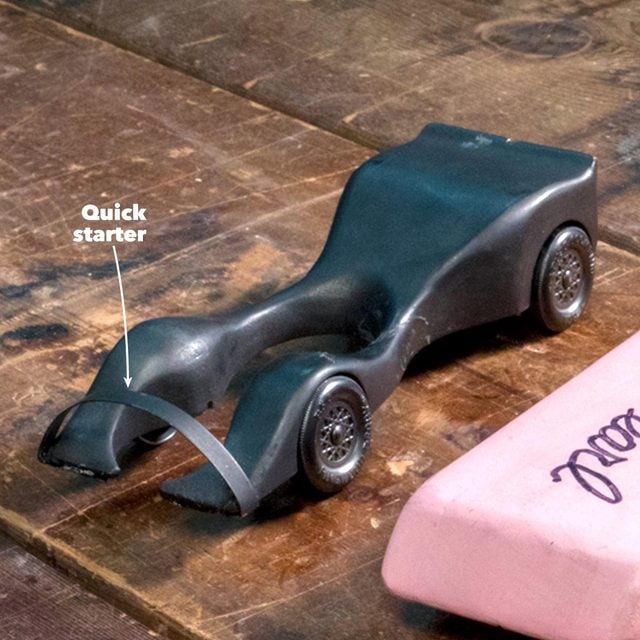
Most derby cars are designed so they don’t start until the starting pin fully drops. But there’s a simple way to let the car start inching forward while the pin is moving, giving you a head start. Unfold a paper clip, making it a three-sided rectangle. Mark and drill hole locations on the front end of the car, ensuring that once assembled, the paperclip doesn’t extend past the front of the car. Drill 1/4-in. into the body and glue the paperclip ends into the holes with CA glue.