How To Make Hanging Recycling Bins for Your Garage
Updated: Sep. 19, 2023
Organize your recycling bins
Introduction
Recycling bins can take up way too much floor space in the kitchen or mudroom. Here's an easy project that will get them up off the floor and out of the way, and it costs almost nothing.Tools Required
- Cordless drill
- Level
- Miter saw
- Stud finder
- Tape measure
Materials Required
- 1-5/8-in. drywall screws
- 1x4
- 2x4
- 3-in. drywall screws
Project step-by-step (4)
Here’s a simple, no-nonsense way to prevent your recycling bins from hogging precious floor space or getting kicked around the garage: Hang them on the wall.
For a standard 20-in.-long bin, all you need is:
- One 18-in. long piece of 2×4 at the bottom of the column of bins
- A 1×4 and a 2×4 (both 18 in. long) for the top lip of each bin.
Start by leveling and screwing the bottom 2×4 cleat in to studs wherever you want the column to start. This will serve as your base and starting point.
Mark the cleat locations
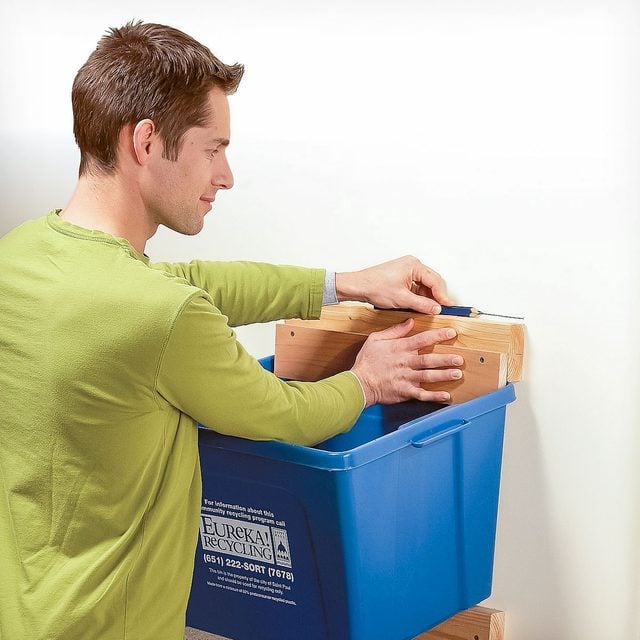
Assemble the cleats working upward, using a bin to mark where each should be positioned. Draw a line to mark the top of each cleat. Keep the pencil flush with the cleat to add an extra 1/4 in. or so to the height. That will make it easier to get the bin in and out.

Attach the cleats
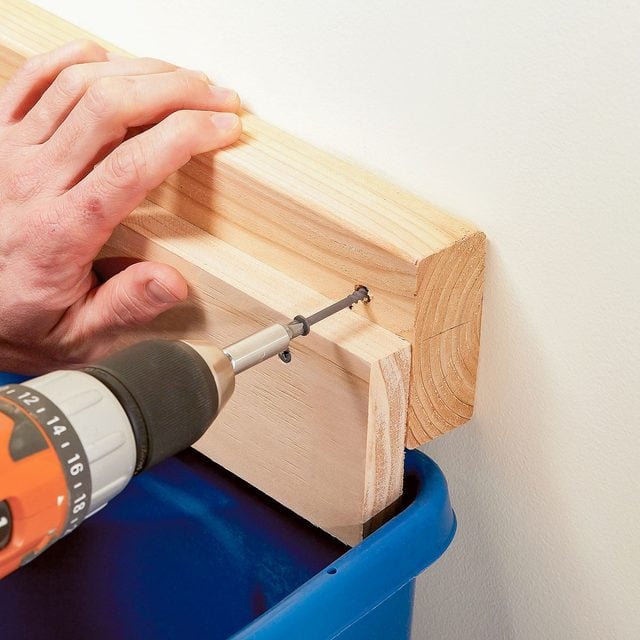
Position the cleat on the line and screw it to studs with 3-in. screws. This process is much easier if you predrill all the screw holes.

Finish assembly
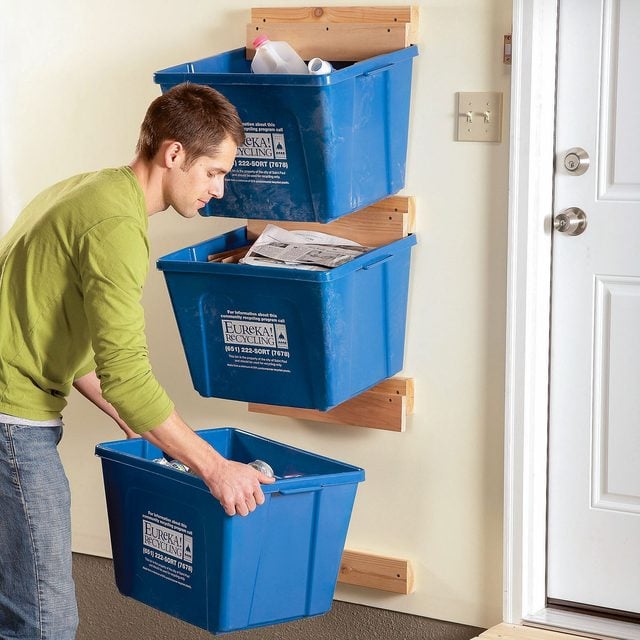
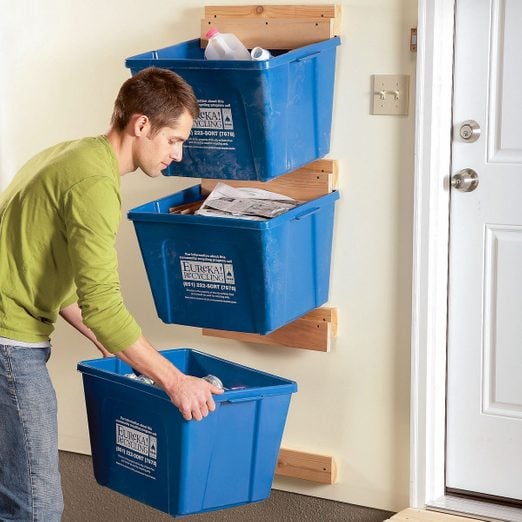
Your wall of bins can include as many bins as you see fit (and have the space for). If you don’t have as much vertical wall space, you can always start another row of bins next to the first. Now you have a handy way to store and organize items in your garage, whether that’s DIY tools or the sorted trash you want to recycle.

