
Everything You Need to Know About Mural Wall Painting

Updated: Aug. 22, 2023
If you've always wanted to paint a mural in your home, these tips and tricks from a pro are just what you need to guide you through the process.

Introduction
Mural artist Morgan Bricca of Morgan Mural Studios shares her tips for turning a dull wall into a stunning, personalized work of art. Bricca says that mural wall painting should be fun and can take anywhere from 10 to 20 hours to successfully complete. If you're painting the whole room first, learn how to do it fast, just like the pros.Tools Required
- 3-in. chip paint brush
- Artist paint brushes
- Bucket
- Drop cloth
- Paint tray
- Sponge
Materials Required
- Acrylic artist paint
- Chalk
- Latex wall paint
- Painter's tape
- Soap and water solution
Project step-by-step (7)
Choose Your Area and Protect Your Surroundings
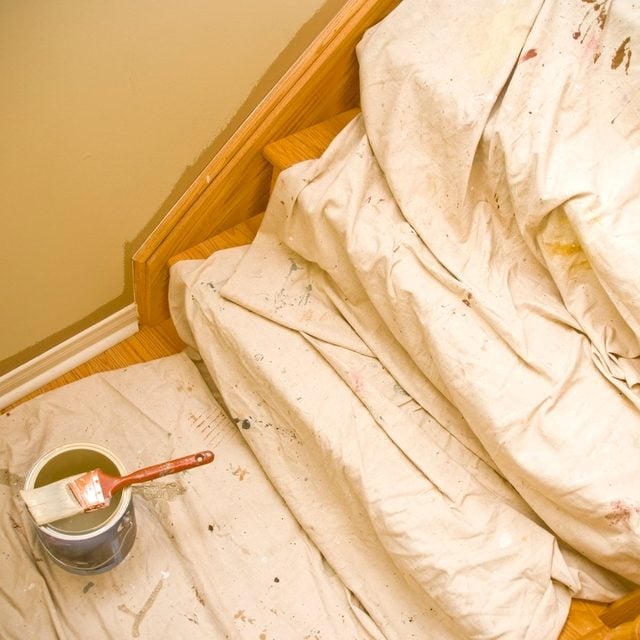
Your first step is to decide where your wall mural painting will go and remove anything obstructing your access to this area. After 19 years as a mural wall artist, Bricca says the most important thing you should do (besides having fun!) is to protect the area.
Your floor, carpet, furniture and baseboards (anything you don’t want to get paint on) should all be covered with either drop cloths or painter’s tape. It is critical that you use a canvas or lined drop cloth—something that paint can’t seep through. Your old sheets won’t cut it!
Clean the Wall
Paint adheres best to a clean surface, so that’s a big part of preparing a wall for painting. Bricca, who works in the San Francisco Bay area, says some soapy water and a sponge will do the trick. If you have a wall that’s especially dirty or greasy, you might have to do some scrubbing and use an all-purpose cleaner to wash the area where your mural wall painting will go.

Prepare the Wall
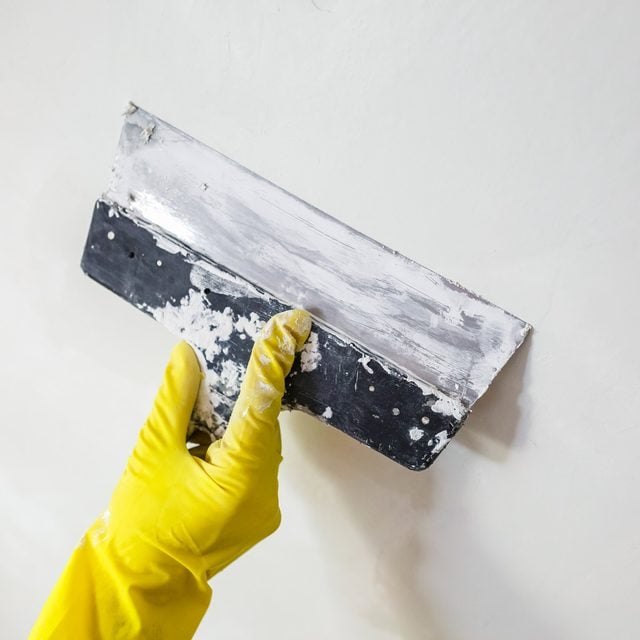
You’ll want to make sure that your wall is smooth and doesn’t have any defects that can affect the quality of your mural wall painting. If your wall is smooth, you can move on to the next step. If not, this is the time to patch any holes, remove anchors and sand away any imperfections on your wall.
Prepare Your Design
You may want to sketch your mural image onto the wall first. You can use the grid method by first drawing a grid over your design on paper. Then draw your grid on the wall in chalk or a watercolor pencil. Regular pencils might show through even after you’ve painted over it.
Next, outline the main parts of your image in each grid box. Another option is to use a projector to project your design on the wall so that you can simply trace it.
Prepare Your Paints
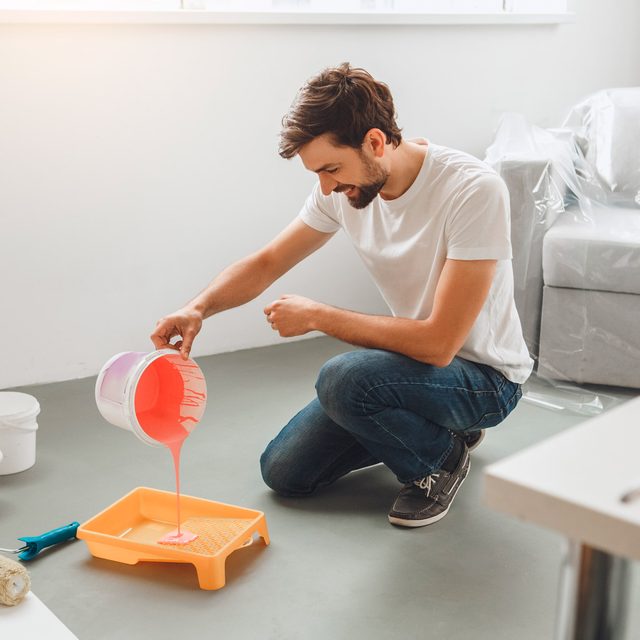
Decide what size paintbrushes you’ll need and how many. Bricca warns that using paintbrushes that are too small can cost you a lot of time. She suggests using a 3-inch chip brush for most of your painting and to use smaller brushes for details.
So, what kind of paint do you use for wall murals? Bricca uses self-priming latex house paints for the majority of work. She then uses water-based acrylic paint to create little pops of color or to highlight details.
Have some soap and water nearby to clean your brushes if you’re using the same brushes for different colors. Employ paint trays or other items that you can use to hold and mix your paint. These don’t have to be fancy—plastic food containers work fine.
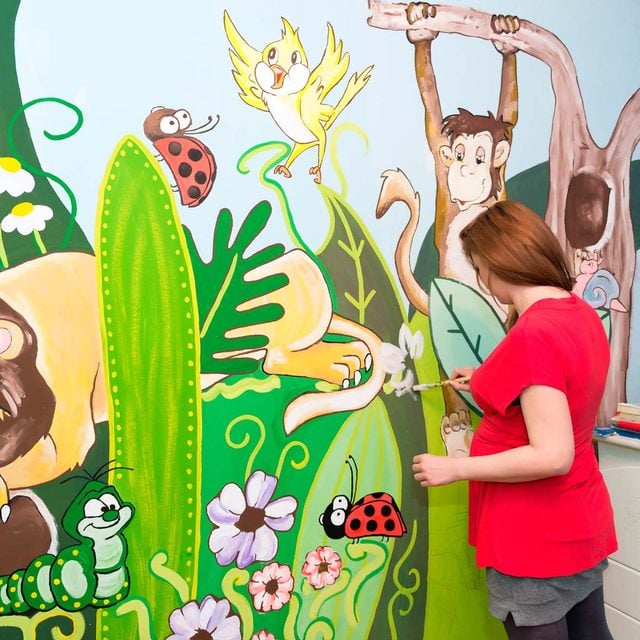
Let’s Paint
Now you’re ready to paint your wall mural design. Make sure your room is well ventilated so the paint fumes can escape. Bricca describes mural wall painting as a layering process. She’ll go in and create the base of her designs using regular latex paints. Then she goes in with the acrylic artist paint to create the details.
You should expect to use a minimum of two to three coats of paint for each layer. Make sure you give your paint enough time to dry in between each coat. Each coat doesn’t need to completely cured, but they shouldn’t be wet. Bricca says most paints sold today dry pretty quickly, whether it’s an hour or half-hour. You can also go by the instructions listed on your paint can or tube.
Completing Your Wall Mural Painting
It’s important to step back from your mural and look at it from a distance every now and then while you paint. This will allow you to make corrections and ensure that it looks good from all angles. But for Bricca, there are no mistakes in mural wall painting. You can always paint over what you don’t like and start over.
Once you’re done painting, put away your paints, brushes and drop cloths. You’ll want to make sure nothing comes into contact with your mural wall painting until the paint is completely cured which could take anywhere from one week to a month depending on the conditions in the room.
Originally Published: October 09, 2019