1
/
13
Tips for Perfect Spray Paint
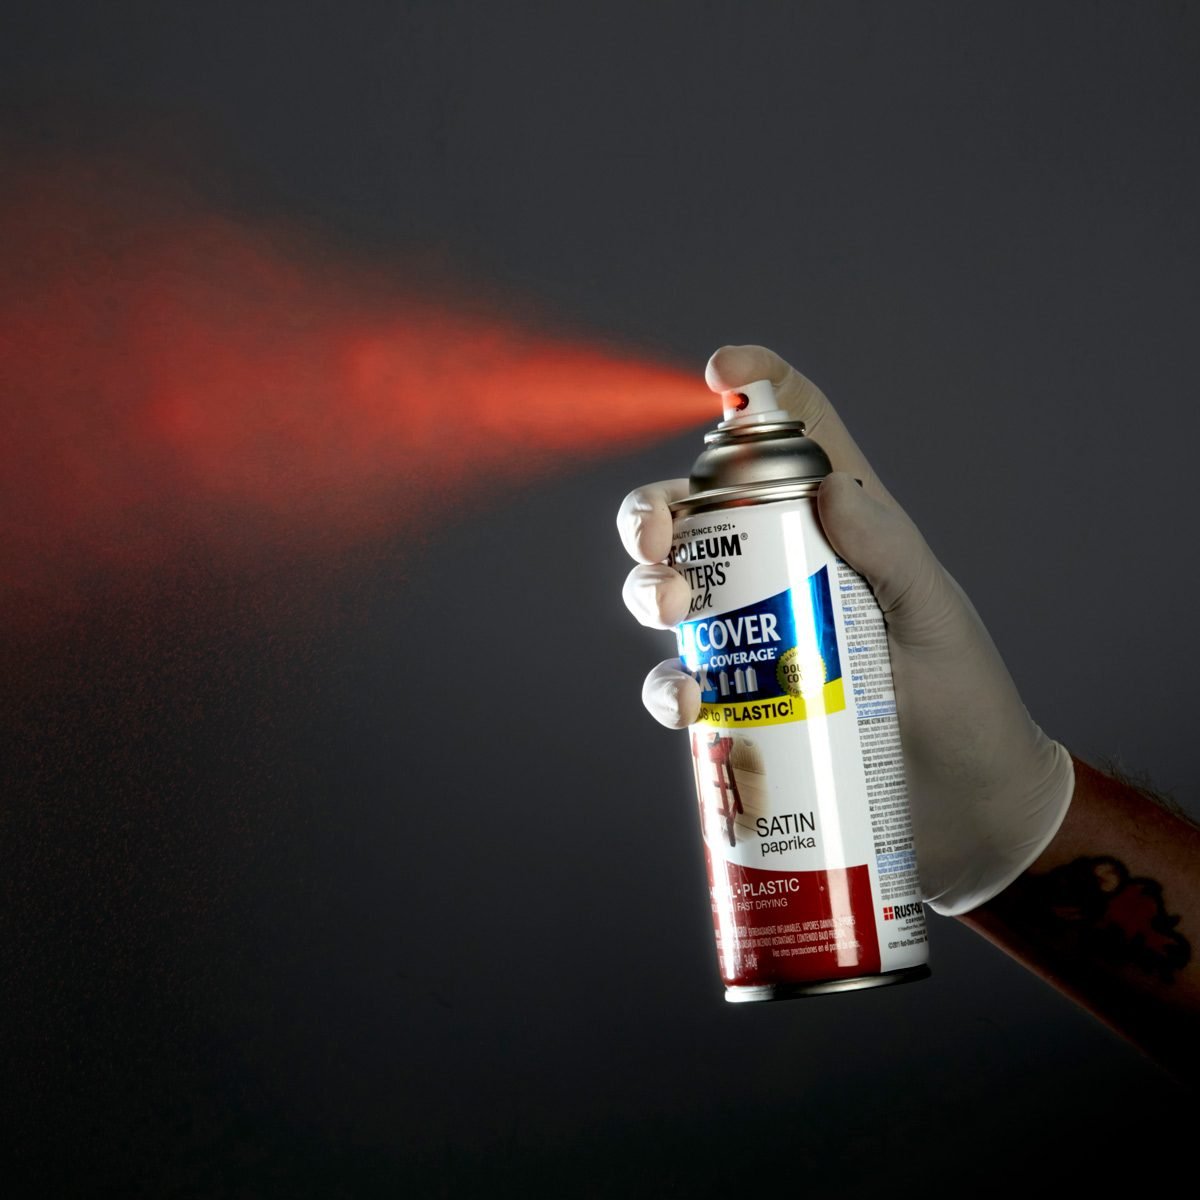
The telltale signs of a bad spray-paint job are easy to spot. Stripes of uneven coverage, paint buildup in the corners, a stray hair in the finish—the list goes on. Worst of all is the dreaded run, an obvious sign that the painter applied too heavy a coat.
Learn how to build a spray-paint booth here.
Also discover, how much time spray paint takes to dry.
2
/
13
Spray Can Tips: Disassemble if You Can
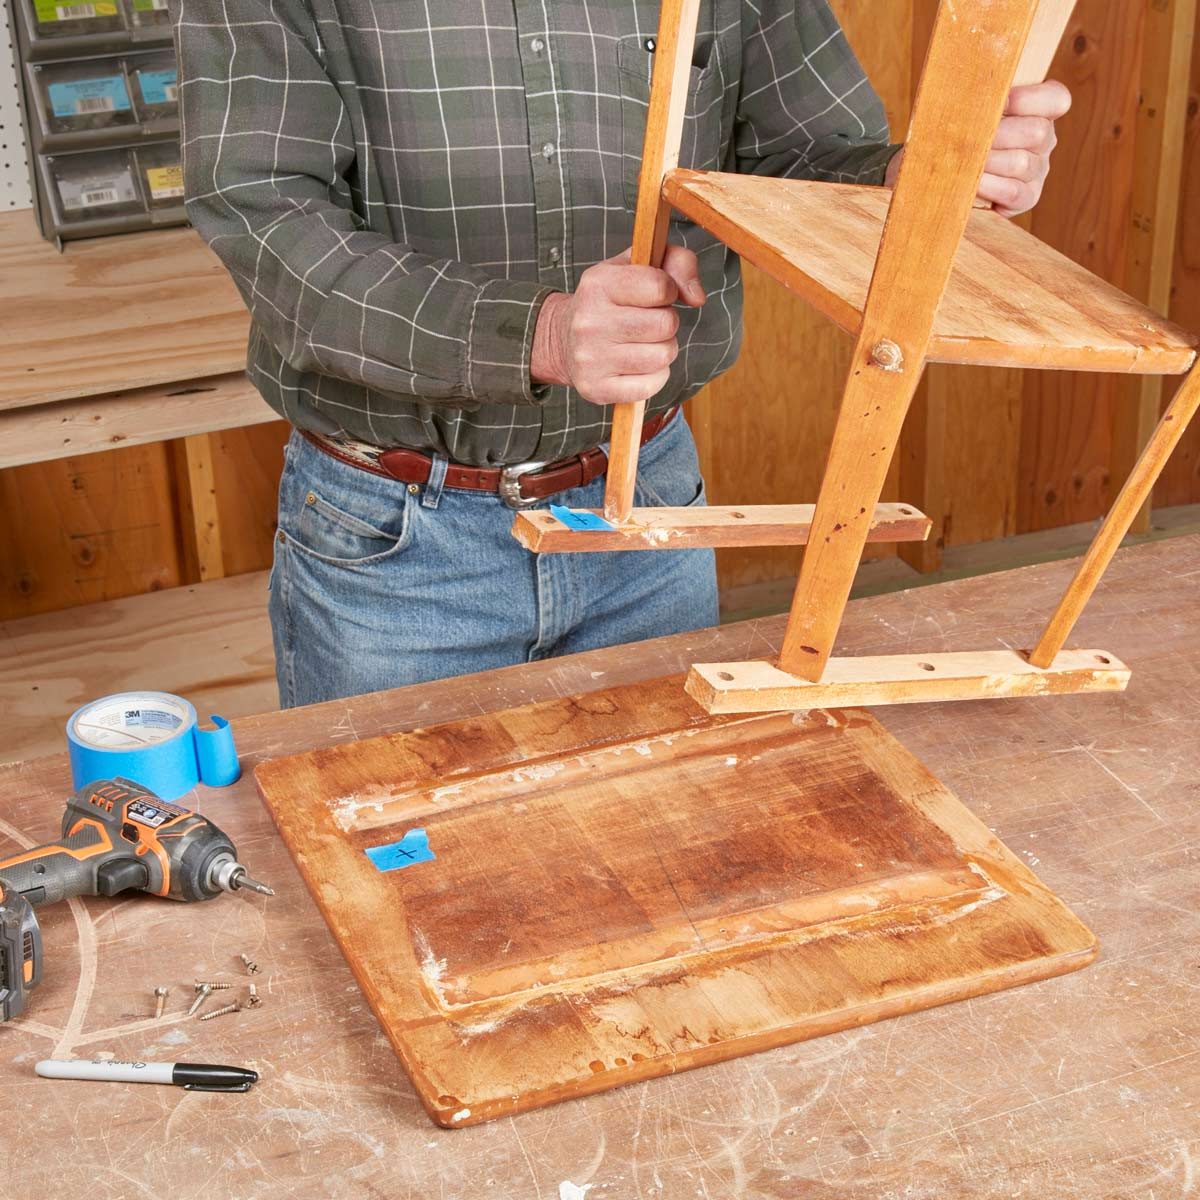
Before you start painting, examine your project. If you can take it apart without too much trouble, do it! You'll have much better luck getting even coverage, seeing what you're doing and avoiding runs. But don't just dismantle the piece willy-nilly. Mark the parts for easy reassembly.
3
/
13
Spray Can Tips: Apply Coats in Different Directions
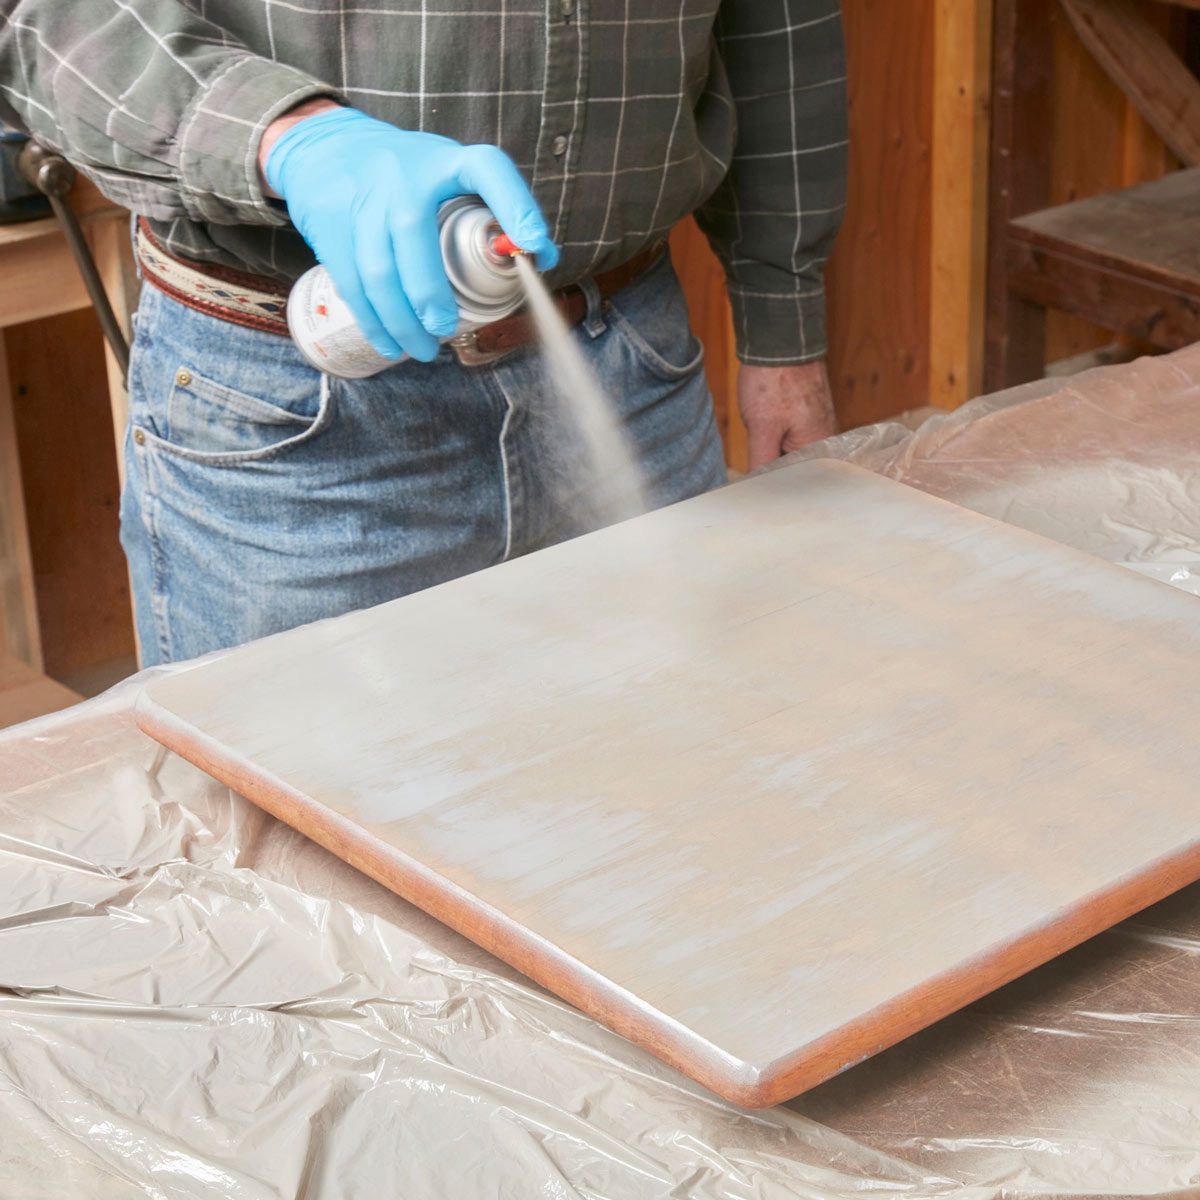
To achieve the most even coverage as you learn how to spray paint, it's a good idea to put on subsequent coats in different directions. Changing directions will help you get into all those nooks and crannies and reduce the chance of zebra stripes.
4
/
13
Spray Can Tips: Always Clean Out the Nozzle
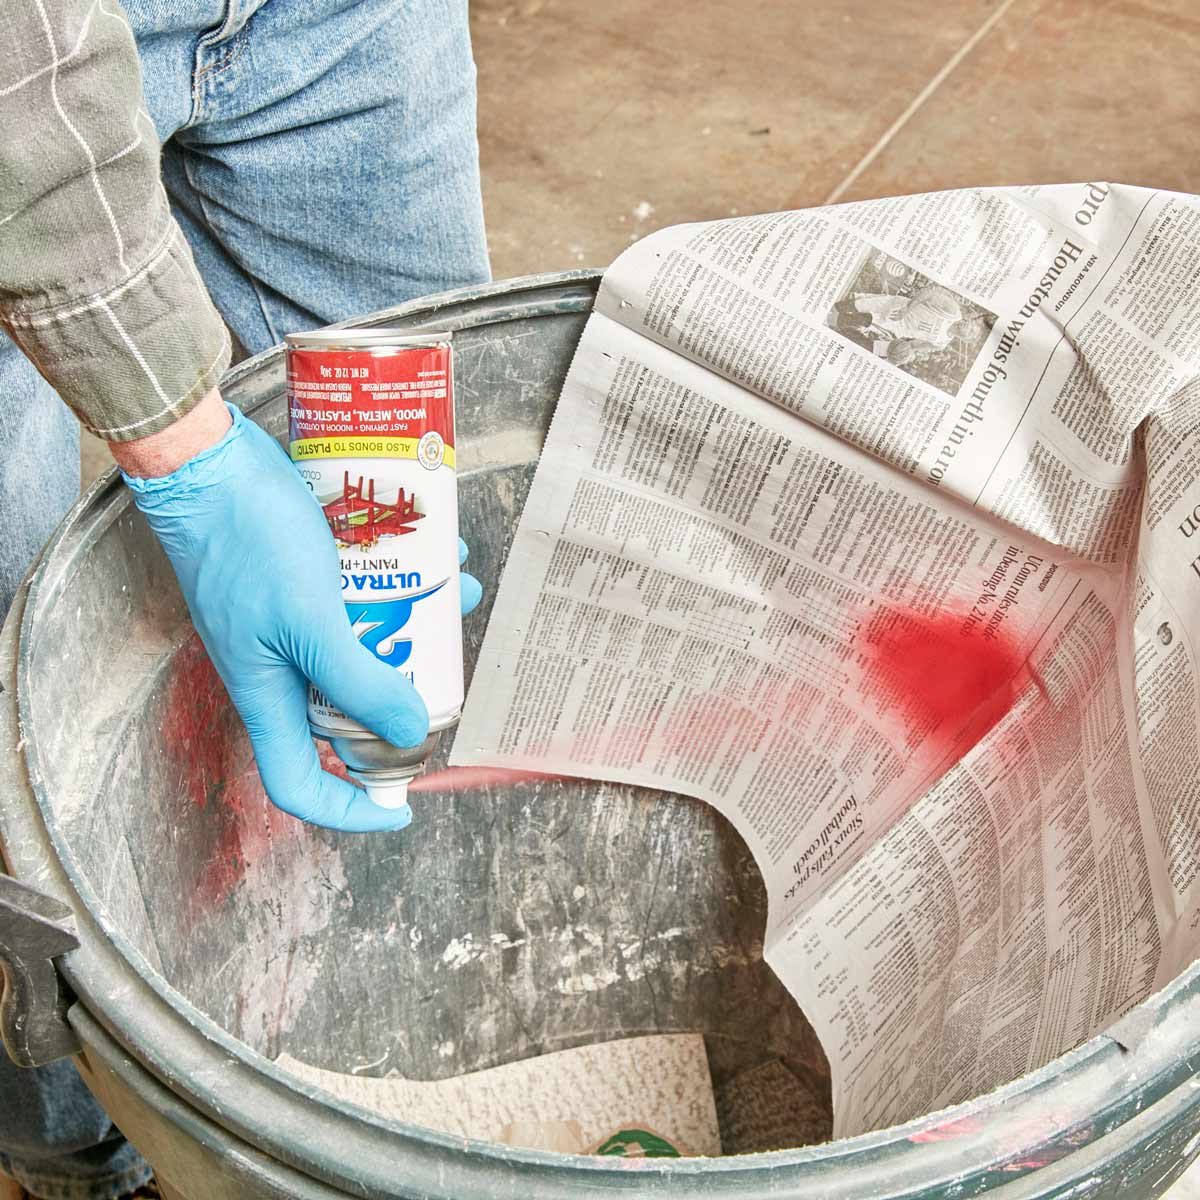
Even though nozzle-cleaning directions are on every single can of spray paint, it's an easy step to skip. After use, hold the can upside down and press the nozzle until no more pigment shows in the spray, and then wipe the tip with a rag or paper towel. If you skip this step, you could end up with a nozzle completely clogged with dried paint or a partial clog that'll affect the spray pattern next time.
5
/
13
Dust: Public Enemy No. 1
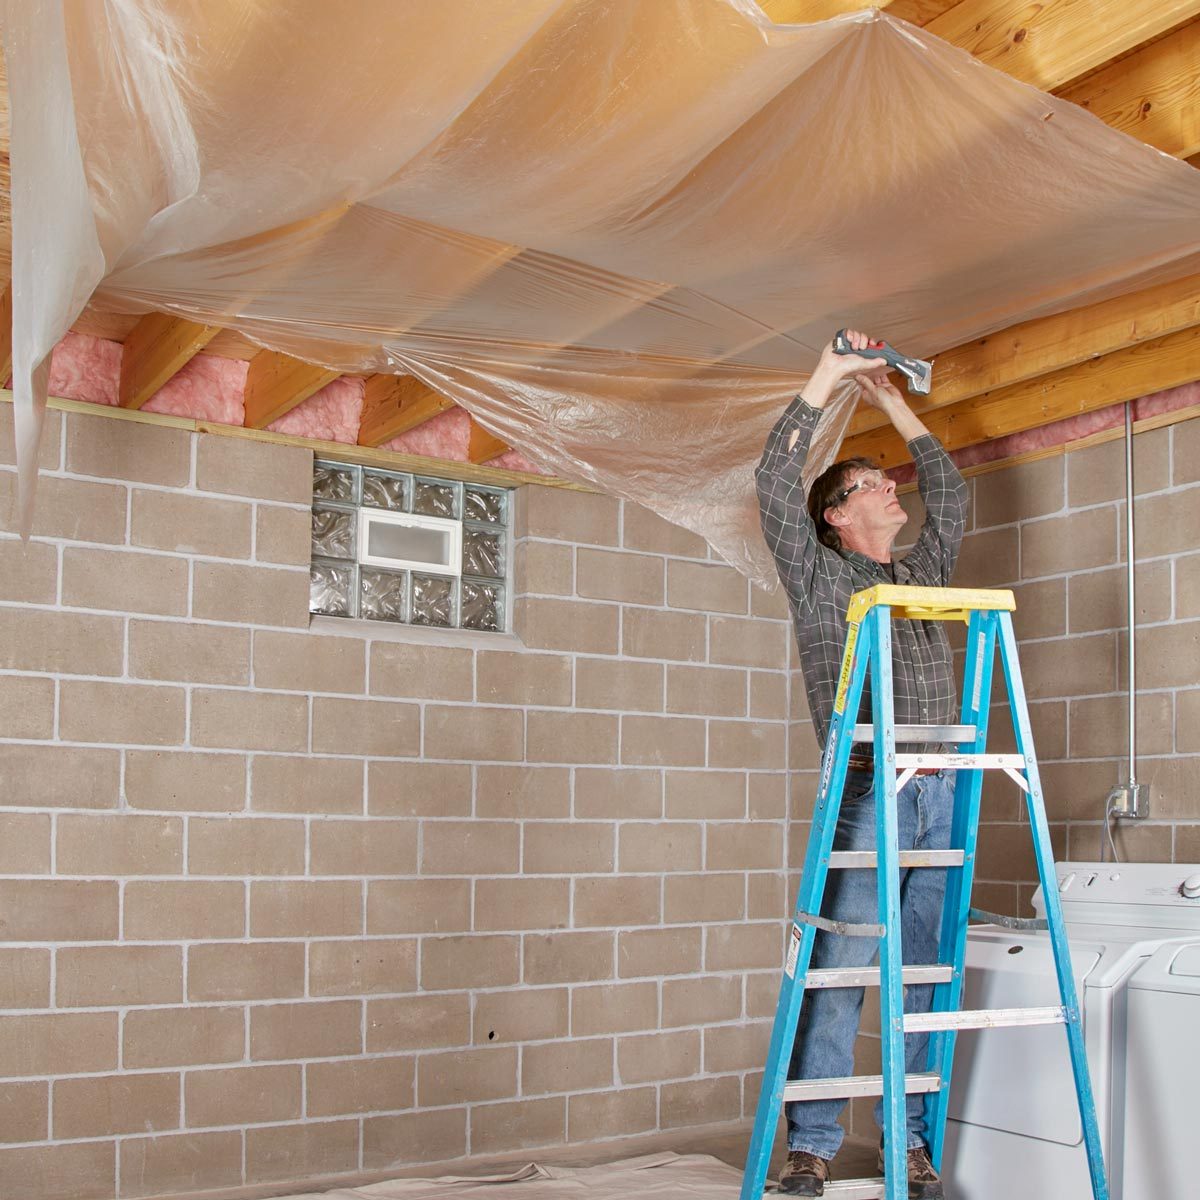
For a flawless finish on small parts, paint them inside a cardboard box. If you have larger projects, create a poly booth. In basements, dust will shake down from the floor joists, especially if someone is stomping around upstairs, so staple painter's plastic to the ceiling. Damp-mopping the floor with keep your feet from stirring up dust. Don't use a fan to speed up drying time. Wear clean clothes and a hat to keep your hair out of the finish. An hour or so before you paint, shut off furnaces, the A/C and ceiling fans to let the dust settle.
Learn how to make a DIY spray paint booth here.
6
/
13
Spray Can Tips: Swap Plugged Nozzles
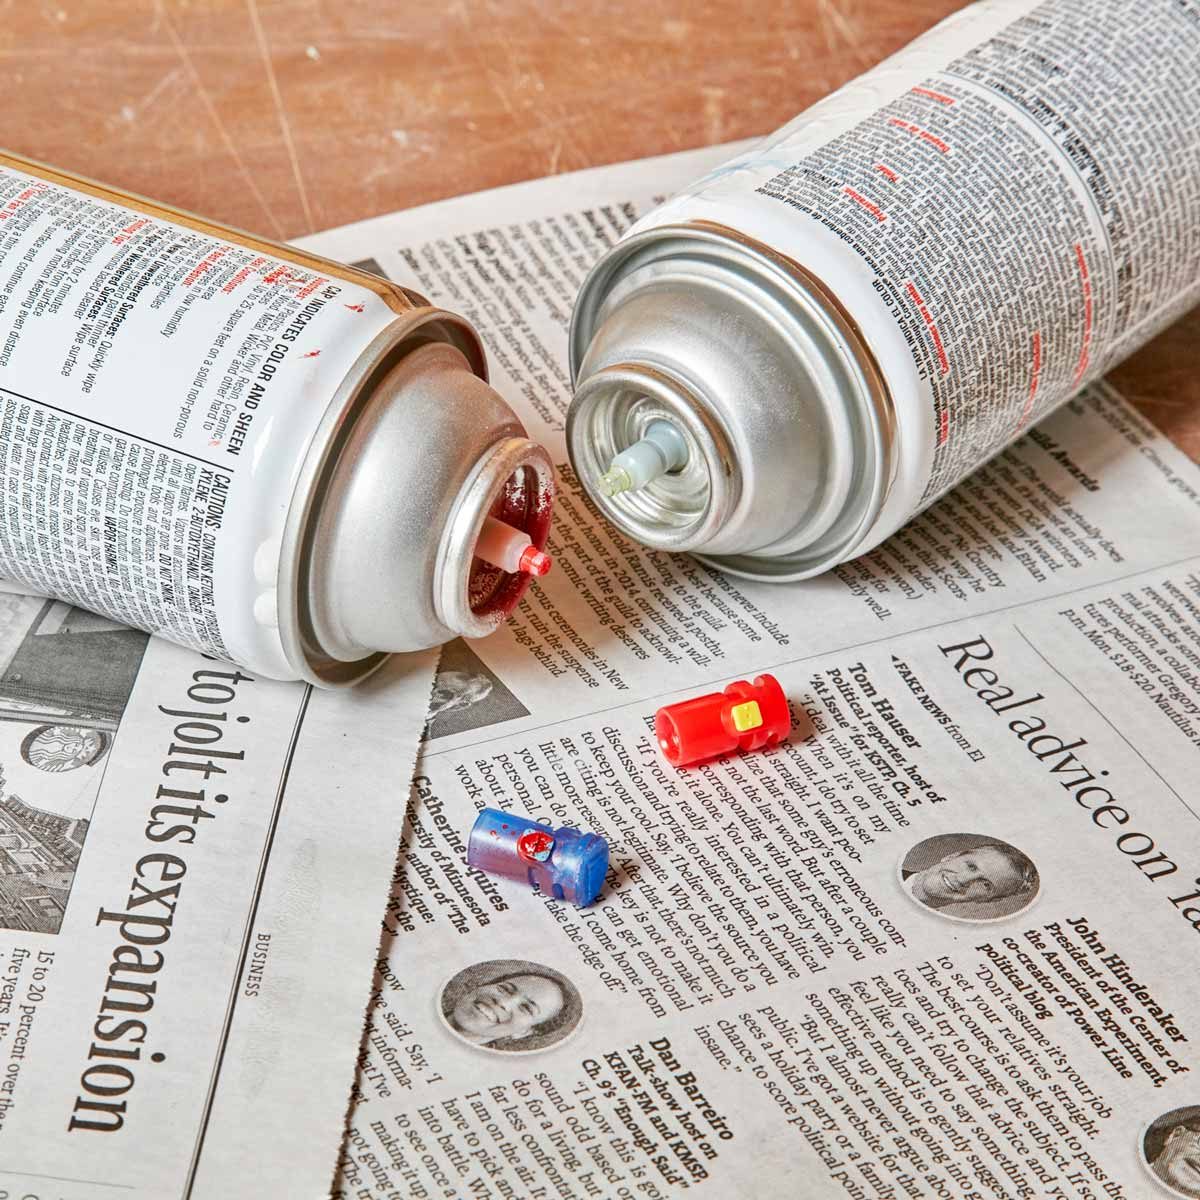
Most nozzles have a universal fit. If you end up with a plugged nozzle and have other cans of spray paint with good nozzles, just swap the bad one for the new one. They lift right off and push on. If you don't have any good nozzles, remove the plugged one and soak it in nail polish remover, acetone or even mineral spirits.
7
/
13

Spray Can Tips: Start With a Tack Coat
If you're spraying a vertical surface, it's always smart to apply a "tack" coat before applying the first full coat. A tack coat is a light mist that you allow to set for five minutes. The texture of the tack coat will help hold the paint in place and reduce runs.
8
/
13
Spray Anything
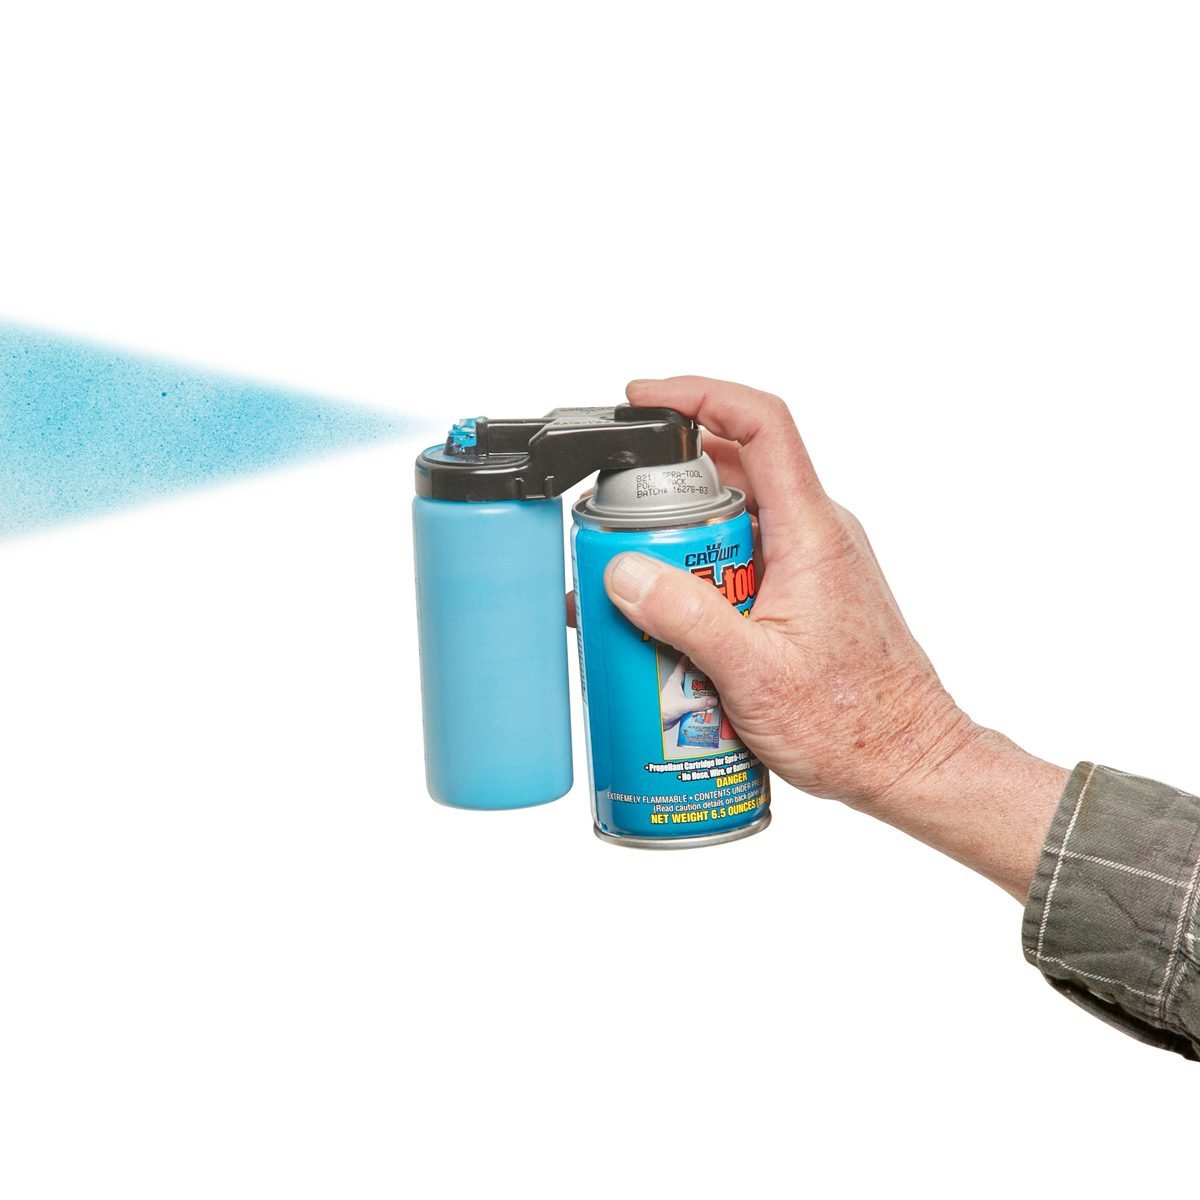
The Spra-Tool is a simple product—a plastic jar plus an aerosol can. You just pour the liquid into the jar and pull the trigger. We had great results with thin liquids like stain, shellac and household cleaners. With thicker material—polyurethane and latex paint- we had to add thinner to achieve a smooth coat. In some cases, we added thinner than the paint manufacturer recommended. (Using too much thinner can affect the paint's durability, but we didn't have a problem.) Still, we got smooth, perfect finishes—fast. The Spra-Tool kit is available at some home centers and online.
9
/
13
Need a Custom-Color Spray Paint?
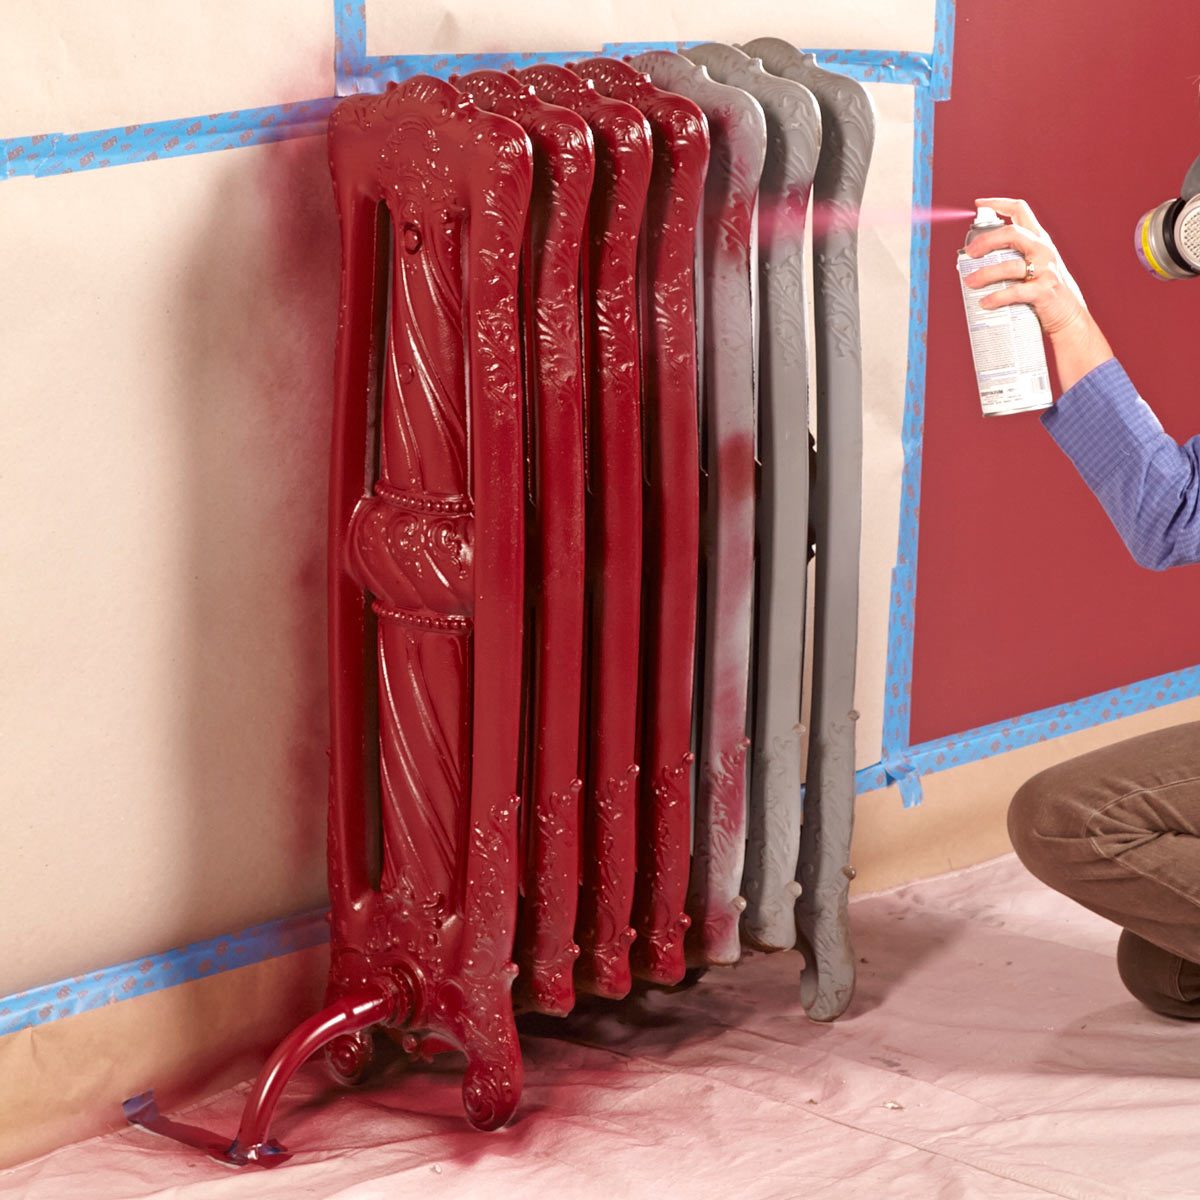
If you want to paint radiators, electrical cover plates, a shelf or anything else to match your wall or trim color, go online and search for "custom spray paint." You'll find many companies (myperfectcolor.com is one) that can custom-mix just about any color you want, provided you know the paint manufacturer and color name. If you want a different shade of an existing color, choose one of the other shades from the paint swatch you got at the home center or paint store and have that color custom-mixed.
10
/
13
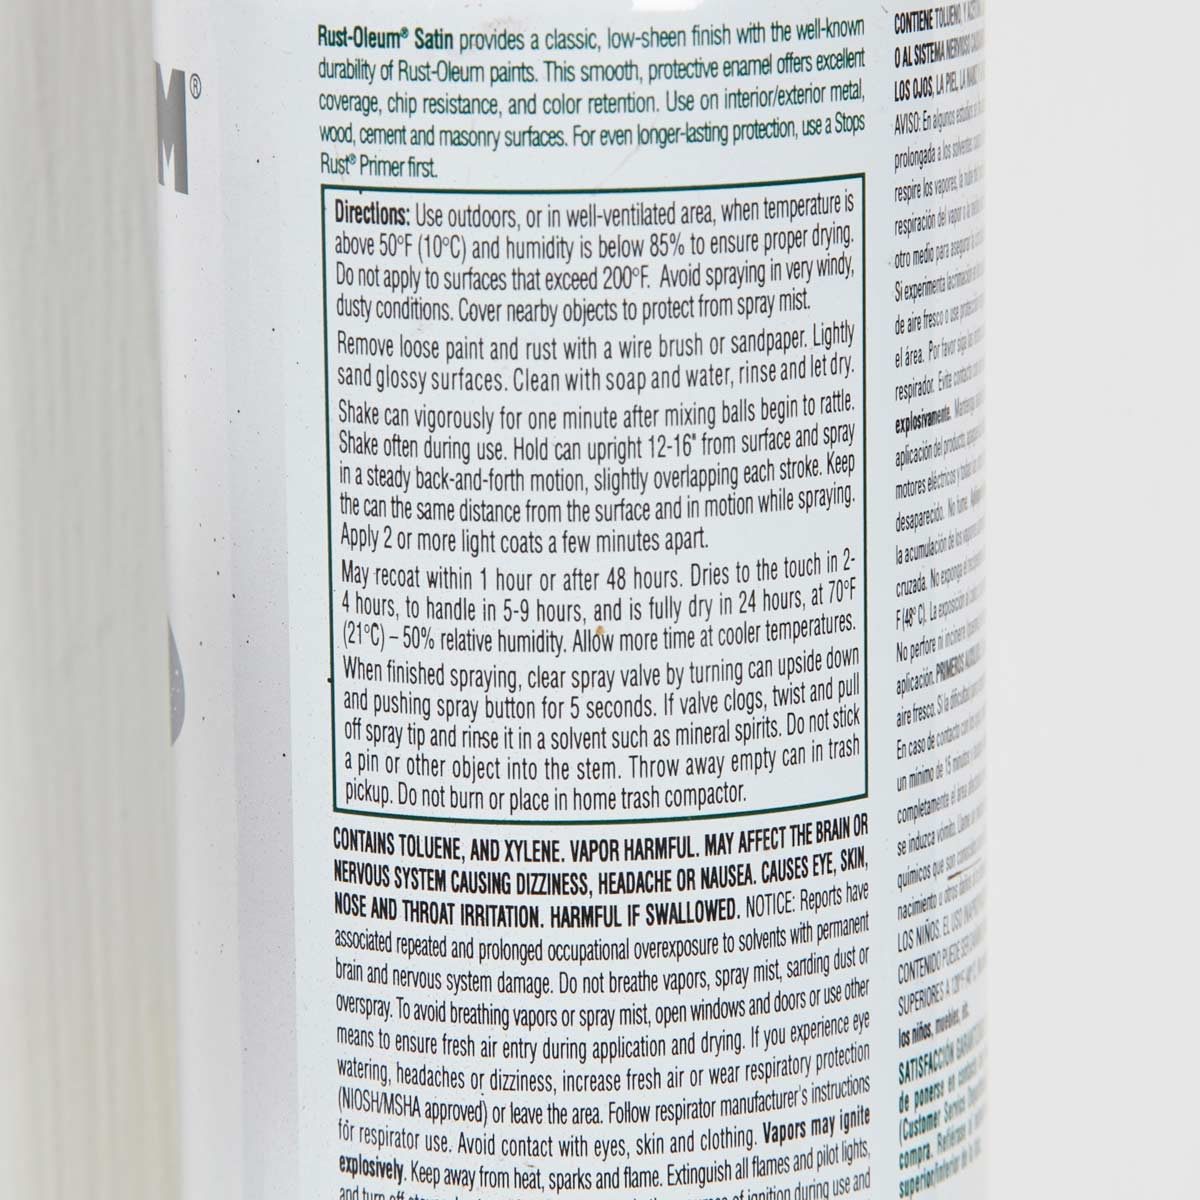
Read the Directions!
This sounds obvious, but few people bother to read the directions on the can. If the manufacturer says to apply a tack coat or start with a primer, there's probably a good reason for it. One of the most important pieces of information is the drying time between coats. Often, you can apply a second coat soon afterward.
11
/
13
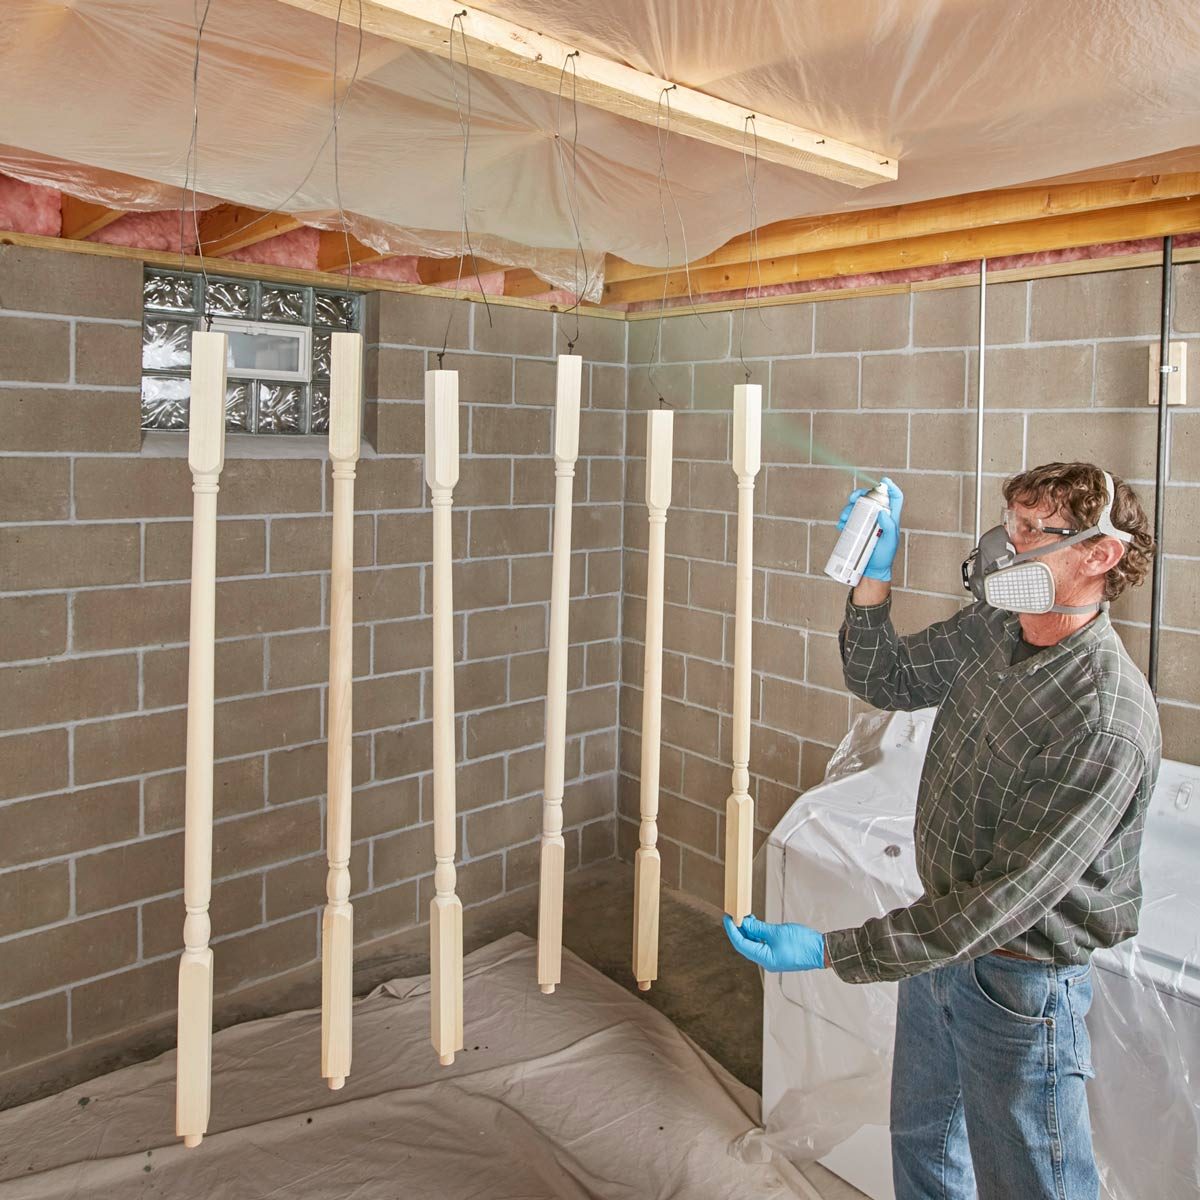
Spray Can Tips: Hang 'Em High
If the project parts are small enough, you can suspend them for painting. You'll be able to paint all sides at the same time and have everything at eye level. Use coat hangers, wires, thumbtacks, screws—whatever you have on hand. Wear an activated carbon respirator when you spray-paint, especially if you're painting indoors.
12
/
13
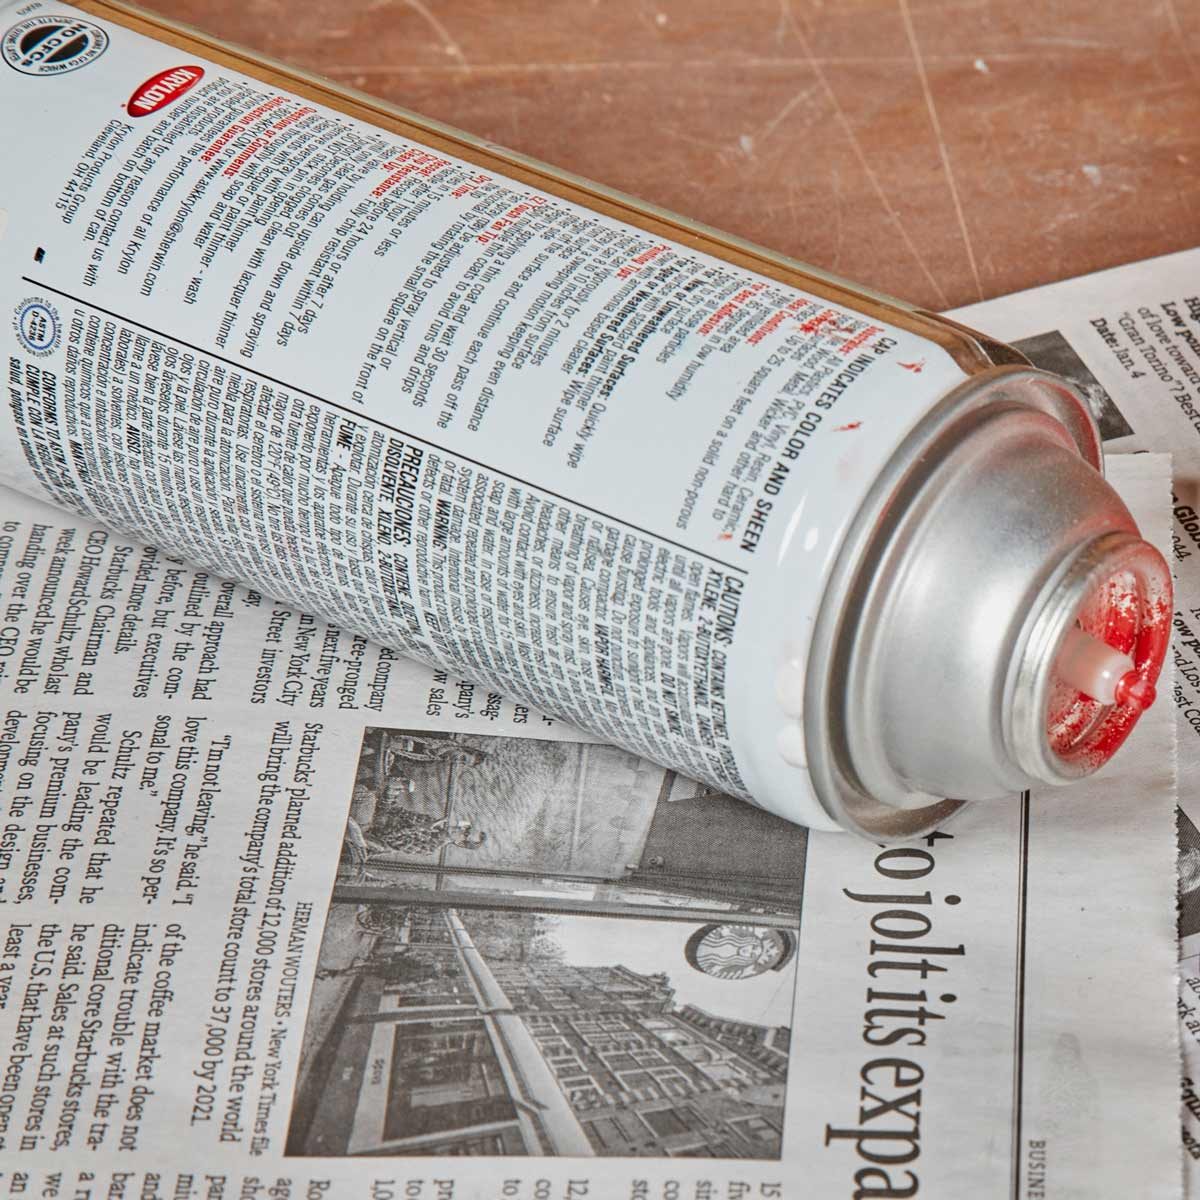
Spray Can Tips: Many Light Coats
It is common knowledge that you should apply several light coats rather than one or two heavy ones. But few have the discipline to follow this simple advice. When you're spraying, resist the temptation to fill in thinner areas on one pass to completely cover the surface. Or welcome to dealing with runs—yet again.
Using spray paint from a can or a sprayer is a fast and efficient way to paint things like rusty mailboxes or weather vanes too. Here are some tips on prepping rusty metal for paint.
13
/
13
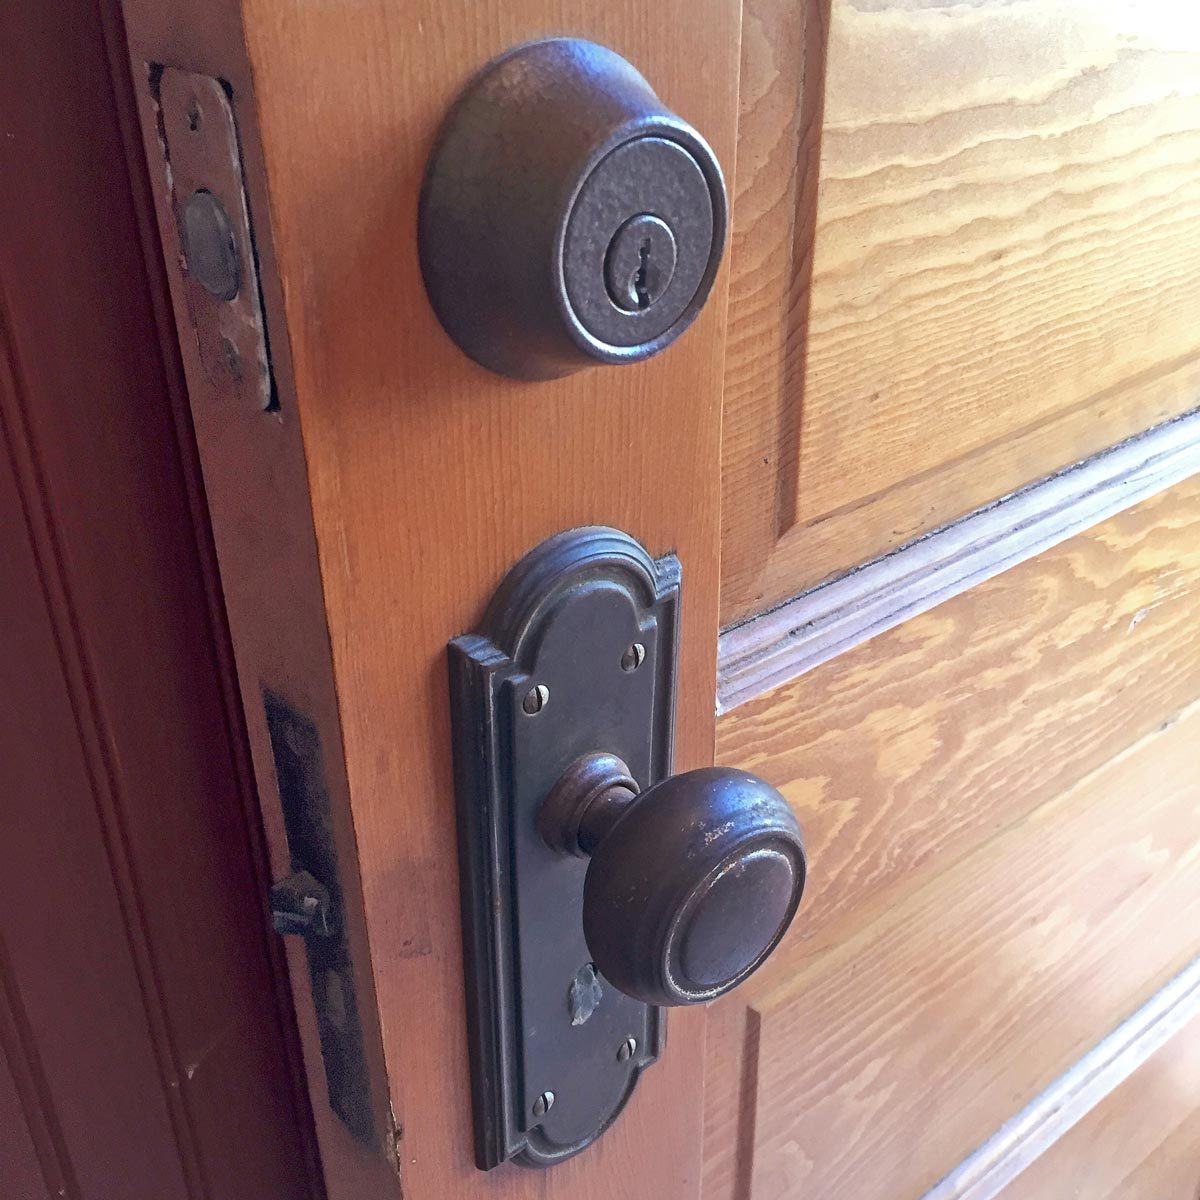
Authentic-Look Hardware... For Less!
When I bought my 1923-vintage house, the two exterior doors were original, as were the doorknobs, Unfortunately, the previous owners had installed shiny new brass dead bolts and an escutcheon plate—a bad mismatch. Instead of souring local antiques stores to find replacements, I have decided to try painting the brass. After removing the hardware, I scuffed the brass finish with fine sandpaper. Then I sprayed on a coat of primer and a few coats of Rust-Oleum's hammered finish spray paint. The hammered finish provided the aged bronze look I was after. I was amazed at how well the repainted hardware matched the old doorknobs, and the paint job has held up, inside and out, for more than 10 years. So here's my advice: Don't replace ugly metal hardware. Save money by refinishing it with a metallic spray paint.