
10 Simple Steps for Exterior Paint Prep
Updated: Mar. 30, 2021
The secret of a good paint job is that most of the hard work is done before a brush ever hits the building. Painting a poorly prepped surface will only result in disappointment, while quality pre-paint work pays huge dividends. So armed with the knowledge that preparation is king when it comes to painting, here are 10 tips to help your exterior paint prep projects go faster, look better and cost less.
1
/
10
How to Prep for Painting: Planning and Lead Paint Awareness
Exterior paint prep can be a daunting task to tackle. Depending on the size of the project and your experience level, you might not even know where to begin. Like everything, the best way to start is with a good plan. Identify what parts of the project can be broken into sections and what parts need to be done together. Look for areas that will cause you trouble, so that you can approach them with your eyes open.
The planning stage is also the best time to consider testing for lead paint. If you have a house that was built prior to 1979, it's always a good idea to know what you're getting into. This is especially important because it's likely that you'll need to sand or scrape your existing exterior paint during the course of your project.
2
/
10

Pet Patrol
If you have outdoor pets, give some thought to how this project will affect them. Especially if you're painting your house, you'll be moving around the perimeter and dragging supplies behind you. Also, when you're in the midst of sanding and scraping, watch where the debris falls. It's not uncommon for pets to chew on strange materials that suddenly fall into their domain.
None of this is to say that you can't run an exterior paint prep project with pets in the area. It's just a good idea to keep their presence in mind.
3
/
10
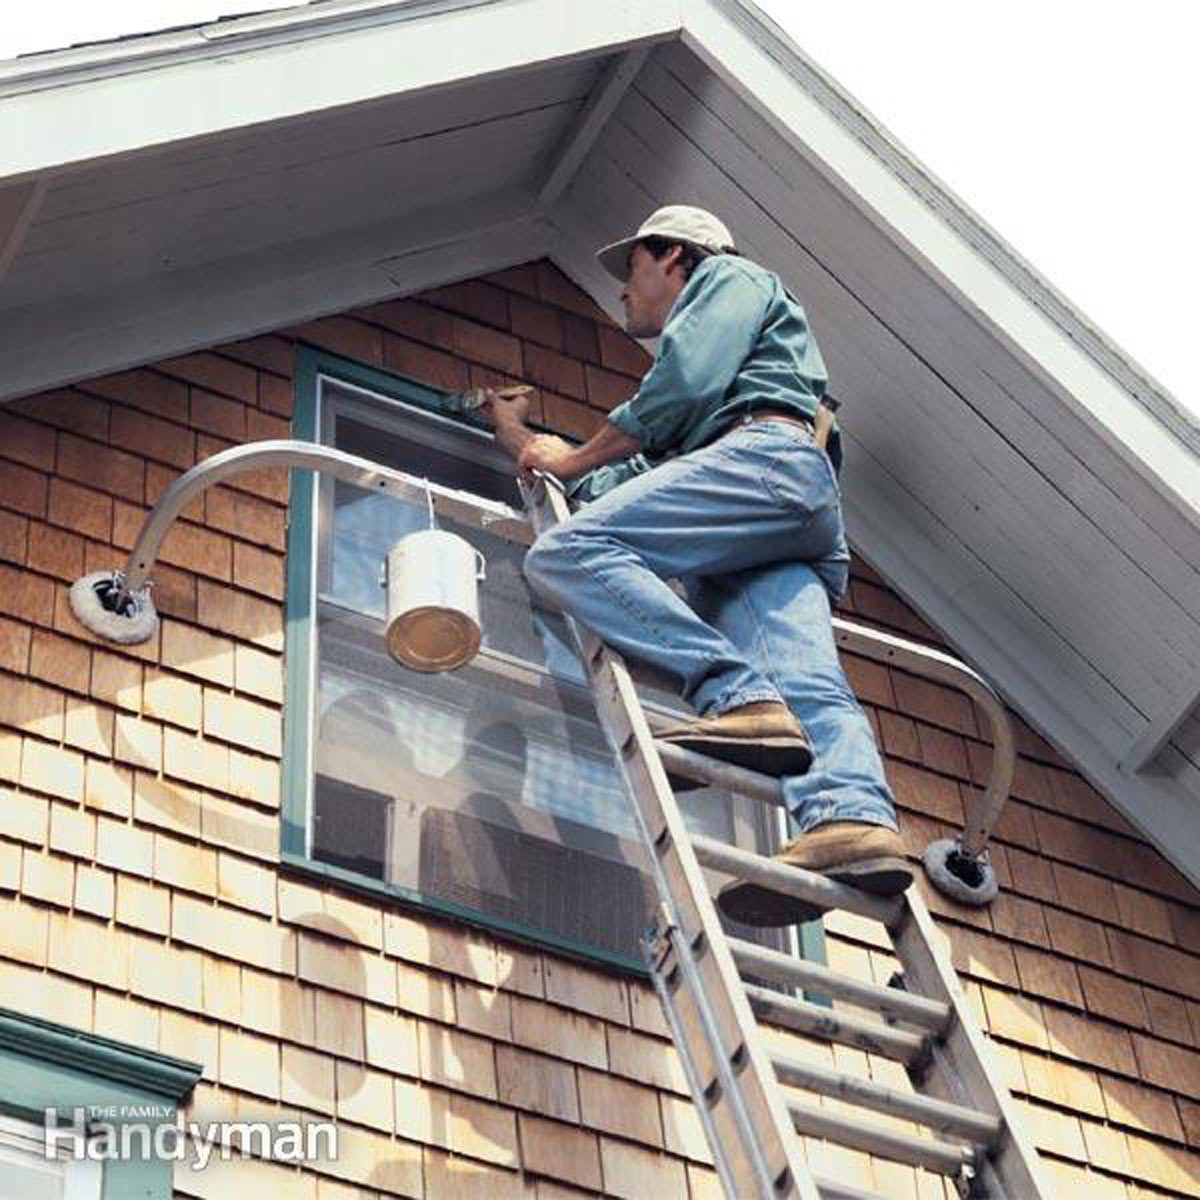
How to Prep for Painting: Ladders and Scaffold Setup
Exterior paint prep projects often involve multi-story work. This means you're going to need a ladder or even a scaffold to boost your reach while supporting you safely. Setting up a ladder or scaffold outside is trickier than an interior application. This is because you'll need to take the stability of the ground into account. A ladder which stands steady on a concrete driveway may sink into soft dirt as soon as you put your weight onto it. Or even worse: that ladder may not move at all until you're 10 feet or more in the air.
Review this Family Handyman article on working with scaffolding safely.
4
/
10

Exterior Paint Prep Ground Cover
In the same way that you need to be aware of pet activity, your exterior paint prep project will require you to keep shrubs and plants in mind as well. Cleaning paint debris out of bushes is no fun, so use a lightweight canvas tarp to cover up flower beds and shrubbery. But plan on removing the protective covering at the end of each day so that you won't risk killing off the plants you're trying to protect.
As you place your ladders and drop cloths, keep an eye open for delicate plants or flowers. Avoid them if possible or if they're fragile, consider relocating them into temporary pots. And definitely protect any water features such as koi ponds or waterfalls. A little bit of preplanning can save lots of aggravation and repairs down the road.
5
/
10
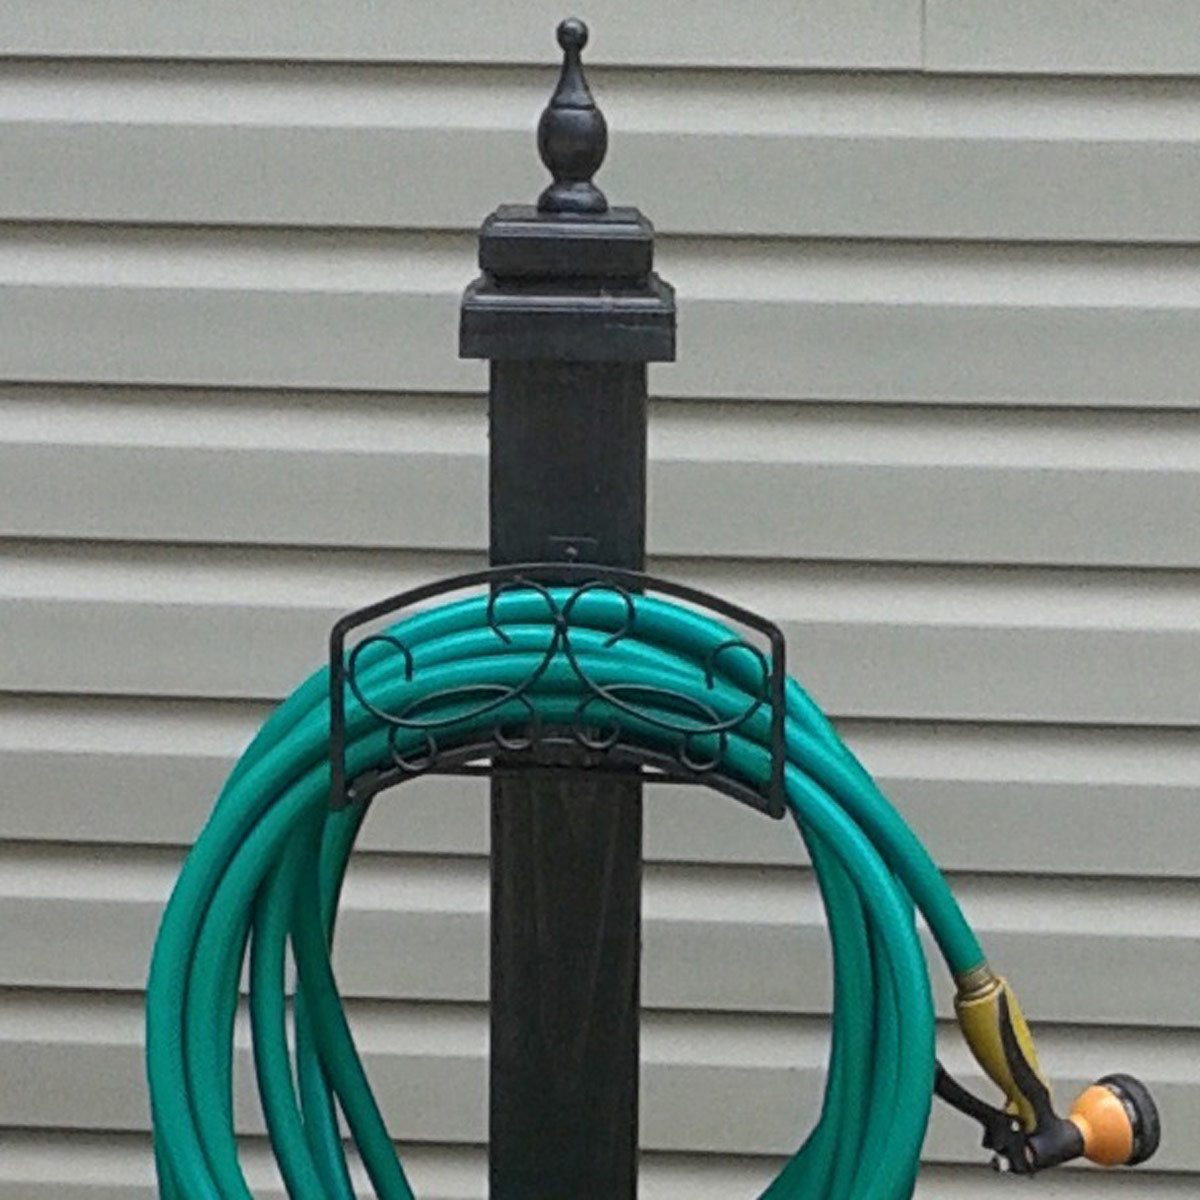
How to Prep for Painting: Remove or Tape Around Obstacles
Scattered over your home's exterior are a handful of items that you'll want to avoid painting over, painter's tape can help. This list includes exterior outlet boxes, utility heads, and hose bibs and racks. Depending on the nature of the item, you'll either tape around or remove these completely during the exterior paint prep project. Doing this work now will allow you to maintain your momentum when you're actually putting paint on the home.
Most of this work tends to be at ground level, but if you find yourself up on a ladder taping things off, keep in mind that safety trumps speed. Check out this article on extension ladder setup and safety for a quick refresher on how to work quickly but safely.
6
/
10

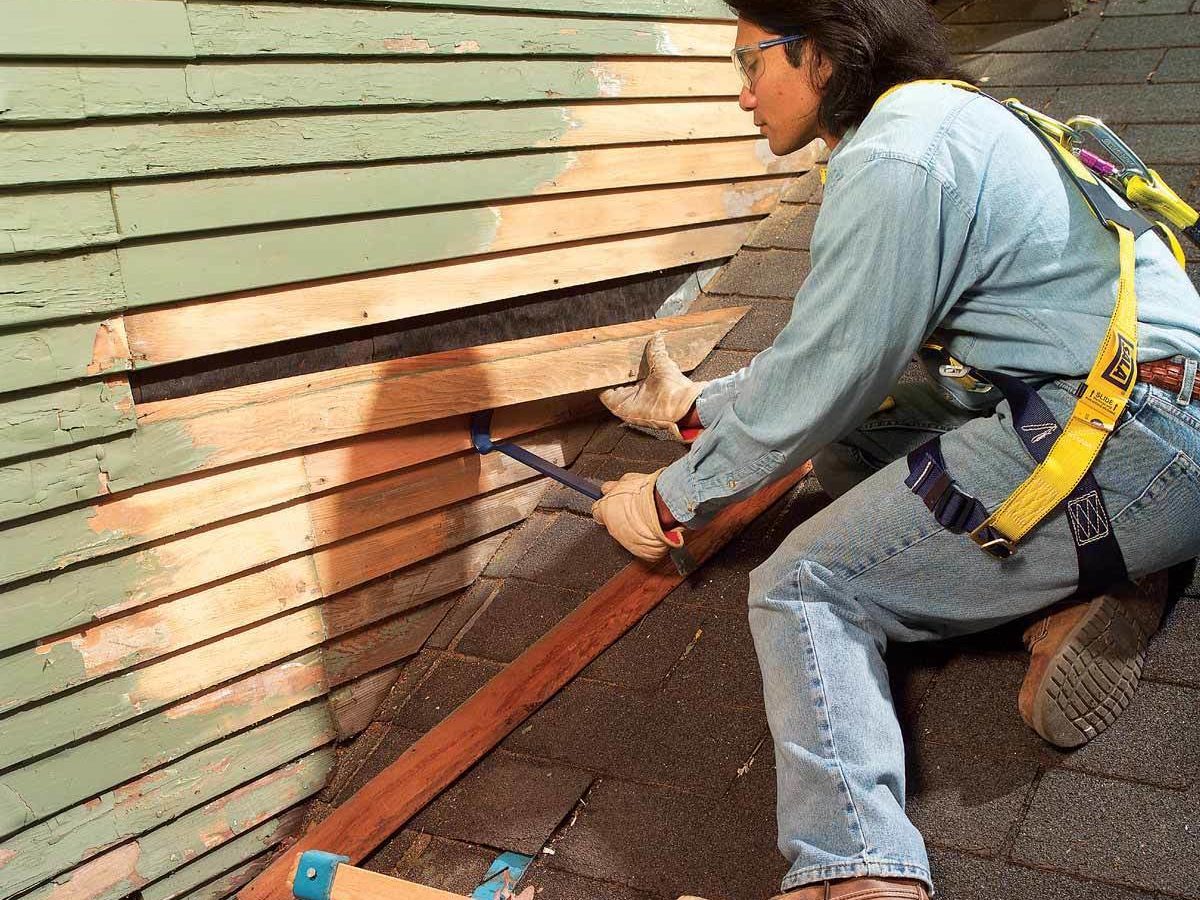
How to Prep for Painting: Sanding and Scraping
The real bulk of the work in exterior paint prep is surface prep. And make sure to avoid these missteps. The most difficult part of that prep is sanding and scraping. If you're working on an unpainted surface, you can give it a quick prep and move on. But most previously painted surfaces will need to have loose and flaking paint scraped off and the edges sanded flush.
This is a tedious and tiring process, but it's an incredibly important part of the process. Painting over flaking paint will only result in new paint that flakes off, and skipping the sanding process will leave large, unsightly "divot" areas on your home. Power sanders can help speed the work, but be sure to use proper respiration and dust control.
7
/
10
How to Prep for Painting: Surface Repairs and Cleaning
As you remove the loose paint from your home by sanding and scraping, you'll likely notice individual areas that have become damaged. The damage might be from weather wear and tear, or possibly from animal or insect activity. Regardless of the cause, this is the perfect time to make repairs. This Family Handyman article on exterior paint prep reviews a number of the possible types of damage and how to address them.
Once the repairs are done, you can clean off the surface. Sanding dust and debris will come off with a quick wipe down or air spray. But if part of the home is especially dirty — especially from road dirt kicked up by traffic — you may need to scrub the siding, either by hand or with a power washer.
If you do opt for power washing, be careful not to spray upward. Always direct the sprayer so that the force of the washer moves in the same direction as rainfall. Your siding was designed to shed rainfall, not protect from water coming at it from below.
8
/
10

Weather Watch
One trick to exterior paint prep is learning to always keep one eye on the weather. Check out a map of cold weather areas and if vapor barriers are needed. Rain can shut down an exterior paint job, but there are other aspects of the climate to consider as well. For example, many caulks and paints have a limited range of working temperatures. Too hot or too cold, and they will cure slowly or not at all. Read their labels to be sure you won't have trouble.
Humidity is another factor that can slow down cure times. If you're painting in especially humid conditions, be sure to check the previous coat before adding another. Similarly, when planning the course of your work, take the path of the sun into consideration. Areas of the home that get little or no direct sun will set up slower. While sections that bake in direct sun will get a hard surface, becoming dry to the touch before they are fully cured. Did you know you can spray paint a house exterior?
9
/
10

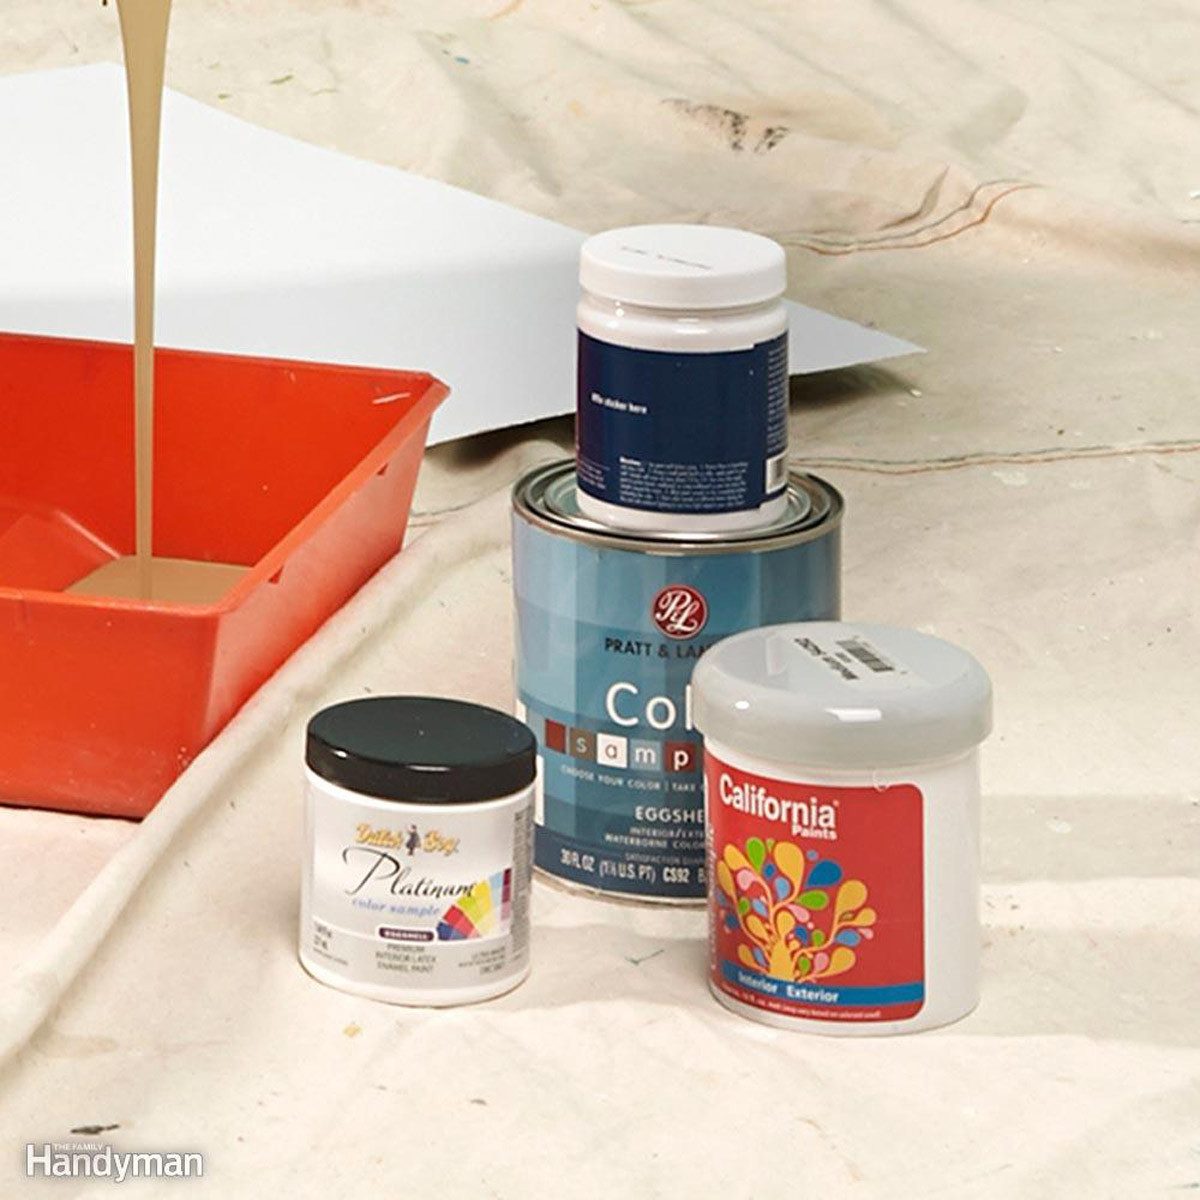
Plans for Spills
A simple exterior paint prep step, but one that can save you an immense amount of aggravation. Before you reach for your paint, always make sure you have something close at hand to clean up spills. If you're using latex paint, that will be water and clean rags. If you're using oil or enamel-based paint, you'll need mineral spirits or the thinner recommended by the paint manufacturer. (Check the paint can's label, usually under the Directions for Clean Up.)
One pro tip: the term mineral spirits and paint thinner are sometimes used interchangeably. They are actually very similar. But mineral spirits are more often used indoors because they have lower fumes. Paint thinner is less expensive but has a high VOC (Volatile Organic Compounds).
10
/
10
Final Test Swatch
Before diving into full exterior paint prep mode, put a test swatch of paint on the surface. Check to make sure that it matches the exterior color you picked out. There's nothing worse than getting halfway across a house before realizing you have the wrong shade of green or that you've been painting the wall in a flat instead of a semi-gloss.
At this point all the hardest work is done and you'll soon be able to relax and enjoy the finished product.