
10 Tips to Restore Your Old Tools
Updated: Feb. 02, 2024
Have some old tools that aren't working like they used to? Use these 10 tips to restore your old tools to good-as-new condition.

Remove the Rust From Metal Tools
Hammers, wrenches and other fully or partially metal hand tools are bound to form rust over time, especially if they’ve seen a lot of use. Get your rusty old hand tools looking great again by submerging them in vinegar overnight to begin dissolving the coating of oxidized metal. Then rinse them off with water, and rub them down with fine grade steel wool and light machine oil to remove any remaining rust and protect them against further moisture damage.

Restore and Protect Wooden Handles
The wooden handles of axes, hammers, hatchets and other hand tools are often covered with a protective finish when they’re new. However, this wears off with use and time. That’s where boiled linseed oil can help.
Sand down your wooden handles to remove dirt and any remaining old finish. Then use a clean shop rag to wipe on some boiled linseed oil and let it harden overnight. Linseed oil oxidizes, which means it forms a hard, protective film on wood, keeping your tool handles looking great for a good long time.
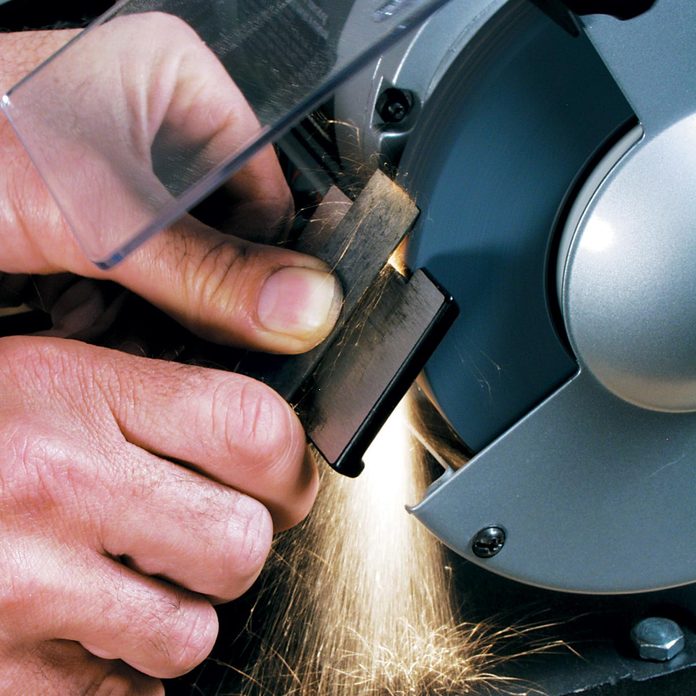
Sharpen Dull, Old Chisels
Old chisels and other cutting tools won’t stay sharp forever, but they can cut as good as new again after a proper sharpening. The best sharpening method I know of makes use of a bench top grinder outfitted with a hard, felt buffing wheel.
Hold the beveled edge of the tool tangent to the wheel, carefully buffing it down to a fine, razor-sharp edge. Done correctly, this method can get your chisels sharper than when they were new.

Get Your Old Thickness Planer Running Like New
If your thickness planer isn’t planing wood as well as it once did, leaving ridges on what should be a smooth surface, fixing it might be simpler than you think.
Start by raising the planer as high as it will go. Then rub some paste wax over the bed of the tool. Use a clean shop cloth to ensure full, even coverage. The wax will help wood feed through the planer smoothly again. Then remove the top of the tool, loosen the bolts holding one of the blades to the cutter head, and shift that blade slightly to one side. This will fix the ridge problem and get your planer blades cutting smoothly again.

Tune-up Your Jointer
If your jointer isn’t cutting properly, the blades are probably the problem. Unplug the jointer, then retract the guard and remove the bolts holding the blades in place. Purchase new, matching blades, if needed, and then install them in the cutter head.
The trick to great jointer performance is making sure the blades are all the same height in the cutter head, within a few thousandths of an inch. Achieve this by laying a straight piece of wood over the blades, then rotating the cutter head until the first blade touches the wood. Mark that spot on the wood with a sharp pencil. Then mark the wood again at the point where the blade leaves the wood, as you continue rotating the cutter.
Repeat for the other blades, making sure the distance between the marks is consistent. Do this correctly and your jointer will cut great again.
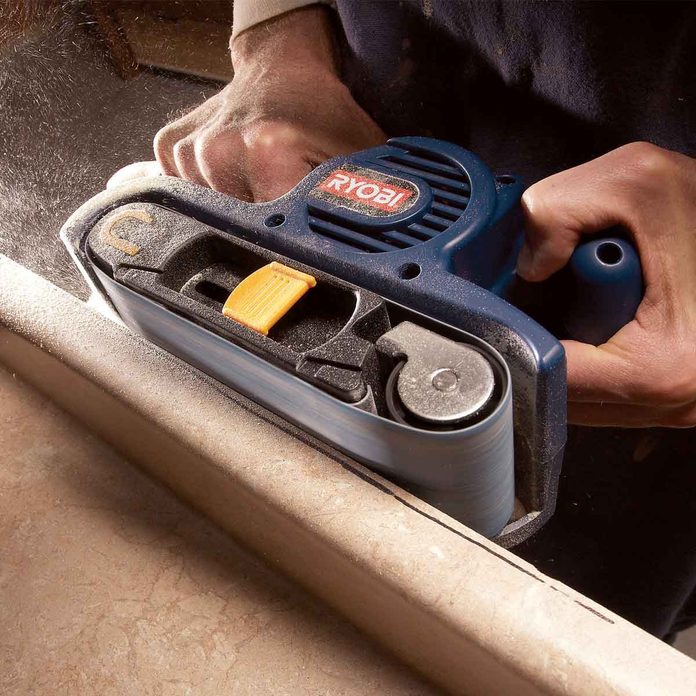
Clean the Belt On Your Belt Sander
If your belt sander that isn’t taking off wood like it used to, don’t be too quick to replace the belt. Chances are it still has some life left. A block of crepe rubber is the best way to find out for sure.
Turn on the sander and press the crepe block firmly against the belt for several seconds. Move the block over the full width of the belt as it runs. That will unclog all the fine wood dust trapped in the belt’s abrasive, allowing it to sand like new again.
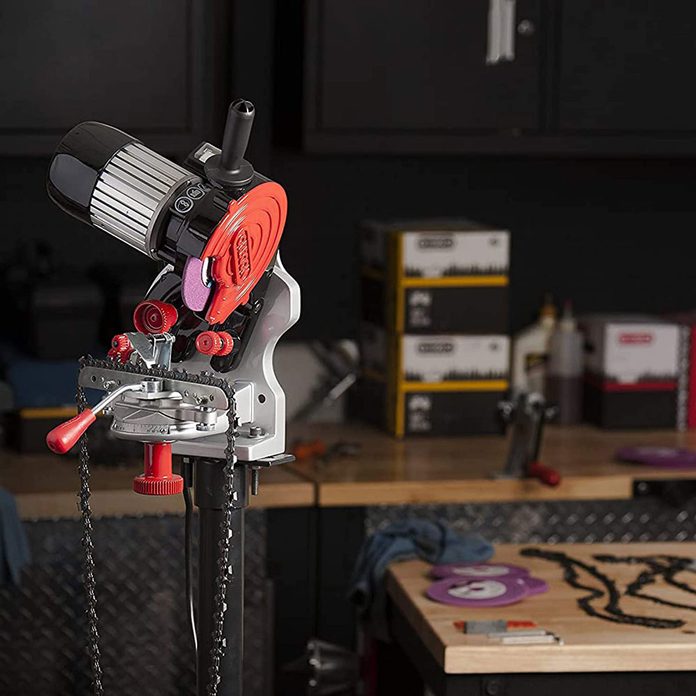
Use an Electric Sharpener on Your Chainsaw
If you spend much time around chainsaws, you know how quickly they get dull. Instead of struggling with a file for hours, consider investing in and learning to use an electric chain sharpener. Properly adjusted, these can make your chain even sharper than when it was new, and in a fraction of the time you’d spend achieving less impressive results by hand.
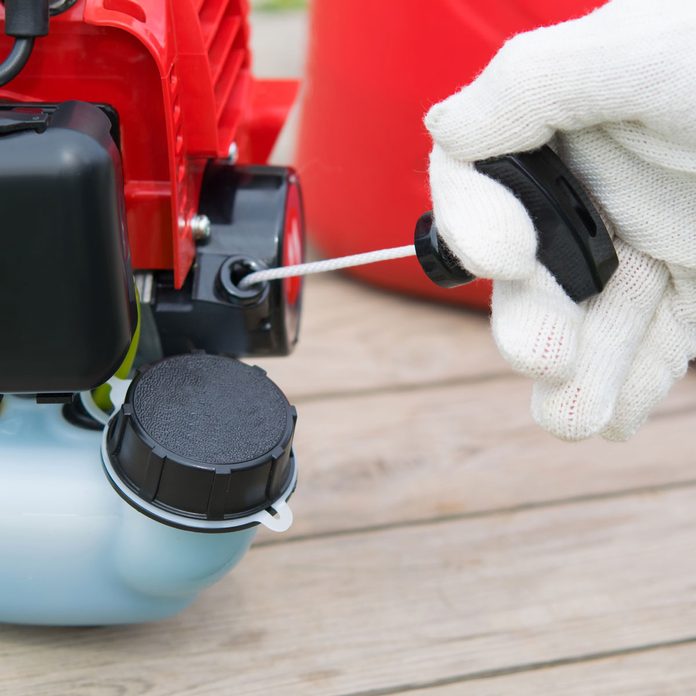
Replace Frayed Pull Cords
If you’ve got an old tool with a worn or frayed pull cord, chances are it will eventually break. You can keep using it until this happens, or install a new pull cord before you have to.
Buy a spool of pull cord rope of the same diameter as the old cord, then remove the recoil starter from your tool. Cut the old pull cord and remove it. Then thread the end of the new cord into the pull handle, knotting it securely. Rewind the return spring, winding the new cord up until the spool is full. Cut the other end of the cord off the spool and knot it securely into the handle.
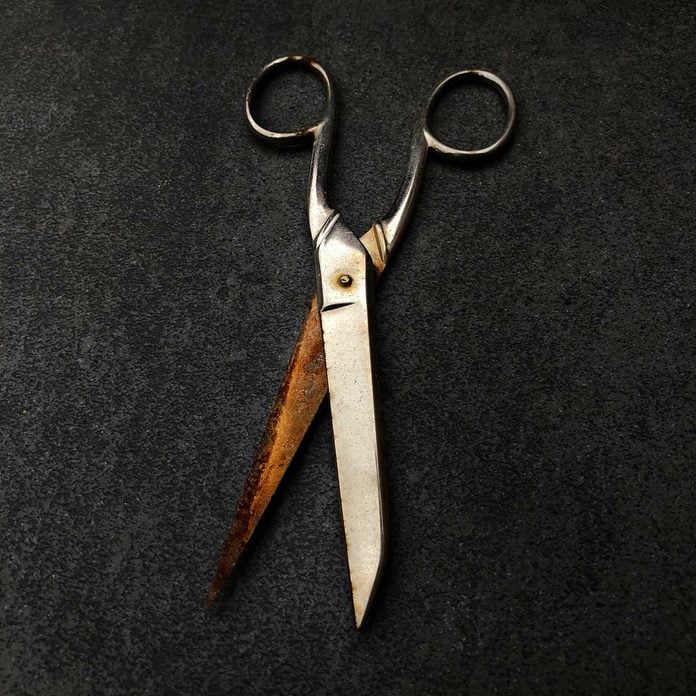
Revive Old Scissors
Do you have an old pair of heavy-duty scissors that used to cut well but are now gummed up and difficult to open and close? If so, corrosion is probably your problem.
Remove the bolt holding the scissor blades together and examine the inside face of both blades. If there’s evidence of rust, the bolt or washers probably aren’t made of stainless steel. Sand the area with fine-grit sandpaper, removing all the rust. Dribble a little light machine oil into the area and replace the washers. Reassemble the scissors and open and close them several times to work in the oil. Chances are they’ll cut well again for a long time to come.
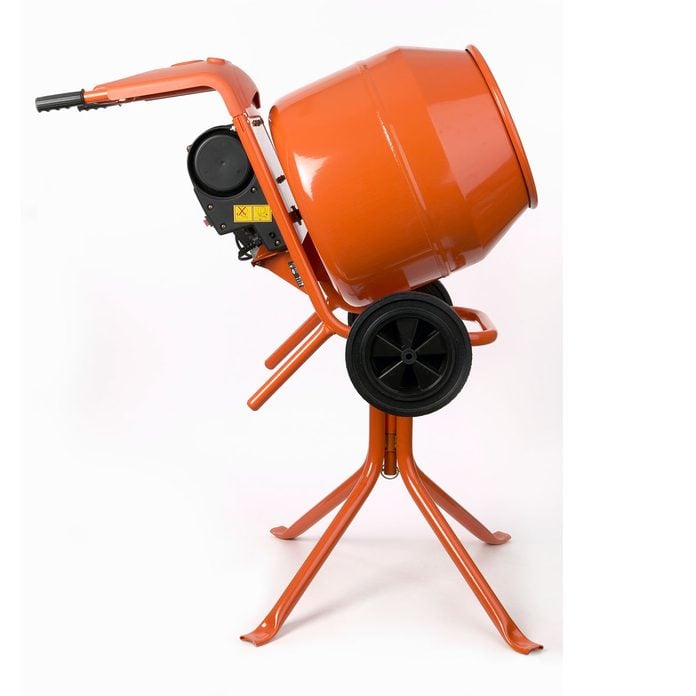
Remove Hardened Cement From an Old Mixer
Portable cement mixers usually have steel fins inside their drums to help mix concrete and mortar ingredients. Old mixers almost always have bits of hardened crud inside from years of use and improper cleaning.
With the mixer unplugged and eye protection on, reach inside with a masonry hammer and chisel — or an air hammer if you have one — and chip away at the hardened deposits. Keep working until all the unwanted material is gone. Your cement mixer will mix like new again.