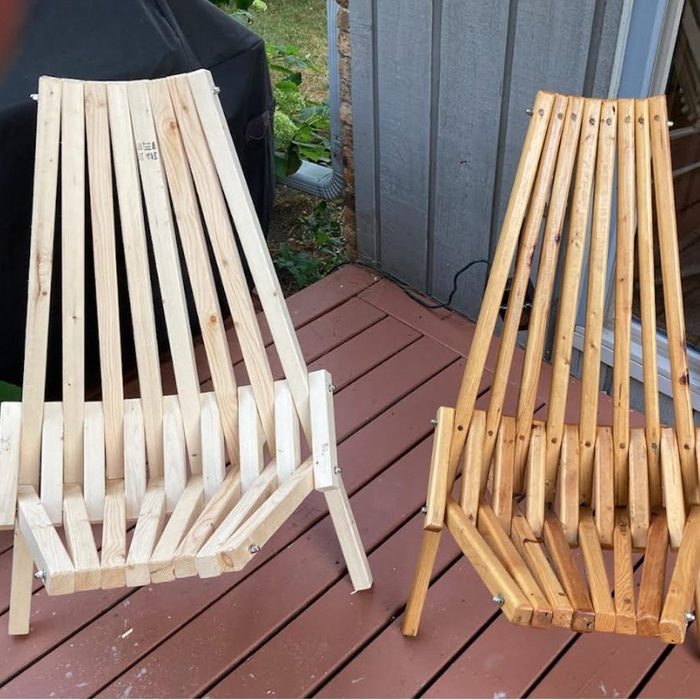
Kentucky Stick Chair
Reader Dan Wassmann recently told us about one of his favorite comfy outdoor chairs: the Kentucky stick chair. He’s been making his own for a while, and was kind enough to share the instructions with us.
He says it’s a relatively easy project to DIY and with lots of flexibility in materials.
“A lot of time I use recycled wood, especially used pine 2x4s,” says Wassmann. “Other times I have used cedar. I even made a pair of them out of some old composite decking I found on the beach.”
To get started, cut all the wood into the 1-1/4-in. by 1-1/2-in. “sticks” with a table saw or band saw. Rip the 2×4 lengthwise to a width of 1-1/4-inches. Since a 2×4 is actually 1-1/2-in. deep, you’re good there. Then cut the various pieces to the length indicated on the attached chart. Drill holes where indicated to make room for connecting rods. Sand the edges, and you’re ready for assembly.
A few other things Wassmann says to consider:
- Stick chairs work inside or out. Painted with a satin finish, stick chairs feel more contemporary inside. For the outside, he used a natural wood finish.
- For a smoother edge to the sticks, rout the edges with a beveled router bit to make them more rounded.
- Assembly is probably the trickiest part of the job. Insert 1/4-in. threaded rods into holes drilled in the sticks (see chart for hole locations), then use stainless steel washers and 1/4-in. acorn nuts on the ends to keep the rods from coming out. They also help to hold the chair together. It can be tricky, so it’s helpful to watch a YouTube video on how to do it.
- Wassmann recently made a set of four with a friend out of cedar. They spray-painted the exposed acorn nuts and washers a matte black, which looked pretty sharp.
- Most instructions dictate the pieces of wood be 1-1/2-in. by 1-1/4-inch. The stick chairs probably work best in that dimension. But it’s also possible to make them out of 2x2s from the home center that are a uniform 1-1/2-in. by 1-1/2-inch. Those can be built without cutting wood to 1-1/4-in. width. See the attached photo for a stick chair made out of 2x2s. The ones made of 2x2s are slightly more upright and heftier but still comfortable, and you can save a lot of time with significantly less cutting.
- You can buy the 1/4-in. threaded rods at a big box home, hardware or auto parts store. The holes drilled through the wood go in easier if the hole is about 1/8-in. larger than the rod, so figure about 5/8-in. for the hole, and three 36-in. threaded rods for each chair. It also helps to have a hack saw to cut the rods and trim them to length once it’s time to attach the acorn nuts to the end of the rods. A reciprocating saw with a metals-cutting blade will make that job go easier.
- After cutting the rods, it’s sometimes hard to screw on the acorn nut. Take a file to the spot where the rod was cut and file down any extrusions on the thread. Then the acorn nut should screw on more easily.
- During assembly, it might be good to enlist a helper who can help you figure out how to do it, or at least hold the wood while you insert the rods. It can be done by one person but it’s easier with two.
Sometimes it’s difficult threading the rod through the series of holes. It helps a lot to rotate, or thread, the rod into the hole. To make that job easier, put an acorn nut at the end of the rod and turn that with a vice grip or a wrench. Start to rotate the acorn nut clockwise. It will grip the end of the rod. Then the rod will start threading into the hole at the other end.
As the rod moves through the holes, it will bend slightly. Some people actually even use a drill to thread the rod into the wood quickly. I’ve had a rod break on me only once. It’s amazing how much the rods bend.
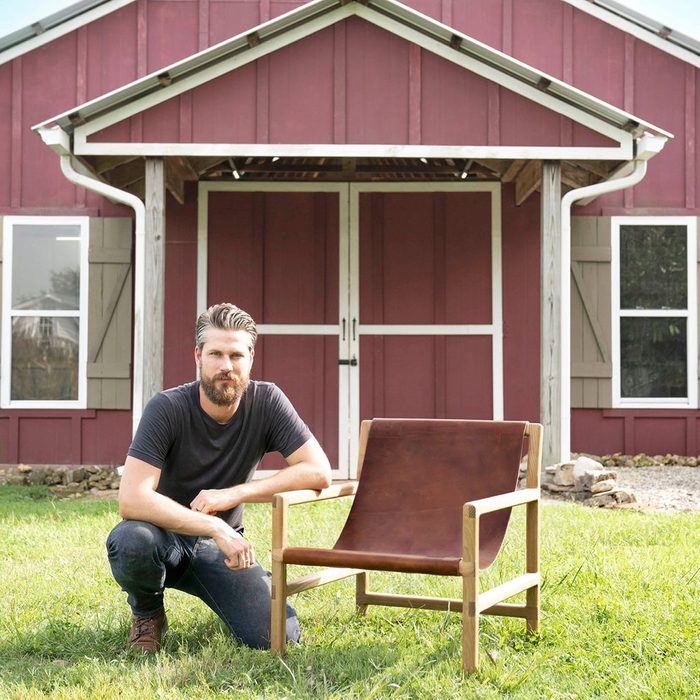
Sling Chair
This sling chair is a great option if you’ve got some woodworking skills. Its sling design makes it comfortable, and it looks inviting! While you won’t need many tools or materials for this one, you will need patience. It’s a weekend project, not a “one day” one.
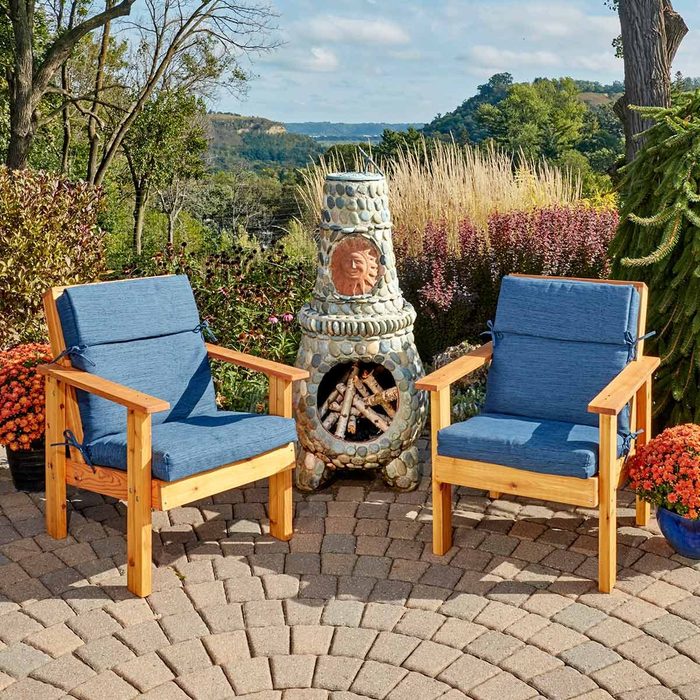
Classic Patio Chair
Our team designed this classic patio chair to be comfortable and practical. Once it’s assembled, paint or stain it any color you’d like. It fits standard square cushions, so you can add extra padding or bring a little color to your backyard. We’ve even included some weatherproofing suggestions so this chair lasts a long time.
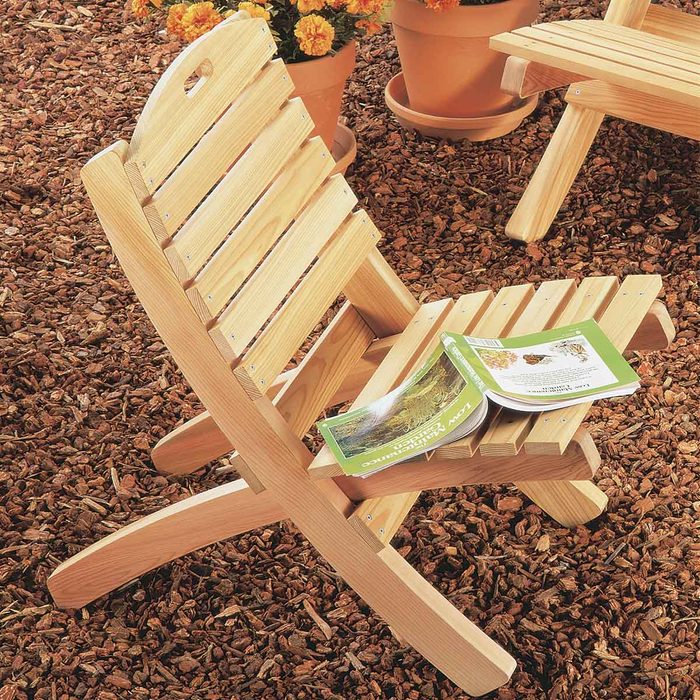
Portable Patio Chair
If a portable patio chair is more your speed, we have you covered. This intermediate level project can be completed in one day. We love this chair because it’s so easy to bring anywhere you might need a comfy seat. Whether it’s a parade, a beach day or a backyard bonfire, this chair will fit all your needs.
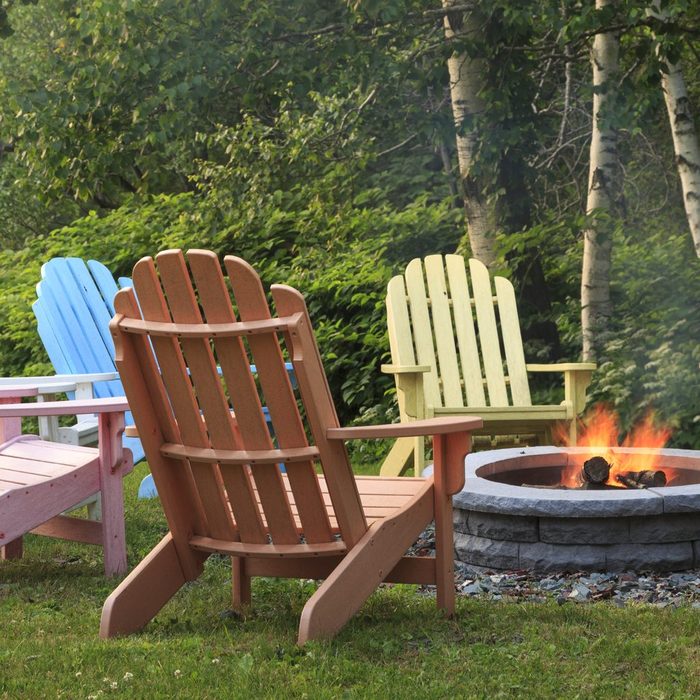
Adirondack Chair
Who doesn’t love a good old Adirondack chair? This is one of the most popular comfy outdoor chairs, and for good reason. Its roots can be traced back to the Adirondack mountains and the “fresh air” prescription often touted as a cure to illness in the 19th and 20th centuries.
You’ll probably build more than one of these, so we’ve included some suggestions on how to expedite the process.
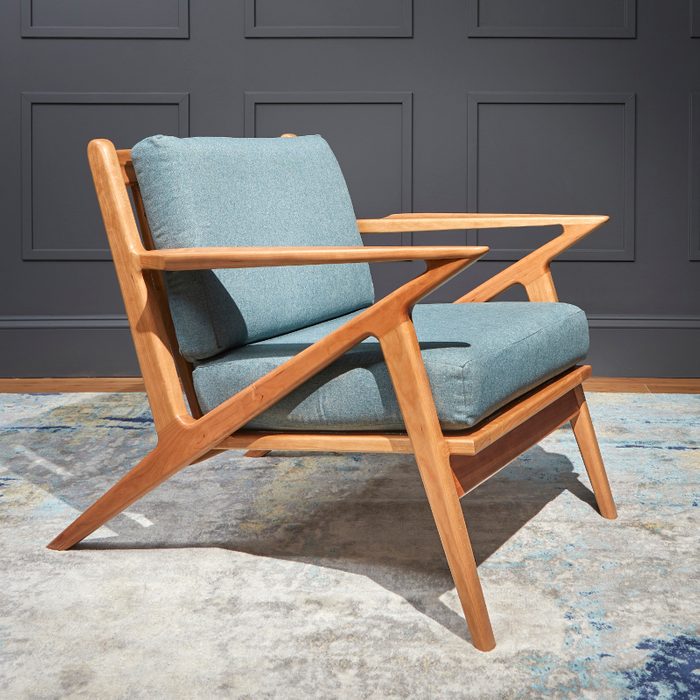
Danish Chair
If you’re ready to take on a more advanced project, we suggest our Danish modern chair. It’s a rewarding challenge that will leave you with a beautiful and comfy piece. It doesn’t require a lot of tools, so you probably already have everything you need already on hand except the raw materials.