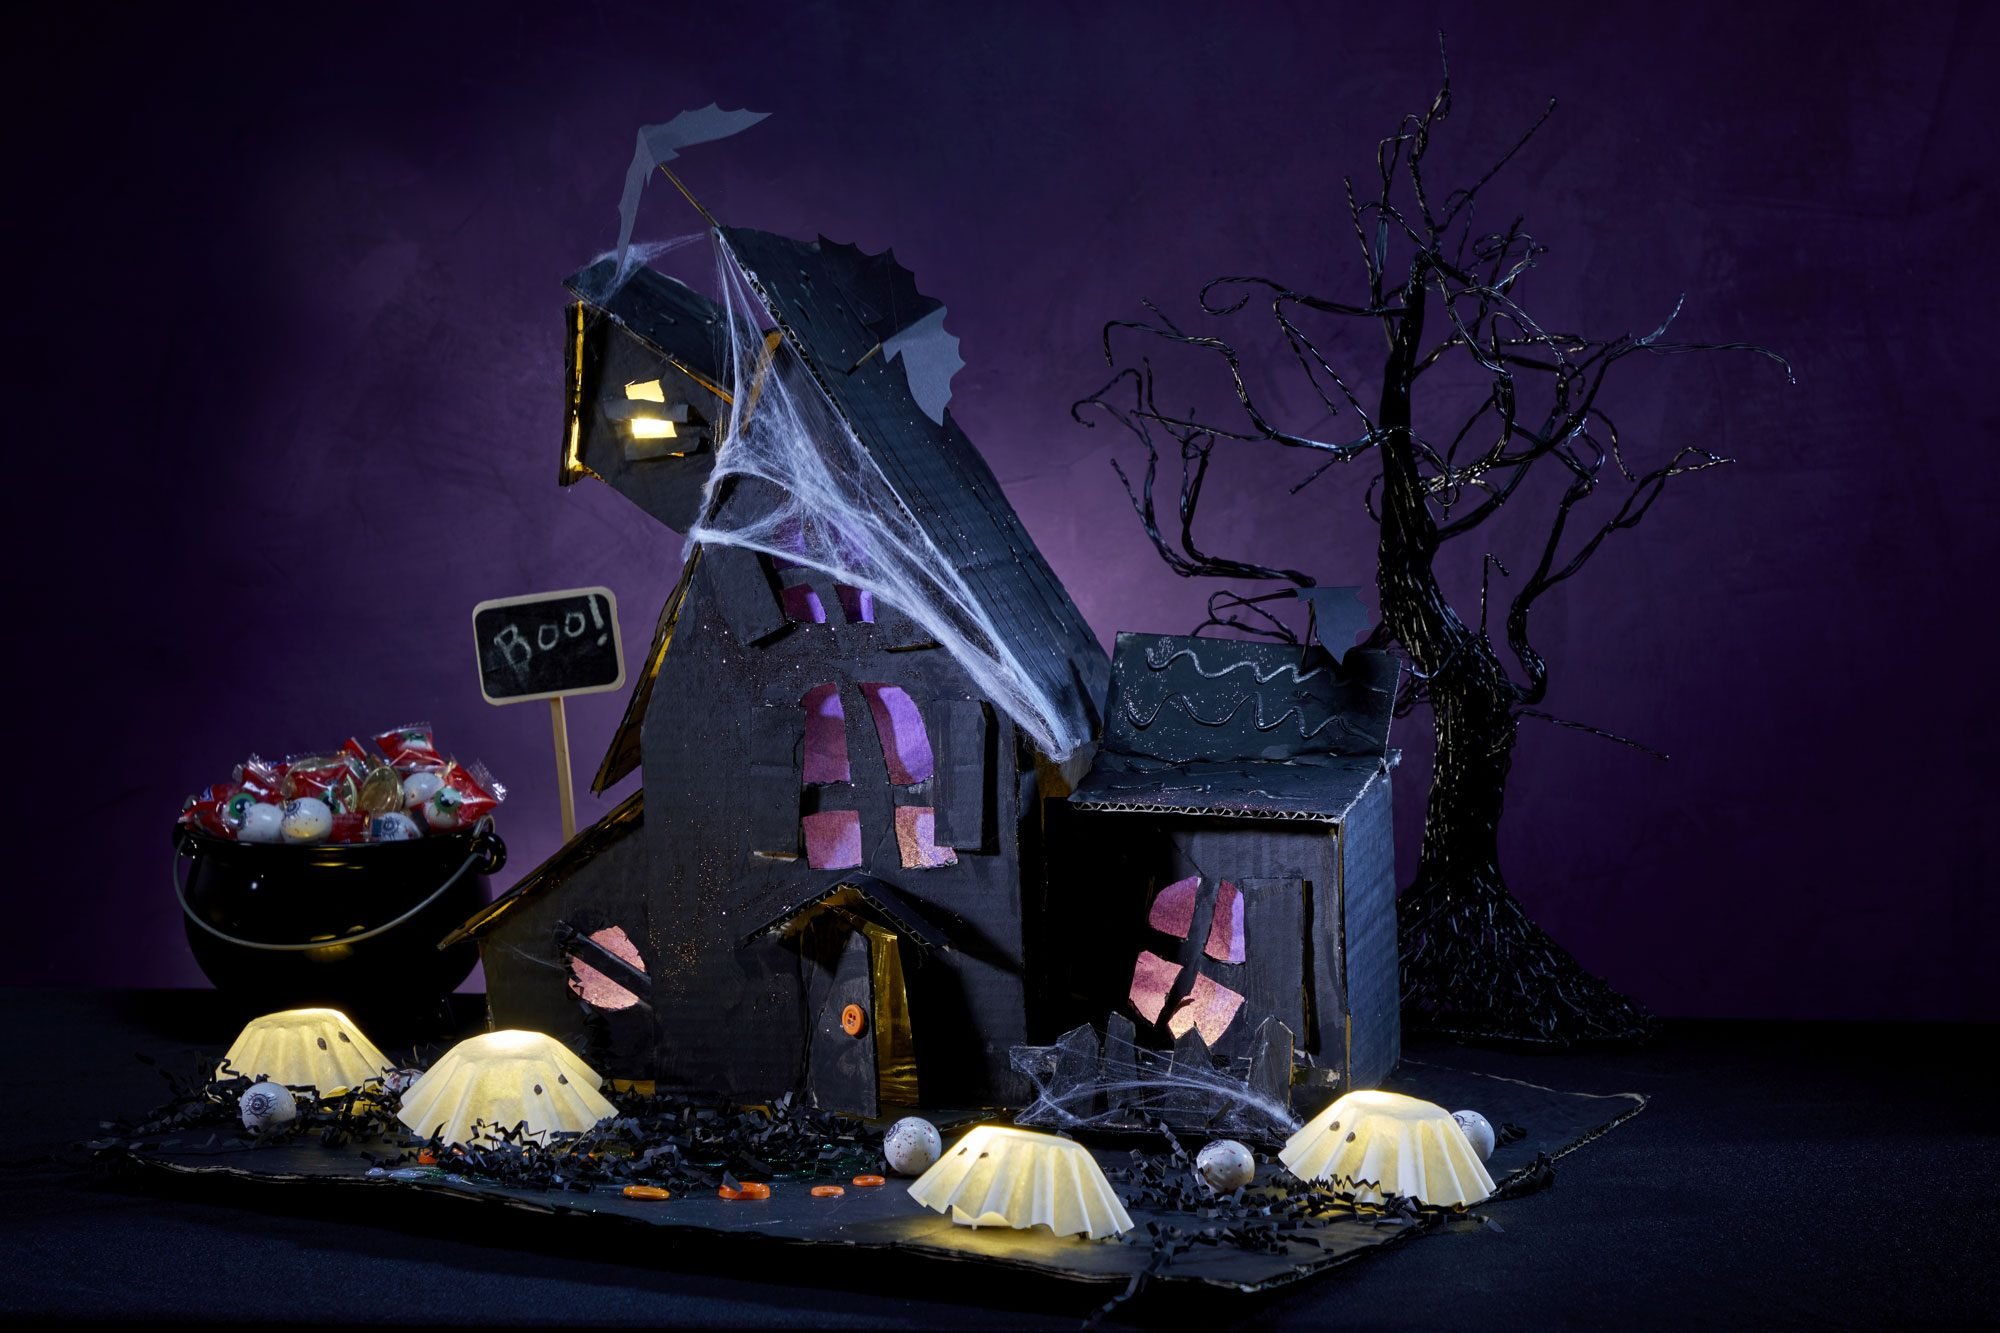
How To Make a Haunted House Out of Cardboard
Updated: Apr. 05, 2024
Looking to decorate for Halloween on the cheap? Make a haunted house without spending a lot on materials.
20 to 30 minutes
Beginner
$0 - $20
Introduction
If you thought carving pumpkins was the only family-friendly Halloween craft, think again. With this simple cardboard haunted house project with flashing lights, the whole family will be swept up in the Halloween spirit.
Tools Required
- Cutting mat
- Hot Glue Gun
- Scissors or utility knife to make larger cuts
- X-Acto knife
Materials Required
- Battery powered tea lights used for Jack-o-lanterns
- Black paint
- Cardboard
- hot glue
- Purple or Orange tissue paper
My eight year-old loves crafting with a hot glue gun, and he inspired this Halloween decoration.
Last year he grabbed a bunch of cardboard and made an off-kilter haunted house for his toy cars. We added some flickering tea lights to the windows and doorways and displayed it next to our candy bowl on Halloween. It was a big hit as the centerpiece to our haunted porch!
This project is meant to be a freestyle wonky haunted house that may look different depending on the crafter. It’s also perfect for the Amazon box collector who isn’t sure what to do with the growing pile in their garage. So instead of breaking them down for recycling, use them for crafting instead!
With a few crafting tools and some spooky materials, you can make a distinctive haunted house on the cheap that’s fun for parents and kids to do together.
Project step-by-step (7)
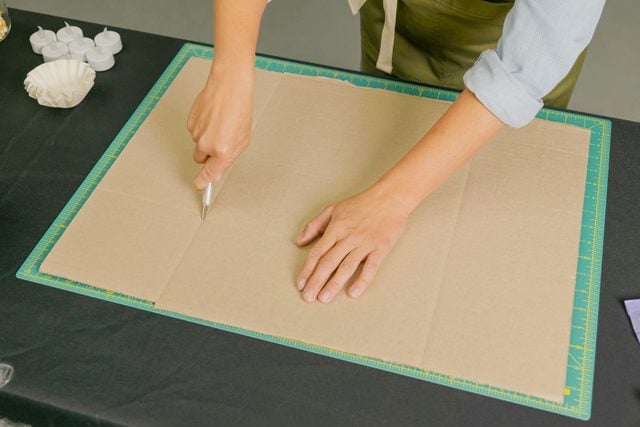
Cut the cardboard pieces
Cut the cardboard boxes into different sized squares and rectangles. You could measure out same sized pieces/walls for the house, roof and towers, but the house will turn out way creepier if it’s off-center, crooked and wonky. So have fun cutting different sized pieces with straight and diagonal lines.
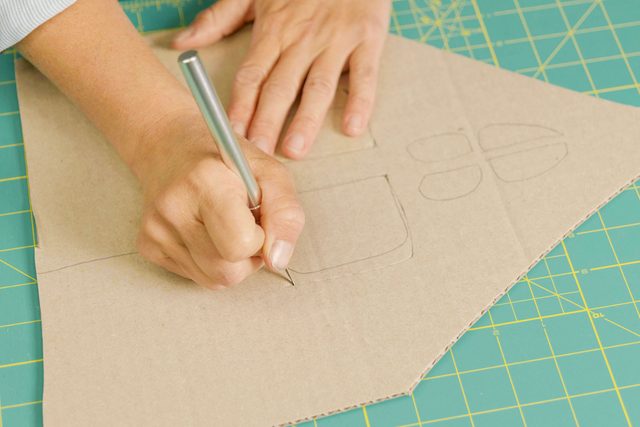
Cut the windows and doors
Plan where you want windows and doors and draw those out on the cardboard. Place the cardboard on the cutting mat and cut out the windows and doors with the X-Acto knife.
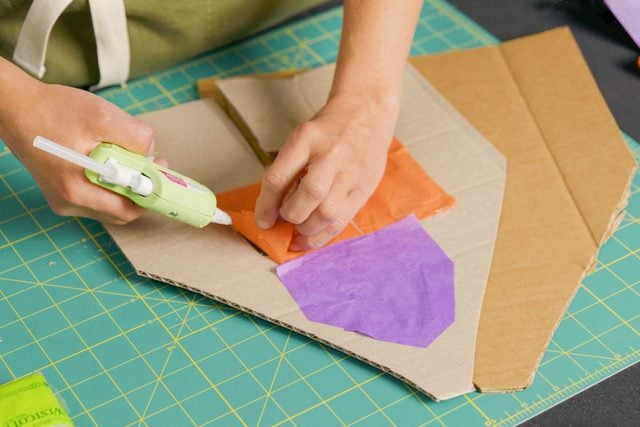
Add the tissue paper
Cut the tissue paper an inch larger each direction than the window or door openings. Hot-glue it to the inside of the window.
Construct the house
Hot-glue the walls together like a gingerbread house. It’s OK if it’s crooked or misshaped. Get the kids involved in picking out the pieces and putting it together.
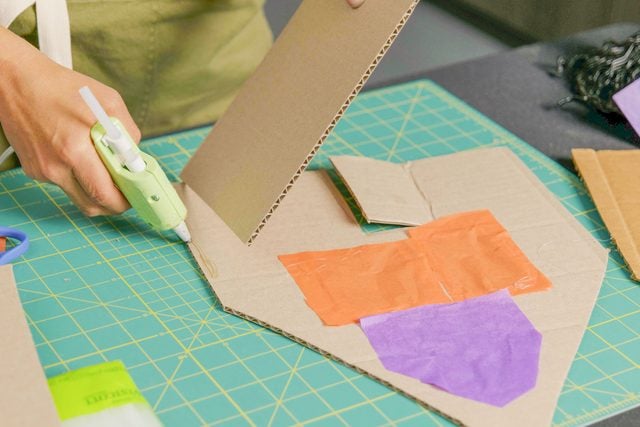
Glue on a roof
Add a second floor or some towers with windows to your DIY Halloween decoration. For the second floor, I recommend leaving an opening so you can fit a flickering battery powered tea light inside.
Paint it
Paint the pieces and let them dry. I like to use a spooky black paint to make a starker contrast between the house and the lighted windows.
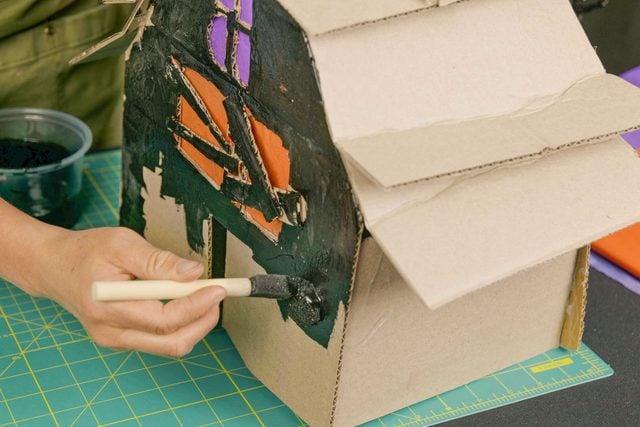
Set it out for all to see
If you want to be really creative, set the house on a larger piece of cardboard and make a creepy yard with trees and spooky ghosts. Set the haunted house by the bowl of candy for the trick-or-treaters. Turn on the tea lights and let all the neighbors admire your new Halloween craft project!

