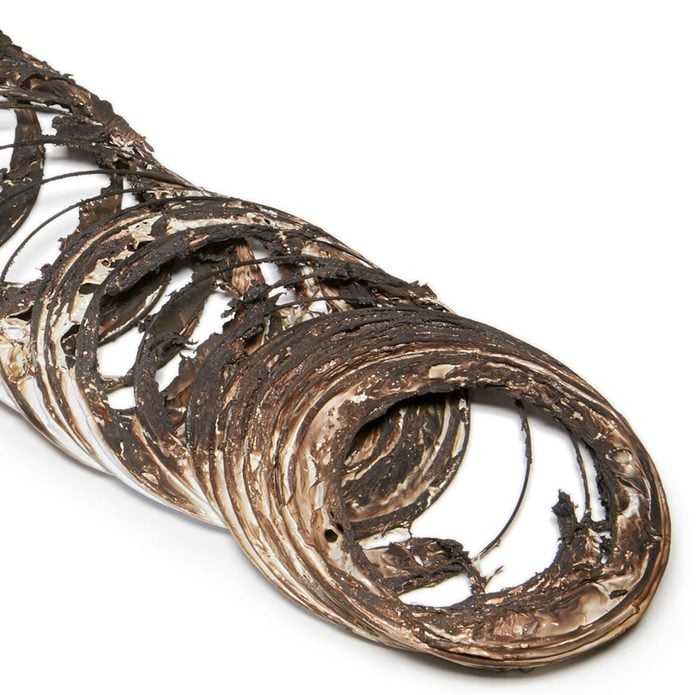
Dirty Dryer Vents Are a Fire Hazard
Lint buildup, plus the heating system inside a dryer, is a recipe for fire. One cause of lint buildup is neglect. That’s why experts recommend cleaning your dryer vent at least once a year. A dryer and its vent need to be cleaned out regularly (experts recommend cleaning every year).
Another cause of lint buildup is a bad vent. A good dryer vent allows the machine’s exhaust (and lint!) to flow outside easily. A bad vent traps lint. A bad vent also costs you time and money. By restricting airflow, it slows down drying, forces the dryer to work harder and drives up your energy bill.
This article will help you recognize and correct problems with your dryer vent. In most situations, the materials cost for a completely new vent system is about $60.
WARNING! When lint catches fire, vinyl duct burns—and this is the result.
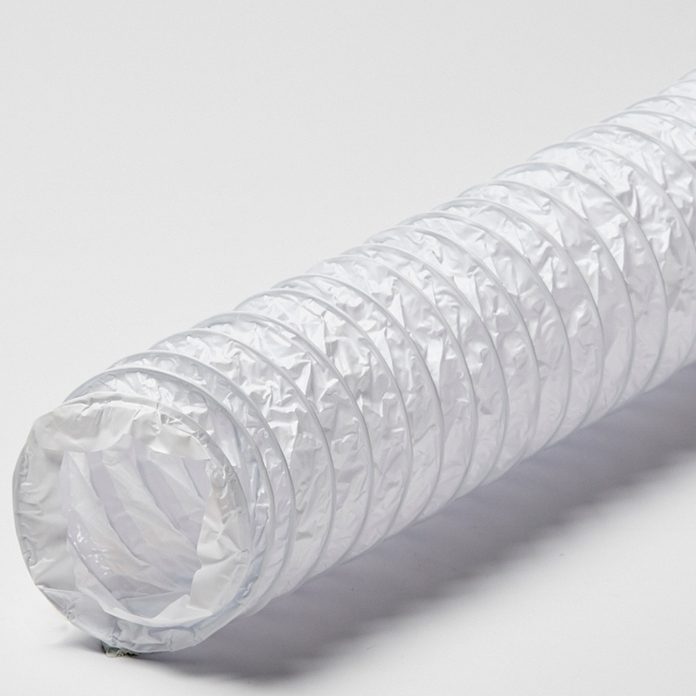
Flexible Vinyl Dryer Duct
If you have this type of duct, replace it. The ridges inside impede airflow and trap lint. Worst of all, vinyl is flammable, a fire hazard. Some vinyl ducts have a silver coating to imitate metal foil. Don’t be fooled.
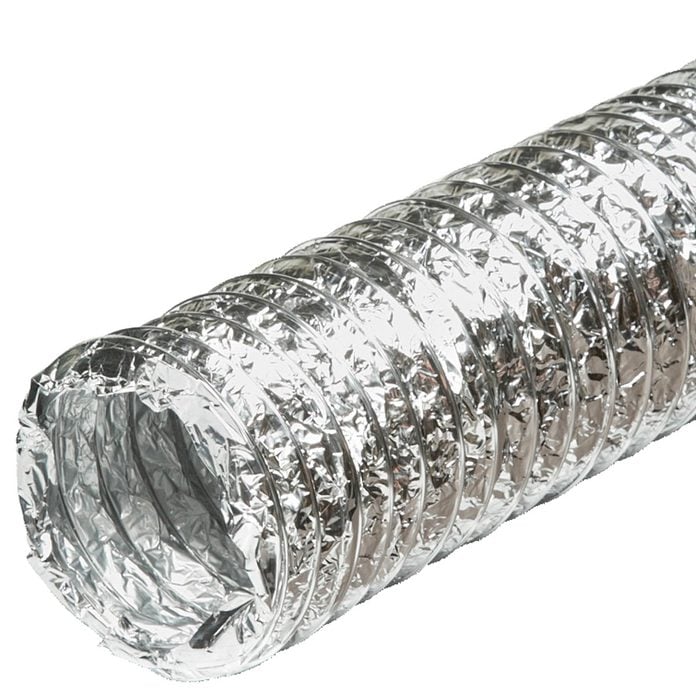
Flexible Foil Dryer Duct
Like vinyl ducts, these ducts impede airflow and trap lint. Aluminum foil won’t burn, of course, but it will quickly disintegrate in a fire. Dryer manufacturers don’t recommend foil ducts and neither do we.
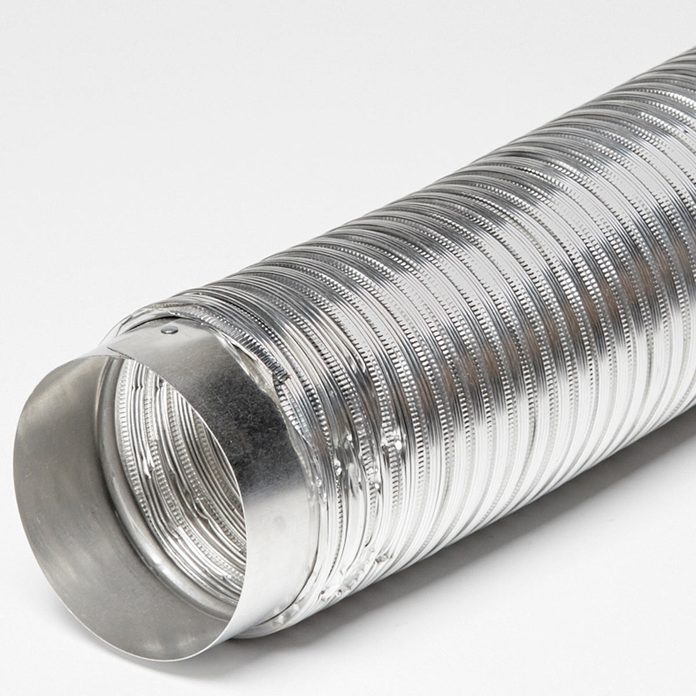
Semi Rigid Metal Dryer Duct
If you need flexible duct, this is the best choice. It has smaller ridges inside for better airflow and less lint buildup. It also withstands fire better than other flexible duct.
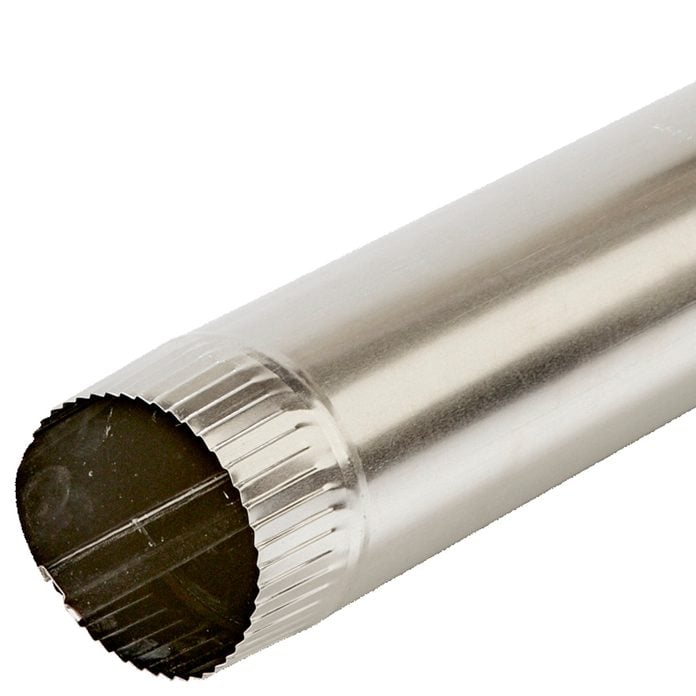
Rigid Metal Dryer Duct
With its smooth, straight walls, this straight metal dryer duct provides maximum airflow and minimal lint traps. Most pros prefer aluminum; it’s easier to cut and never rusts. It also has a smoother surface that catches less lint, according to some experts. But some pros prefer galvanized steel because it’s stiffer and available in longer sections at some stores.
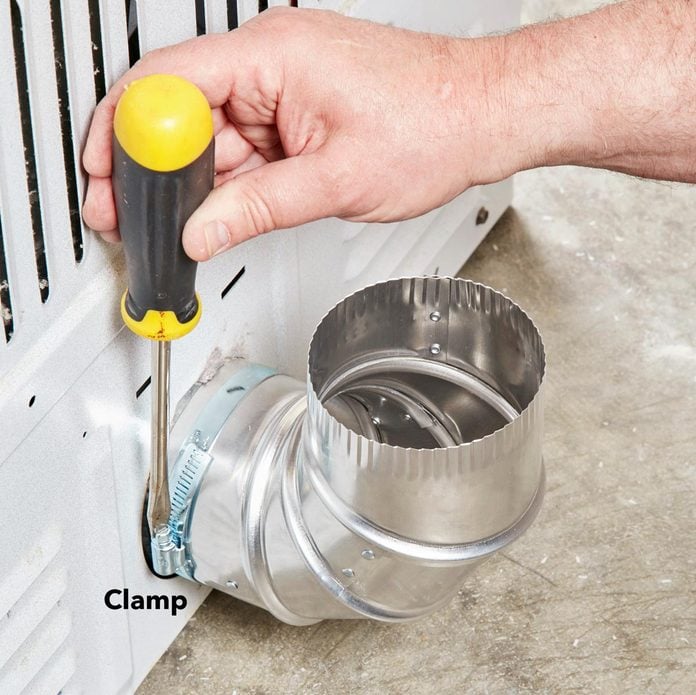
Never Use Screws
Join sections of duct with clamps or tape—never screws. Screw tips poking into the duct catch lint.
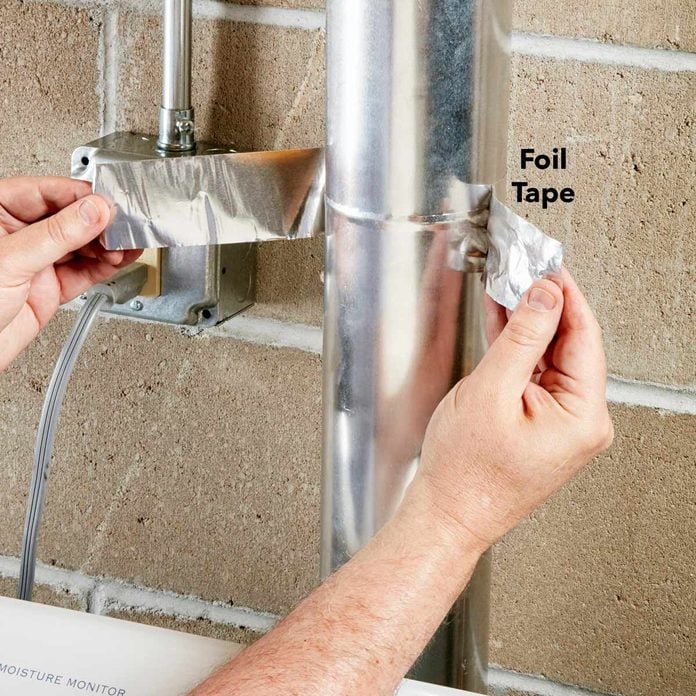
Foil Tape for the Dryer Vent is Best
Duct tape often falls off after months or years. Aluminum foil tape seals perfectly and stays put forever.
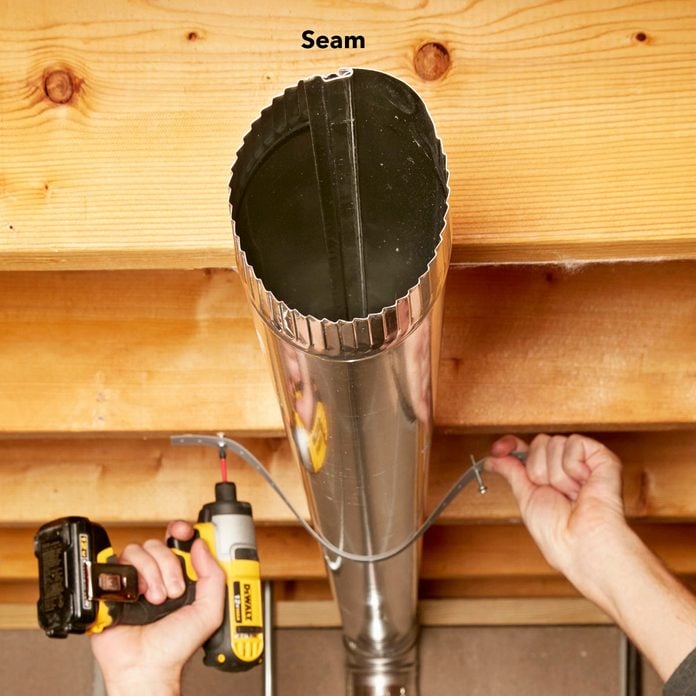
Put Seams at The Top
Moisture condensation forms inside a cool duct. If the seam on rigid duct faces down, that water will leak out and drip onto whatever is below. But if the seam faces up, the water will stay in the duct and evaporate as the duct heats up.
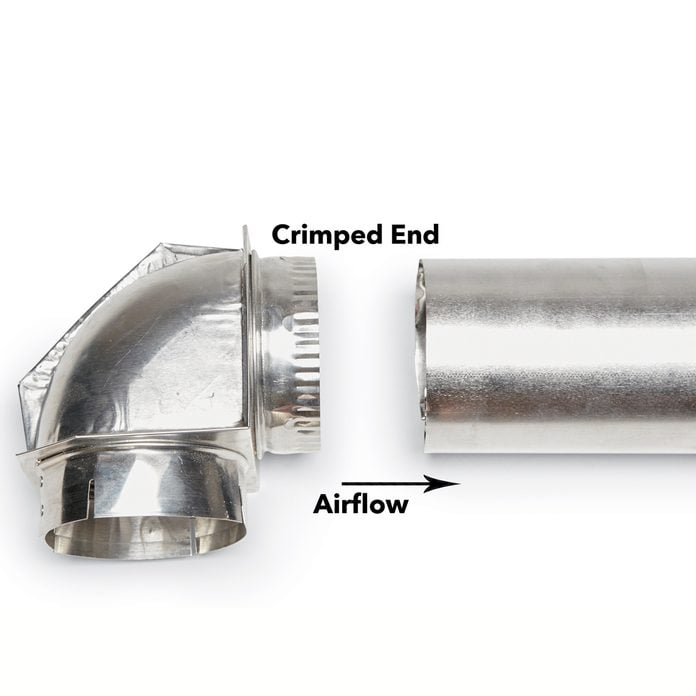
Crimped Ends Go With the Airflow
When you’re building your duct system, make sure the crimped ends point toward the airflow direction and the uncrimped ends toward the dryer. If you get this backward, lint is more likely to build up at joints.
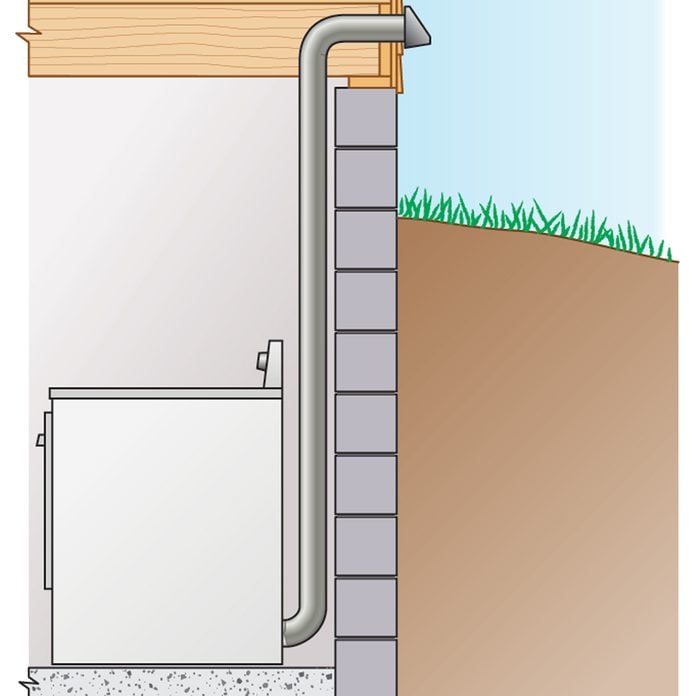
Check the Duct Lengths
Longer dryer ducts means more resistance to airflow, and most dryer manufacturers call for a total length of 35 ft. or less (check the owner’s manual). But remember this: Each 90-degree elbow counts as 5 ft. So if you need two elbows, for example, the rest of the duct can total only 25 ft. If you need to go longer, install a special dryer booster fan.
It’s also important to keep the flex runs short. Even the best flexible vent material reduces airflow and catches lint. So use rigid metal wherever you can and keep flex lengths to a minimum. Some inspectors and dryer manufacturers allow up to 8 ft. of flex—some less.