
How to Prep for Sod Installation
Updated: Feb. 08, 2024
Get your new lawn off to a fresh start in eight simple steps.
Introduction
Is your lawn so pale, patchy and weedy that it demands an intervention? If it’s at least 50 percent healthy grass, you can save that grass and fill in the rest of the lawn by planting new seed. Or you can replace your entire lawn with sod instead. Reseeding is far easier and less costly than laying sod, but you’ll wait a long time for results. If you don’t mind paying more, sod will give you beautiful grass in a fraction of the time. Here’s how to prepare your yard for grass seed or sod.Benefits of Sod vs Reseeding
Reseeding is far cheaper and far less labor intensive than laying sod. But reseeding takes a month of diligent watering once or twice a day. The germinating seed can easily dry out and die in as little as one dry, sunny, hot day. Plus, you’ll run the risk of a heavy rain washing away all your fertilizer and seed, especially if you’re planting on a sloped yard. You won’t have a truly lush, thick lawn for several months. But most turf experts would agree that once it’s established, a seeded lawn is superior to a sodded one. The roots are better established, and you can perfectly match the seed to the conditions.
But if you’re impatient and love the idea of an instant, perfect carpet of grass, there’s nothing like freshly laid sod. After it’s laid, moderate watering and routine lawn care are all it requires.
Tips for Laying Sod
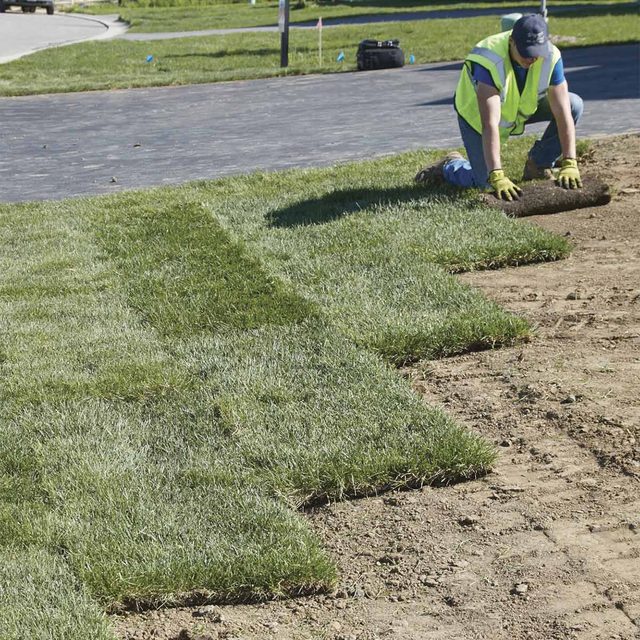
- Consider hiring out the laying. If you’re worn out from all the prep work, rest assured you did it better than many pros would have. Take a break and hire out the sod-laying part! That’s a lot of grunt work.
- Buy from the growers. Don’t buy sod rolls on pallets from home centers or garden centers. Sod has a very short shelf life and gets dried out and baked, especially if it’s out in the sun. Buy directly from sod farms if possible. Chances are your sod will be cut the same day you pick it up or have it delivered.
- Use quickly. If you have sod delivered, keep it out of the sun or use it immediately. Surprisingly, sod rolls begin heating in the center and deteriorate from the inside out.
- Be wary of low bids. Should you decide to hire out the prep work and sod laying, interview the con-tractor carefully. Unscrupulous installers will often do little or no prep work and just lay the sod on whatever they find in your yard. Expect to pay more for quality work and sod.
- Water, but don’t overwater. Water right after installation. If the sod dries out, the seams will part and cause large gaps between rows and ends. As with seeding, start with light, frequent waterings, and as the roots knit in, back off to encourage them to penetrate deeper into the soil to seek water. When water is needed later, water more deeply. Shallow watering will deter roots from penetrating the soil to seek more moisture.
Project step-by-step (8)
Test the Soil
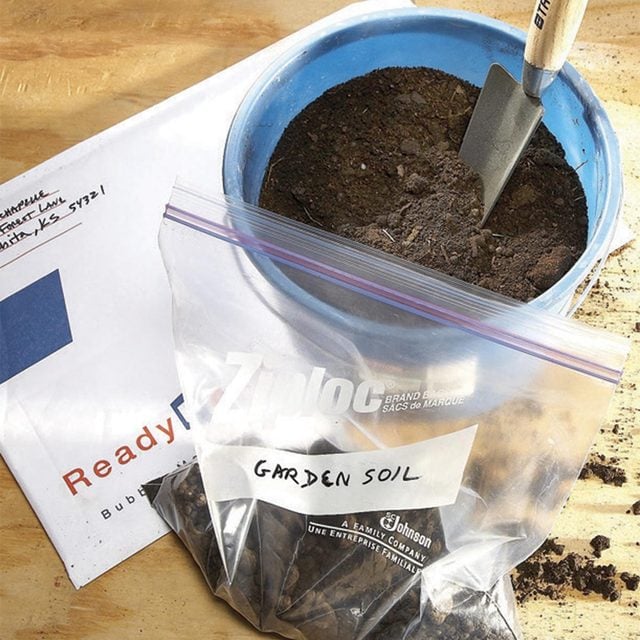
Contact a local extension service or search online to find a soil-testing lab. You’ll get complete instructions for collecting and submitting samples. In a few weeks, you’ll get a report telling you how to amend soil pH to ideal levels (6.5 to 7.0) as well as what nutrients are deficient and need to be added. Healthy soil is critical for enabling the grass to thrive.
Kill the Weeds and Grass
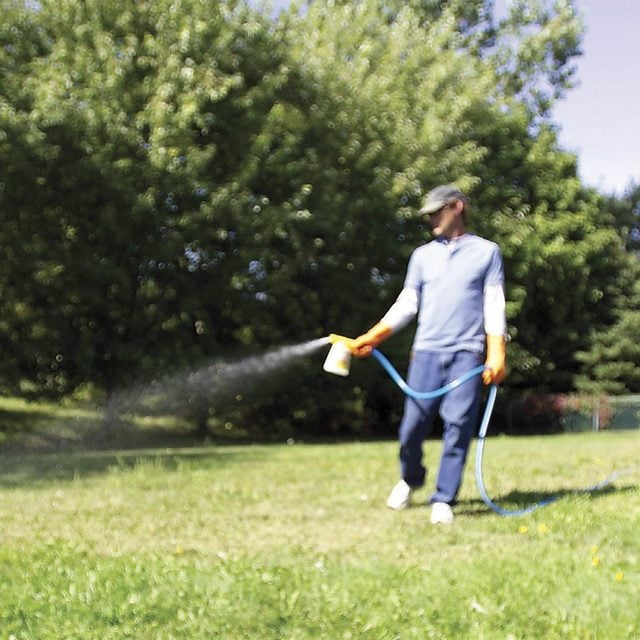
Use a nonselective vegetation killer (Killzall is one brand) to kill all the vegetation on the area you intend to sod. Do this at least two weeks before tearing up the old sod. (This may take two treatments.) Be very careful and protect yourself from exposure. These products will kill all plants, so stay well away from any garden beds or shrubs.
Cut Out the Old Sod
Rent a power sod cutter to shave off the old sod. If you’re just doing a small area, you can rent a “kicker” manual cutter, but beware: These things take a lot of strength and energy to operate. The best way to get rid of the old sod is to rent a trash bin and pay to get rid of it.
Add Soil Amendments
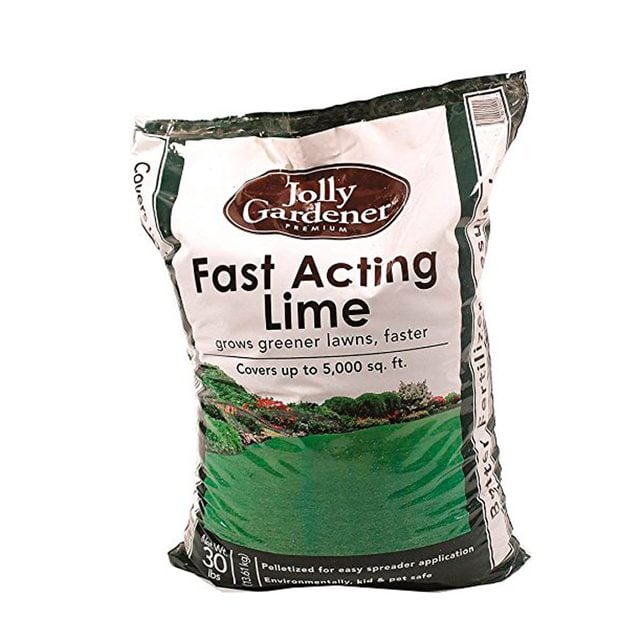
Spread whatever amounts and types of soil treatments were called for in your soil testing results. Common soil amendments are lime (to increase soil pH), sulfur (to lower soil pH), gypsum (to flush salts from soil) and compost (to improve soil health and structure).
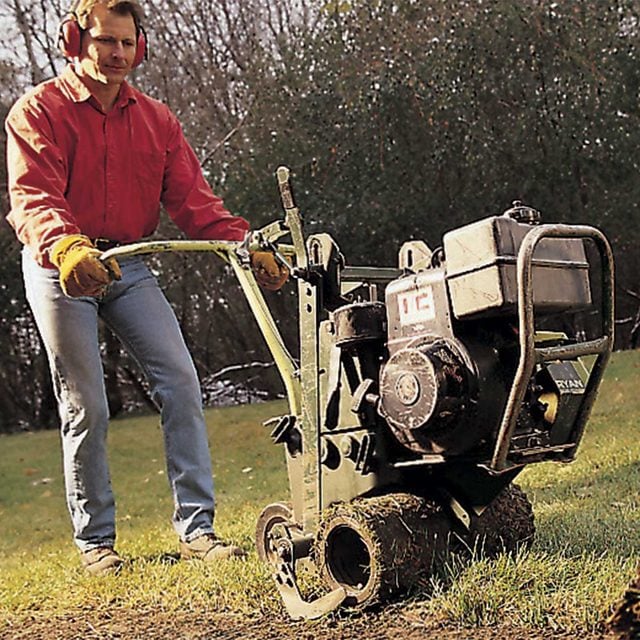
Till as Needed
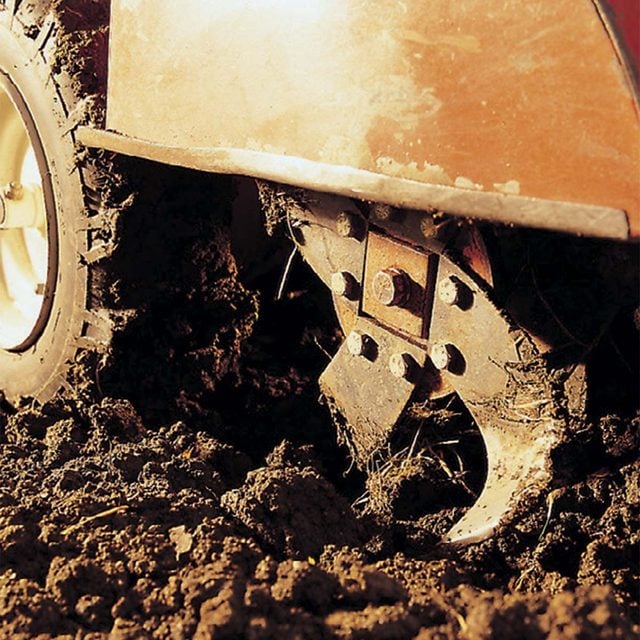
If your soil requires soil amendments, it’s a good idea to till the soil a couple of inches deep to work them into the soil. And if the soil is compacted, the new grass will do much better if you loosen the top couple of inches so roots can more easily penetrate. Tilling isn’t necessary if your soil is sandy or loamy and no amendments were needed.
Install Irrigation Now

If you’ve always craved the convenience of an irrigation system, this is the time to install it. You won’t tear up your new grass to install it later, and this way you’ll be able to water your new lawn as it’s getting established.
Rake and Remove Debris

Pick up roots, lawn debris and stones larger than a quarter. Then rake to level off ridges and high spots, making the soil as smooth as possible. Uneven spots will telegraph through your new sod, and debris will prevent root-to-soil contact. Air spaces beneath the turf will kill the grass above it.
An ordinary iron rake will take a lot of work, especially for larger yards. If you have lots of grading to do, rent or buy a 36-in. landscaping rake. The job will go much faster and you’ll have more consistent results.
Fertilize

Use a starter fertilizer, not ordinary lawn fertilizer. Starter fertilizer contains phosphorus, which isn’t allowed in conventional fertilizers. That mineral is crucial for the development of roots, which need to be vigorous for grass to get established.