How to Spray Paint Kitchen Cabinets
Updated: Dec. 14, 2023
Get a pro-quality look with a DIY budget
Multiple Days
Intermediate
$101–250
Introduction
Instead of replacing your old kitchen cabinets, make them new by repainting them. With an inexpensive paint sprayer and a few gallons of paint, you can transform your kitchen in a weekend.Tools Required
- 4-in-1 screwdriver
- Bucket
- Cordless drill
- Paintbrush
- Putty knife
- Rags
- Safety glasses
- Shop vacuum
- Utility knife
Materials Required
- 1 mil plastic drop cloth
- 320 grit sandpaper
- Cardboard
- Floetrol
- Latex enamel
- Masking paper
- Painter's tape
- Rosin paper
- Spackling compound
- Stain-blocking primer
You don’t need to spend thousands of dollars on new cabinets to give your kitchen a stunning new look. If your cabinets are in good shape, you can give them a fresh face with paint. Everything you need to give your drab cabinets a silky smooth painted finish costs less than $250—including the spray painter.
Professional painters typically spray-paint doors because it produces an ultra-smooth finish. In this article, we’ll show you how to spray-paint your doors and drawers to look like professional kitchen cabinet painting. There’s just a short learning curve to use the spray painter effectively. You could also spray the paint cabinet frames, sides and trim, but masking off the cabinet openings (and the rest of the kitchen) takes a lot of time, so just use a brush for those areas.
Despite our enthusiasm, there are downsides to a painted finish. Paint isn’t as tough as a factory finish, and even if you’re careful, you can still end up with paint runs and brush marks on your paint cabinet sides.
All the materials you need to paint your cabinets are available at home centers and paint stores. Plan to spend four or five days completing the job—you’ll have to let the paint dry overnight between coats, and you can only paint one side of the doors per day.
Project step-by-step (15)
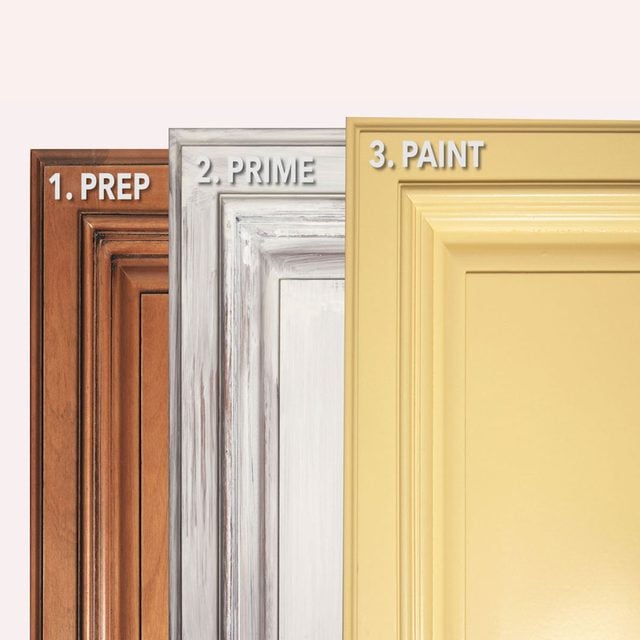
New-Looking Cabinets in Three Steps
Clean the old paint cabinets thoroughly, prime with a stain-blocking primer, and then paint with high-quality latex enamel.
 ]
]
Is Painting Right For You?
Not all cabinets are worth painting. They must be structurally sound—paint obviously isn’t a cure for doors that are falling apart or don’t close properly. If your cabinets are oak or some other species with coarse grain and you want a smooth finish, you’ll have to fill the grain on the door panels, cabinet frames and cabinet sides with spackling compound. That nearly doubles the length of this project because sanding the compound takes a long, long time (but if you don’t mind a coarse finish, you can skip this step). If you like the style of your cabinets and they’re in good shape, and you’re willing to invest the time to paint them, this project is for you.
Clean the Cabinets
- Label the doors as you remove them so you’ll know where to reinstall them.
- Pro tip: Writing a number in the hinge hole (for Euro hinges) or where the hinge attaches works great—it’s the only part that’s not painted.
- Take the doors and drawers to the garage or another work area and spread them out on a work surface.
- Remove any remaining cabinet hardware.
- Using warm water and dish detergent., wash the front and the back of the doors and the drawer fronts to remove grease.
- Clean away all the grease or the primer and paint won’t adhere.
- Rinse clean with water.
- Stick tape in the hinge holes or where the hinges attach to keep out the paint.

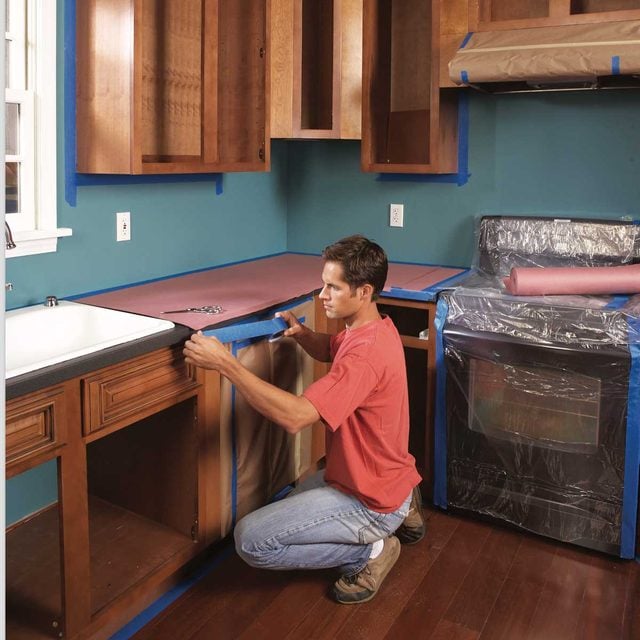
Protect Adjoining Surfaces
- Wash any grease and grime off the cabinet frames in the kitchen.
- Tape off everything that abuts the cabinet frames.
- Tape off the walls, ceiling and flooring, and cover the countertops with rosin paper.
- Wrap appliances and the vent hood with plastic sheeting or masking paper.
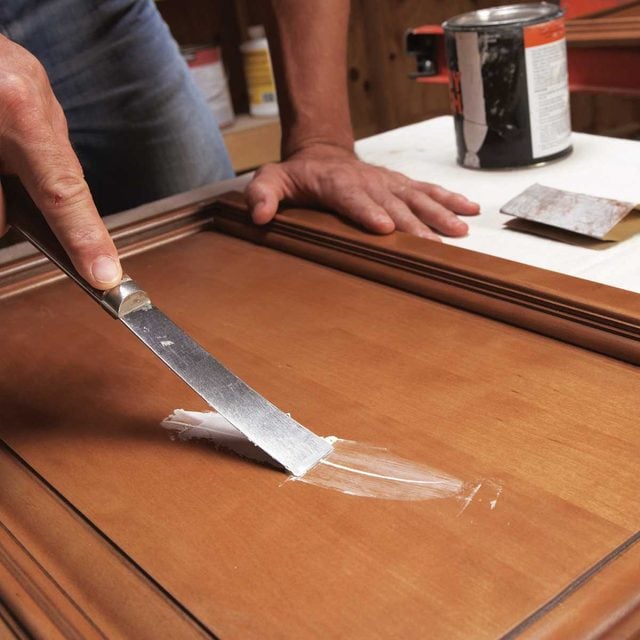
Repair Problem Spots and Prep Cabinets
- Sand any damaged areas on the doors or paint cabinet frames with 320-grit sandpaper to remove burrs or ridges.
- Fix scratches, holes and dings with spackling compound.
- Work the compound into the damaged area with a putty knife.
- Fill in holes from handles and hardware if you’re replacing the hardware and need holes in different places.
- Note: Some paint cabinets have a catalyzed lacquer finish that’s very hard. Primer won’t form a good bond to this surface unless you scuff it up first.
- Lightly sand the doors and cabinet frames, trim and sides with 320-grit sandpaper.
- Pro tip: Sand just enough to take off the shine—you don’t need to sand off the finish.
- Vacuum the dust off the wood using a bristle attachment.
- Right before you’re ready to apply the primer, wipe down the doors and frames with a tack cloth.
- Note: Running the cloth over the surface is enough—you don’t need to scrub to remove the fine dust particles.
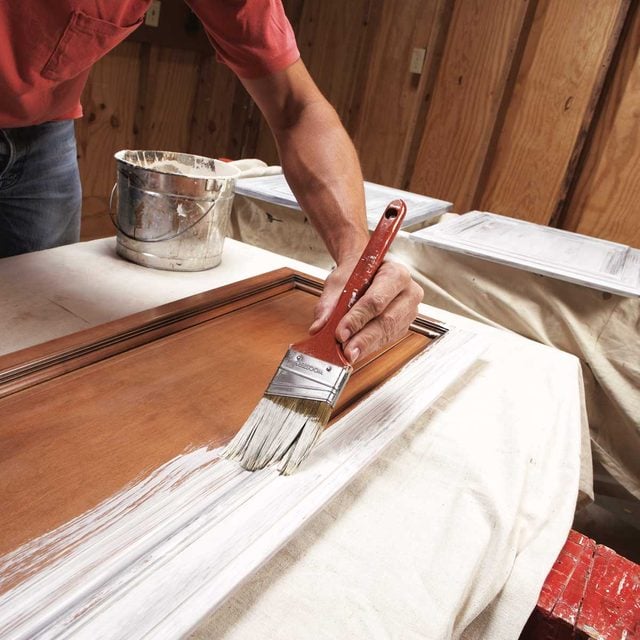
Prime the Cabinets
- Using a paintbrush, prime the doors and cabinet frames with a stain-blocking primer.
- Pro tip: Don’t use a roller. It leaves a texture that will affect the finish. Besides, brushing is almost as fast as rolling, and you can use the bristles to work the primer into crevices.
- Prime one side of all the doors, let them dry while you prime the cabinet face frames and sides.
- Then prime the other side of the doors.
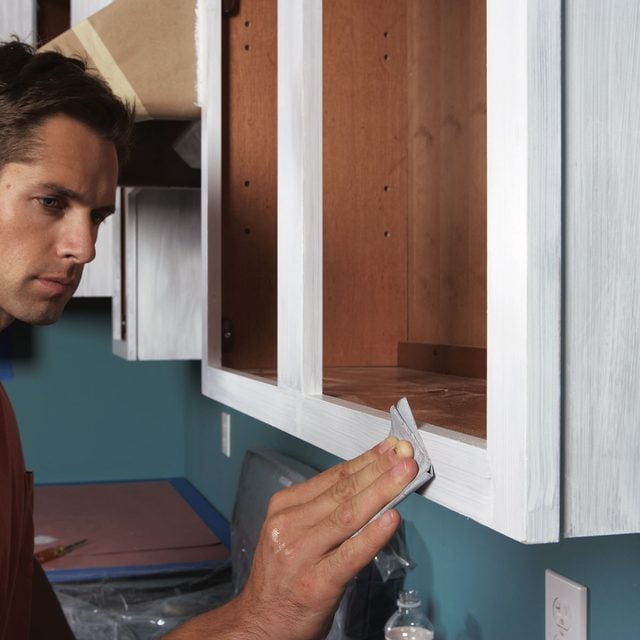
Sand Smooth
- Sand the doors and paint cabinets with fine-grit sandpaper.
- Pro tip: Sand with the grain, and be careful not to round over corners.
- Wipe the surface clean with a tack cloth.
- If you have doors with coarse wood grain (like oak) and want a smooth finish, fill in the grain with spackling compound.
- Use a putty knife to skim-coat the door with compound, working it into the wood grain.
- Wait for it to dry, sand it with medium-grit sandpaper, then prime it again.
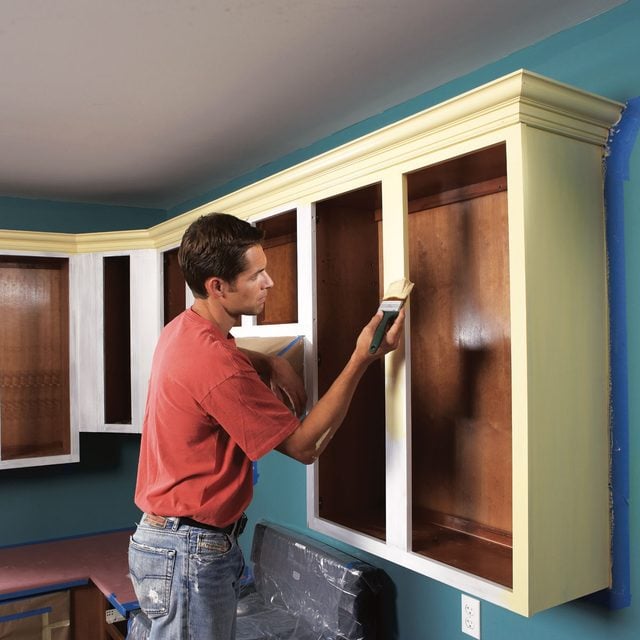
Use a Brush for Frames
- Pour a gallon of the paint into a bucket and thin it with half a cup of water and half a quart of Floetrol paint additive (available at paint dealers).
- Note: The water and the Floetrol level out the paint when it’s applied and slow the drying process, which helps eliminate brush and lap marks. The thinner paint also provides a more even coat when you’re spraying.
- Paint any exposed sides of cabinets with a brush. Most light brush marks will disappear as the paint dries (thanks to the Floetrol).
- Start in a corner to paint the cabinet frames.
- Use a high-quality paintbrush to paint an entire rail or stile, including the inside edge, before moving to an adjacent rail or stile.
- Pro tip: Use a gloss or semigloss latex enamel paint for your paint cabinets. Its hard, shiny finish resists stains and fingerprints.
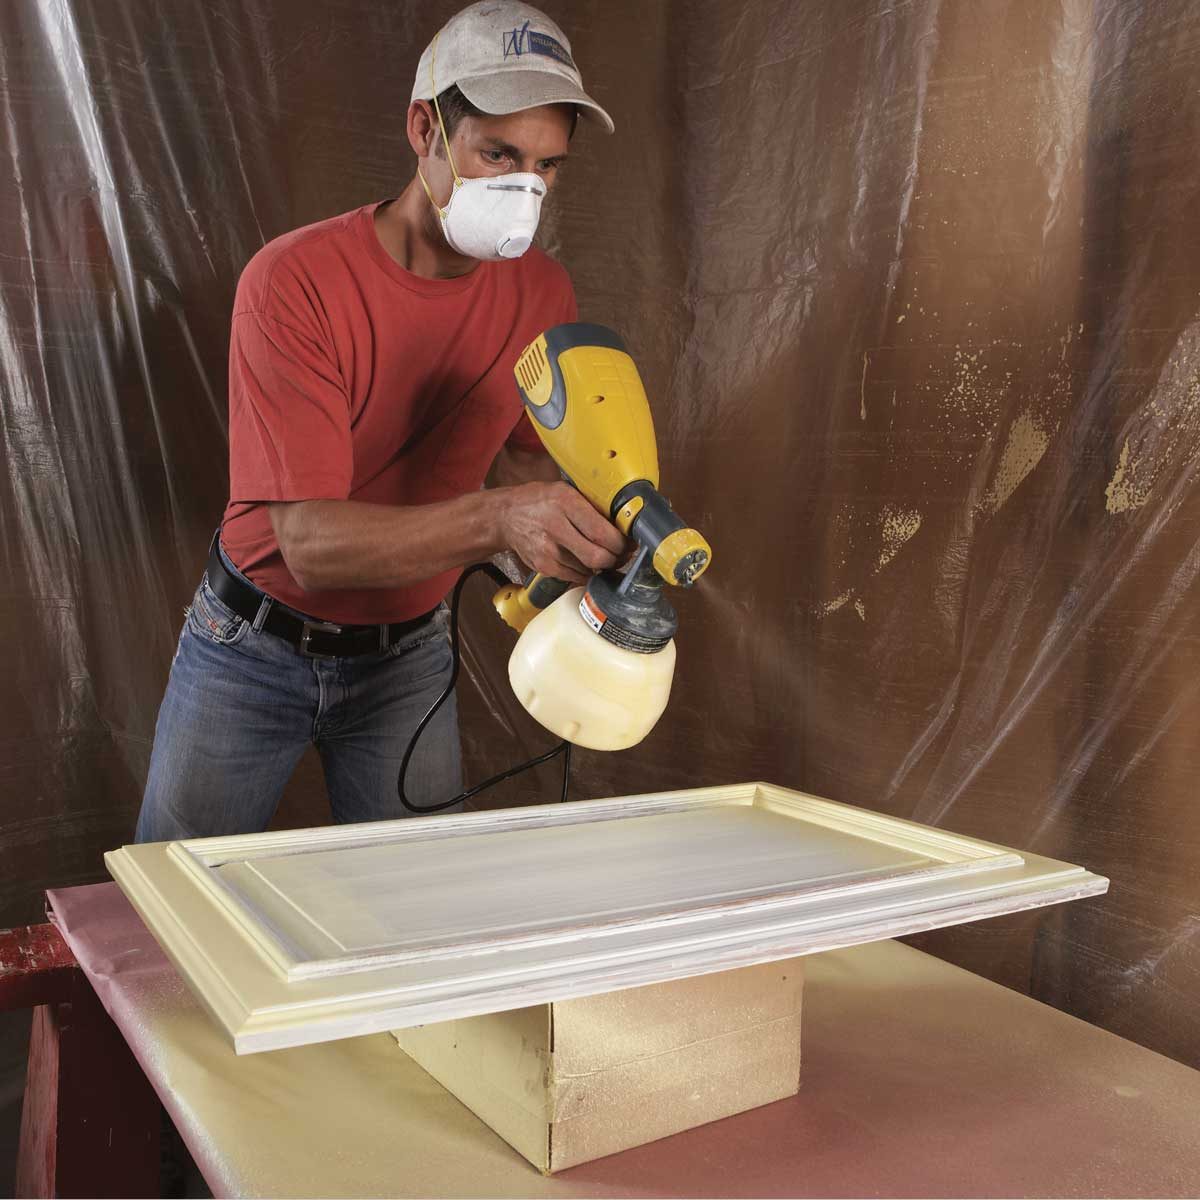
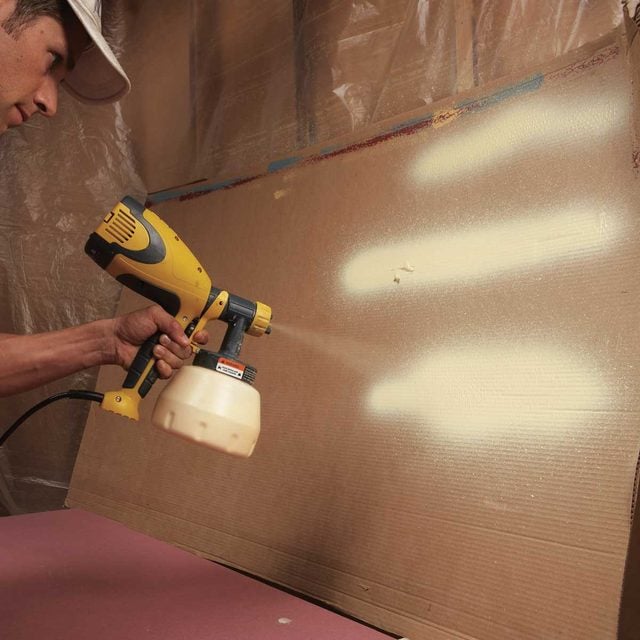
Practice First
- Before spray painting, construct a makeshift booth to contain the airborne spray.
- Assemble a work surface (putting boards over sawhorses works great), then hang plastic sheeting around the work area.
- Make sure to ventilate the room—even if it’s just a fan blowing out an open window.
- Fill the spray container with the paint mixed with Floetrol and water.
- Wear a mask respirator when spray painting.
- Practice spray painting on cardboard, keeping the nozzle 10 to 12 inches from the surface. Here are a few tips for interior painting with a sprayer.
- Pro tip: Sweep your entire arm back and forth across the door panel; don’t just use your wrist.
- Adjust the nozzle to get a vertical fan pattern.
- Adjust the flow rate so the paint covers the surface without running.
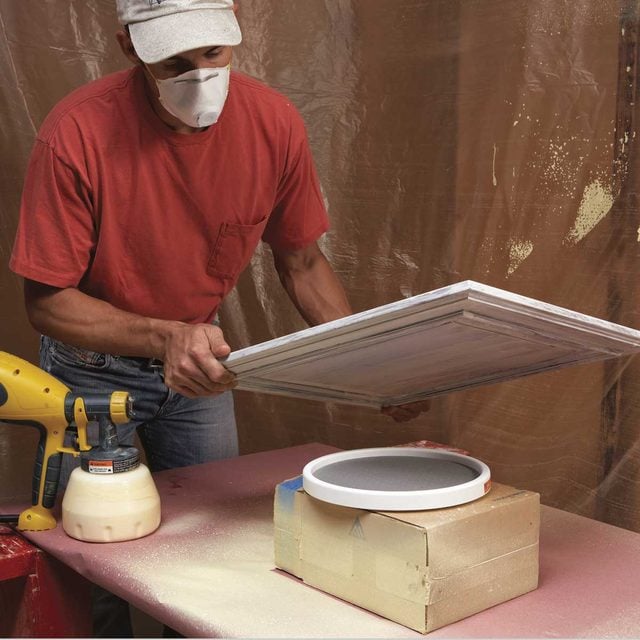
Rotate the Doors While Painting
- When you’re ready to paint, set a block of wood or a cardboard box on the work surface to elevate the doors.
- Place a lazy Susan turntable over the box, then set the door on top of it.
- Stand in one spot and rotate the door to paint each side.
- Keep the nozzle 10 to 12 inches from the door and maintain a consistent angle while spraying.
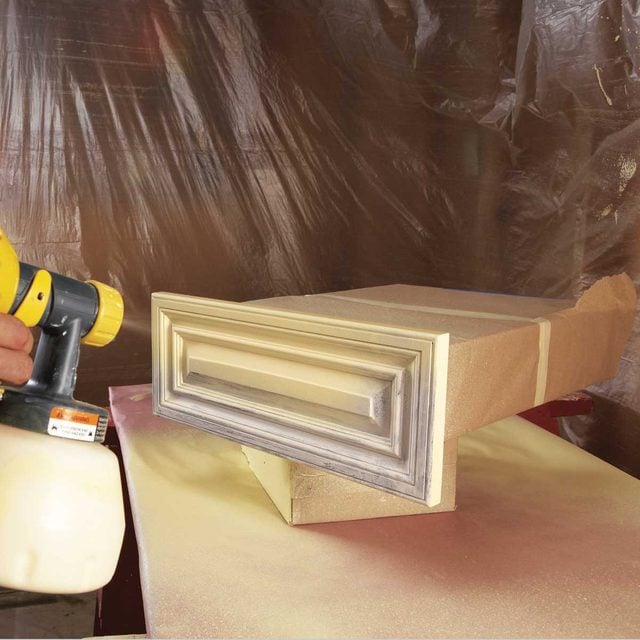
Paint the Edges
- Paint the edge and detail work on one side.
- Turn the door to paint the adjacent edges and details.
- Start the spray before the door, and keep spraying past the edge.
- Pro tip: Don’t worry if you missed a spot. You can catch it on the second coat.
- Let the paint dry overnight.
- The next day, give the paint cabinet frames, sides and trim a second coat.
- Spray a first coat on the door fronts.

Paint the Drawers
- After wrapping the inside with plastic or paper, paint the drawers with the sprayer.
- Paint the backs first, then the edges and then the faces, starting at the top and working down.
- Start and stop the spray past the sides of the drawer.
- Let the doors and drawers dry overnight, then give them a second coat.
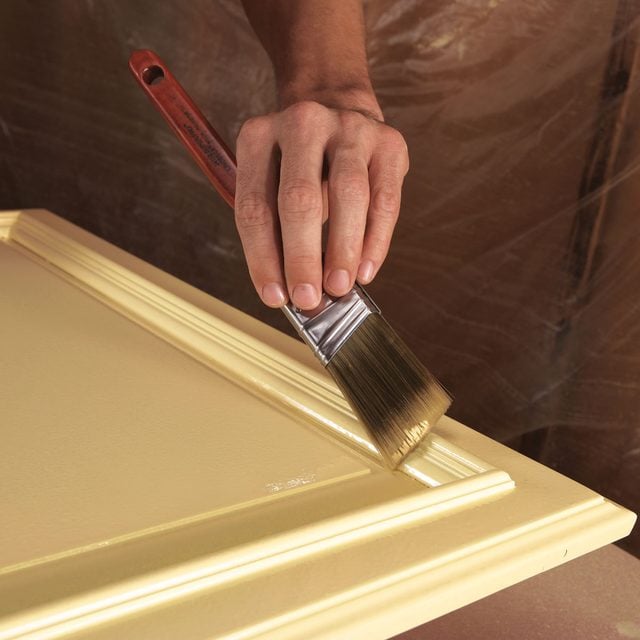
Touch Up Runs
- Fix paint runs with a paintbrush while the paint is still wet.
- If the paint is dry or tacky, wait until the next day, then sand out the run or imperfection and repaint.
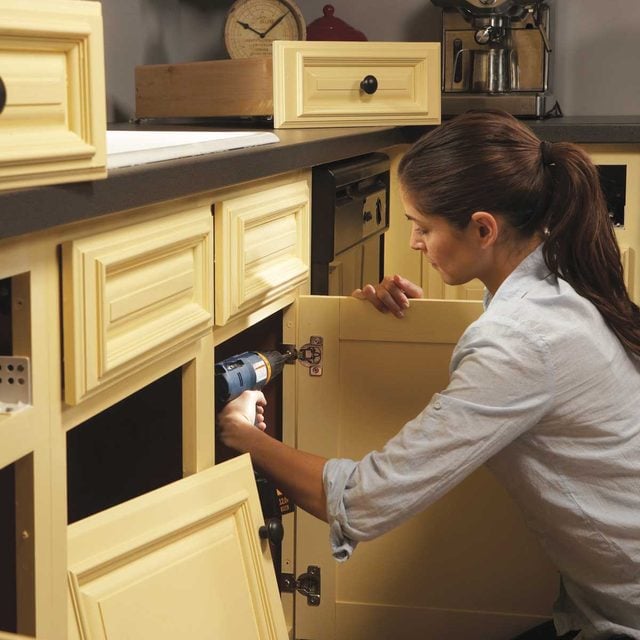
Put Everything Back Together
- Reinstall the doors and drawers in the kitchen.
- Attach the hinges to the doors first, then screw them to the cabinet frames. Reattach any other hardware.
- If any paint seeped into the hinge holes, scrape it out so the hinges will fit snugly.
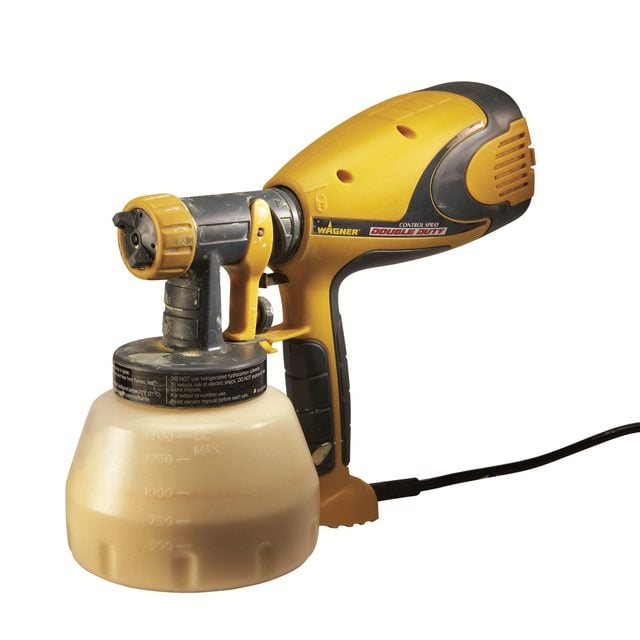
Immaculate Finish in 90 Minutes
For this project, we used a Wagner Control Spray Double Duty spray gun. The high-volume, low-pressure (HVLP) sprayer gives the doors a thin, even coat of paint and makes quick work of painting. We sprayed our 18 doors and four drawers in less than 90 minutes per coat. The sprayer occasionally “spits” paint, but the Floetrol that you mix in levels out the finish. You can clean the sprayer in about 10 minutes.
The paint experts we talked to say you can get a nice-looking finish with non-HVLP sprayers too. But the advantages of an HVLP sprayer are that the low pressure produces little overspray, so most of your paint ends up where you want it—on the doors—and the spray is easy to control.