
How to Put Lights On a Christmas Tree

Updated: Dec. 22, 2022
Believe it or not, there's a right way and a wrong way to string Christmas lights.
Beginner
Introduction
Here's a rundown of all the steps you can take to make your Christmas tree as bright, merry and welcoming as possible this holiday season.Materials Required
- Christmas Tree Lights
- Smart Plug (Optional)
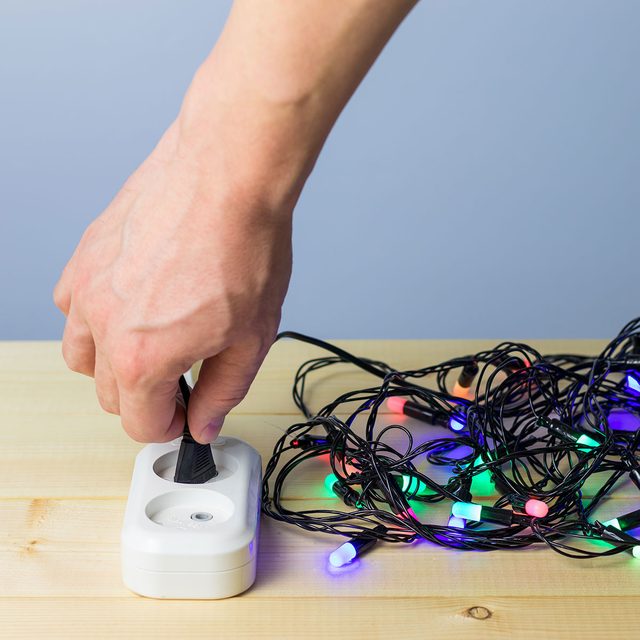
- Surge Protector
There are very few things that can generate on-demand holiday spirit more effectively than a lit-up Christmas tree. While putting the lights on a tree isn’t exactly a precise science, there are some tried and true tricks and methods that can help make the whole process go a lot more smoothly. Here are some of the best tips for expertly stringing the lights on your tree this upcoming holiday season.
Project step-by-step (8)
Figure Out How Many Lights You’ll Need
The general rule of thumb is that you want 100 lights for every foot of tree. You might want to get a little more or a little less, depending on your personal preference for how bright and lit up you want your tree to be. It’s always a good idea to get at least one extra strand, just in case you happen to run a little short or if one of the strands stops working.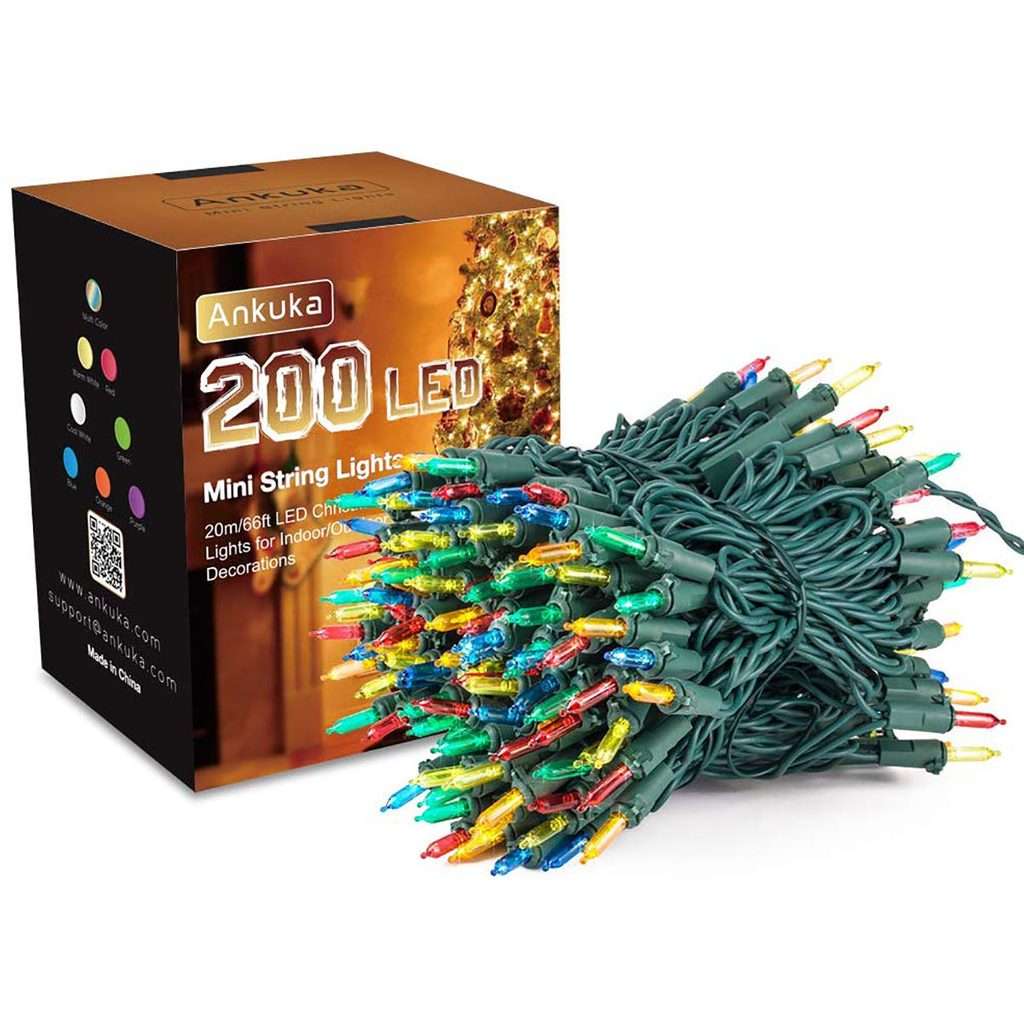
Don’t Mix Incandescent and LED Lights
LED light bulbs have taken the world by storm in the last ten years or so. They last a lot longer than incandescent bulbs and are more durable, and they create light without producing the heat that incandescents do. They are more expensive, though, and some people still prefer the traditional look of the “old-fashioned” incandescent Christmas light.
Whatever your preference, one thing is certain: DO NOT mix strands of incandescent and LED lights together. Incandescent lights draw a higher current than LED lights, so by running them together your LED lights will receive more than they are built to handle and will most likely be damaged.

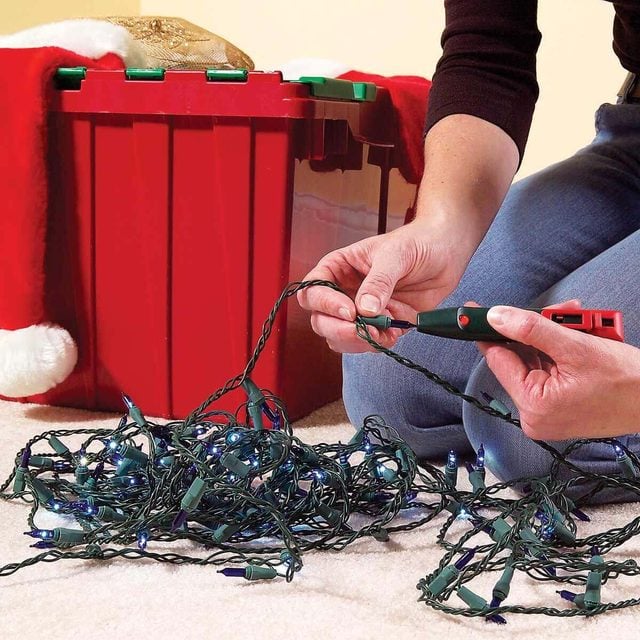
Check Your Lights First
The first thing to do before you actually put the lights on the tree is to plug them in and check to make sure that all of the lights are working. You definitely don’t want to do is get all of your lights on the tree and go to plug them in, only to find out that you have a few huge dead spots on your tree because half of your strands are dead.
One Bad Bulb Ruins the Bunch
If you plug in a strand of fairly new incandescent Christmas lights and a section of the strand isn’t lighting up, don’t panic. Smaller sets of lights are typically wired in series, so just one bad bulb can block the electrical current from passing down to the rest of the lights. Chances are that if you replace that one bulb, the rest of the strand will start working properly again.
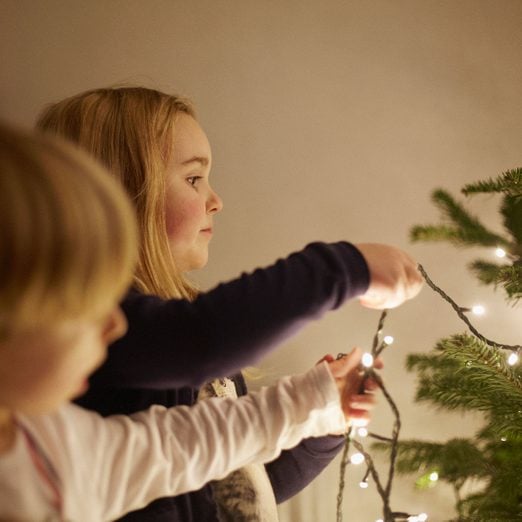
Start at the Bottom and Work Up
Now it’s finally time to actually put the lights on your tree. But first put on some Christmas music, and maybe make some hot chocolate or your favorite wintry drink. Once you’re in a suitably festive mood, you can get started stringing the lights on your tree. Start from the bottom and work up, stringing the lights in an up-and-down weaving pattern. If you want the tree to appear to “glow” from the inside out, string some lights closer to the center of the tree and slowly spiral out to give your lighting more depth.

How to Make the Lighting More Permanent
If you are putting lights on an artificial tree and don’t want to have to do it again next year, there are a few ways to make the lights stay on the tree in a more permanent fashion.
Artificial trees typically come in sections, and you want to make sure that you don’t string one strand of lights between two of these sections. Light each section individually so that when it comes time to take the tree down you can leave the lights on each section without them being connected by strands.
A “strand” of lights is typically made from a few different wires that are braided together into a larger cord. To make the lights stick to the tree more permanently, pull the wires apart and slip tree branches through the newly-created gaps in the strand, causing the lights to get a little more stuck in the tree than they would be otherwise.
You can also wrap the lights around branches or even hot glue them in places if you want to be sure they won’t come off any time soon.

Step Back and Squint
Once all of the lights are on your tree, connect them to the power strip and turn them on. Take a step back and sort of squint at the tree. That will make any bare spots show up more clearly as dark areas on the tree.
Once you’ve identified the bare spots, rearrange the lights to fill them in. Or if it’s looking really bare, add a couple of extra strands of lights.

Why You Should Consider Using a Smart Plug
Regardless of whether or not your house is already full of smart home technology, there’s one piece of tech that can really take your Christmas tree lights to a whole new level.
By plugging your lights into a smart plug you gain the ability to control them directly from your phone. Having more control over when your lights are on and off will help increase their lifespan and is also just very convenient.

Originally Published: November 05, 2021