
How To Fix Sagging or Sticking Doors
Updated: Jul. 27, 2023
Fix tight doors by tightening hinges and jambs — with planing and sanding as a last resort.
An hour or less
Beginner
Free
Introduction
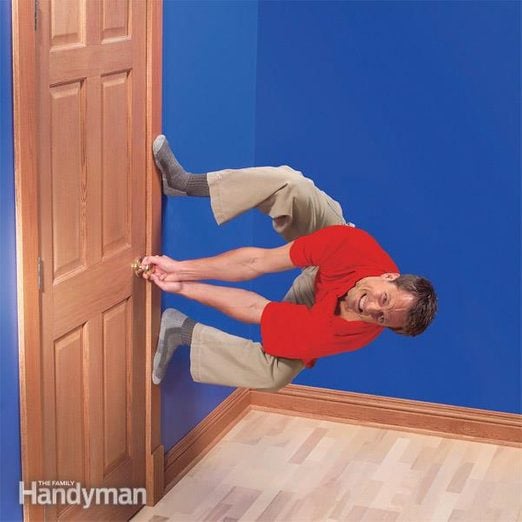
Unstick your doors by doing a little work on the hinges and (if necessary) breaking out the planer.Tools Required
- 4-in-1 screwdriver
- Belt sander
- Cordless drill
- Drill bit set
- Hammer
- Safety glasses
- Sanding block
- Sawhorses
- Square
Materials Required
- 3-in. screws
- Varnish
- Wood filler
- Wood shims
- Wood stain
The standard prescription for fixing a sticking door is planing the rubbing edge so it swings freely. This always works, but it’s a major hassle. You have to remove the door and lug it out to the garage. When the planing is done, you have to refinish the planed edge. Before you go to all that trouble, try the three shortcuts described here. In most cases one of them will cure your sticking door.
Watch this video to see how simple fixing a nuisance door can be:
Project step-by-step (7)
Fix #1: Tighten the Hinge Screws
Screws magically work themselves loose over the years. If your door rubs near the top or drags on the floor, use a screwdriver, not a drill, to tighten the screws. With a drill, you’re more likely to over-tighten the screw and strip the screw holes or chew up the screwheads.
Make Sure All the Screws are Tight
Tighten the hinge screws in the door and the jamb. Snug them firmly with a screwdriver rather than a drill to avoid stripping the screw holes.

Replace the Screw Closest to the Doorstop
To use this technique, remove a screw near the middle of the hinge (rather than the top or bottom screw).
- Drive in a 3-in. screw with a drill.
- When the screw is snug against the hinge, give the screw another quarter turn with a screwdriver.
- Close the door to check the fit. Continue tightening and checking until the door no longer sticks.
- Pro tip: Keep an eye on the door trim as you tighten. If you begin to create gaps at the trim joints, stop. It’s rare, but you might find that you can’t draw in a hinge at all because the jamb is already tight against the framing or shims.

Fix #2: Draw In the Jamb
This is really just another version of the hinge adjustment described above. By driving a long screw through the “latch” side of the jamb (rather than the hinge side), you can often draw in the jamb and give the door a little extra space. Try this only if drawing in the hinges doesn’t work; it leaves you with a large screwhead hole to cover.
Drill Through the Jamb
- Countersink the screwhead with a countersink bit.
- Drive a screw near the middle of the area where the door is rubbing.
- Pro tip: You may need to add a second screw.
- Tighten screws gradually and watch the trim to make sure you don’t open joints.
- Cover the screwheads with wood filler and then sand and paint or stain the filler to match.

Fix #3: Plane the Door With a Belt Sander
If your door still sticks after you’ve tried tightening and driving screws, you’ll have to remove the door and plane it.
Use a Compass
- Scribe the door.
- Set the pencil tip and compass point 1/8 in. apart and run the point along the jamb.
- Pro tip: Masking tape makes the pencil line easy to see.

Sand to Your Mark
Remove the excess wood with a belt sander. Sand right up to the line, but not into it.

Check Your Progress
- Stop sanding occasionally to make sure that you’re sanding squarely and not creating a beveled edge.
- Remove the excess wood with a belt sander. Sand right up to the line, but not into it.

Seal the Edge
Stain or paint the sanded edge. When varnishing the edge, apply polyurethane with a lint-free rag rather than a brush to avoid slopping onto the door’s face.
