
9 Pumpkin Carving Power Tools for Halloween
Updated: Sep. 19, 2023
For a faster way to carve pumpkins this October, look no further than your workshop. These are 9 pumpkin carving power tools that you may already have handy.
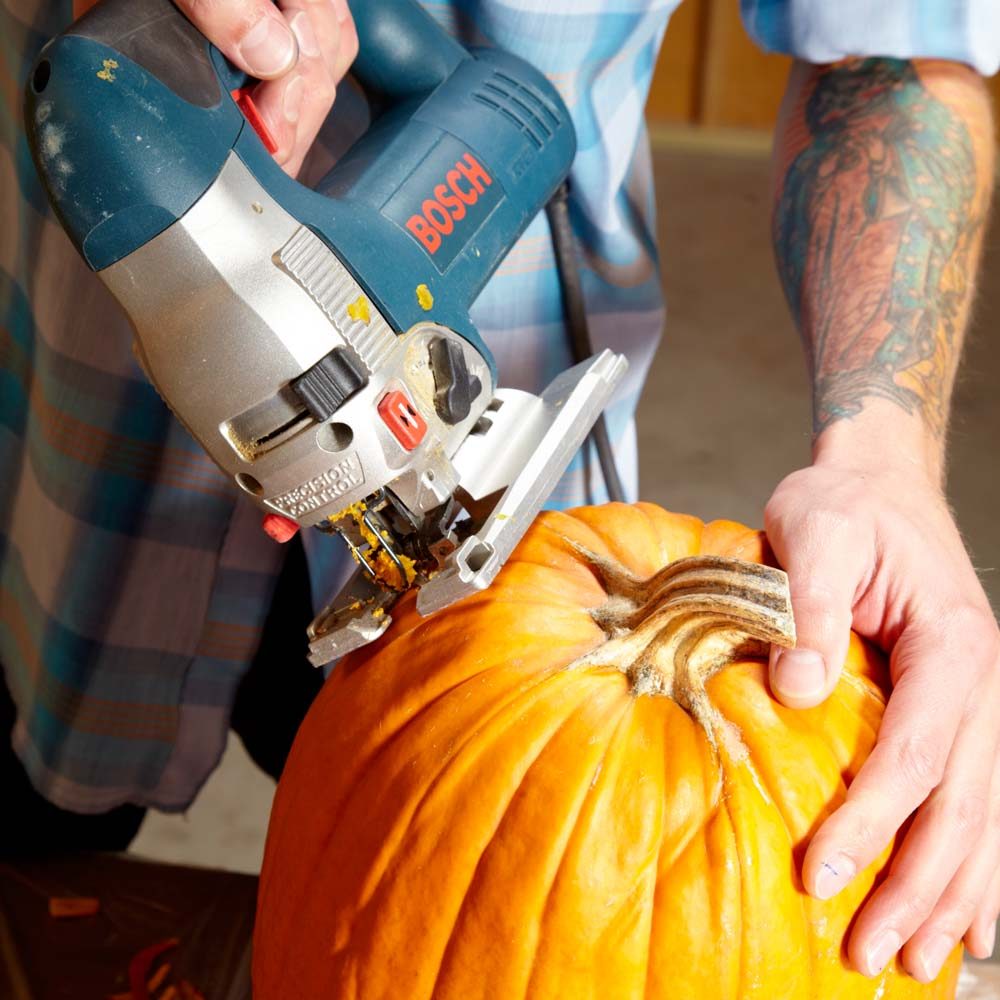
Use Jigsaw for Pumpkin Carving the Top
Get at the guts of the pumpkin. Cut out the top opening with your jigsaw. You’ll be surprised at how quickly this goes if you’ve ever fumbled with an inferior pumpkin carving knife. We didn’t test using different kinds of blades – apparently a pumpkin is easier to cut through than both wood AND metal.
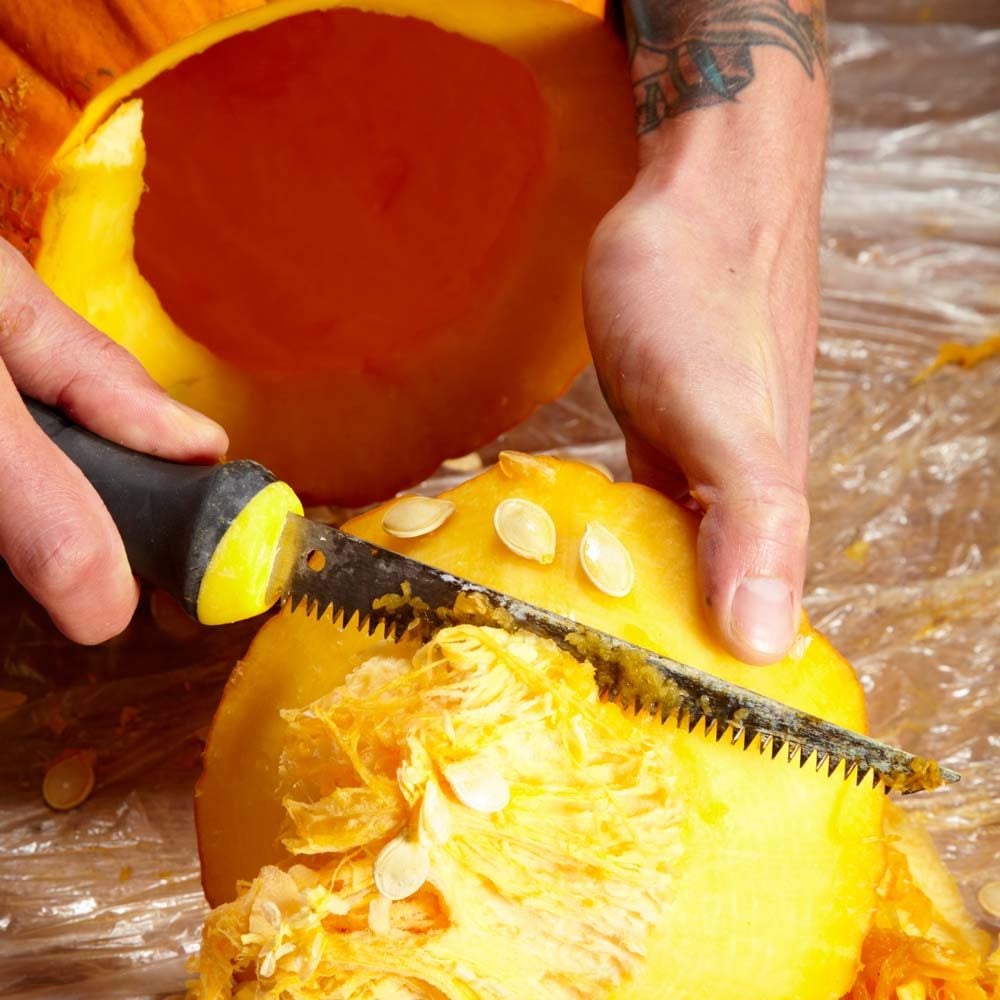
Drywall Saw is Better Than a Knife
Use your trusty drywall saw to remove pumpkin guts and seeds. The aggressive teeth make quick work of this sloppy task – just make sure your knife is clean if you plan on saving the pumpkin seeds to roast for a snack later.
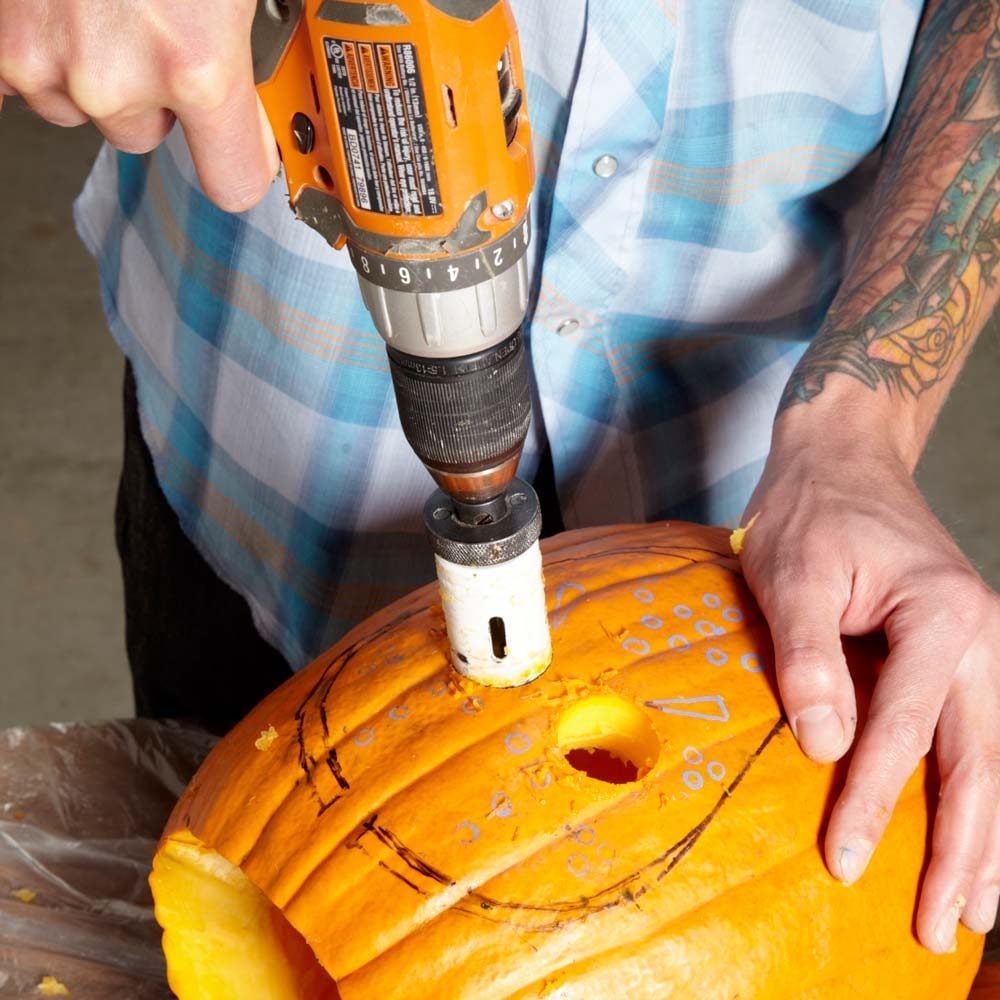
Use a Hole Saw
The perfect tool for making large, circular holes for the eyes is, you guessed it, a hole saw. Let the weight of the drill and teeth of the hole saw make the cut for you. Don’t press too hard, or you may end up with a smashed pumpkin.
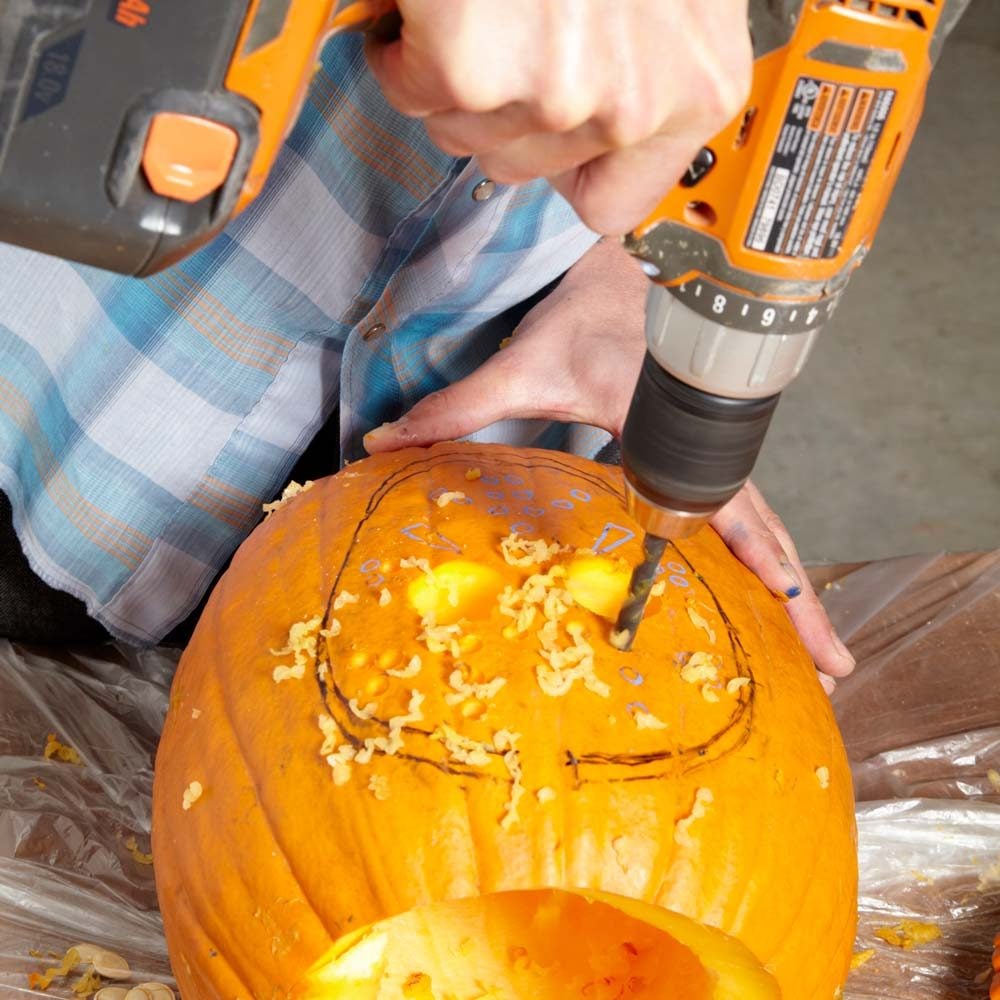
Drill Out the Rest of the Pattern
Using a large-diameter drill bit, cut out the facemask holes. Again, don’t put too much pressure on the drill. You’ll be surprised how crisp and clean these holes come out – much faster than trying to cut them by hand with a knife.

Embellish with a Rotary Tool
We further embellished the face mask pattern in using a rotary tool. The small grinding attachment works well for removing just the first layer of the pumpkin skin. This allows light to shine through, but not nearly as much as a full on hole through the pumpkin. Then we carefully cut through the outlines of the mask, leaving enough solid pumpkin to hold it in place.

Carve a Pumpkin With a Pressure Washer
The carving tools used to make jack-o’-lanterns sometimes create more headaches and hand aches than they do smiles and joy. While there are some things you should never pressure wash, power pressure pumpkin carving is not one of those things and is ideal for someone who wants more of a giant smile and big cut out eyes for their jack-o’-lantern instead of an intricate design. Lazy man’s carving at its finest!

Sander
Using a sander for pumpkin carving might not be the first tool that comes to mind, but it can be surprisingly effective with the right technique. When dealing with intricate designs or aiming for a polished finish on your pumpkin, a sander can save time and provide a smoother surface compared to traditional hand tools. However, it’s crucial to exercise caution and control. Opt for a low-speed setting on your sander and use a delicate touch to avoid digging too deep into the pumpkin’s flesh. Start with a coarse-grit sandpaper to remove the outer skin, and then progressively move to finer grits for a smoother finish.

Pumpkin Gutter
This handy little tool attaches to a drill and will make gutting a pumpkin easier. It might make gutting a pumpkin fun, too.
Photo: Via Amazon
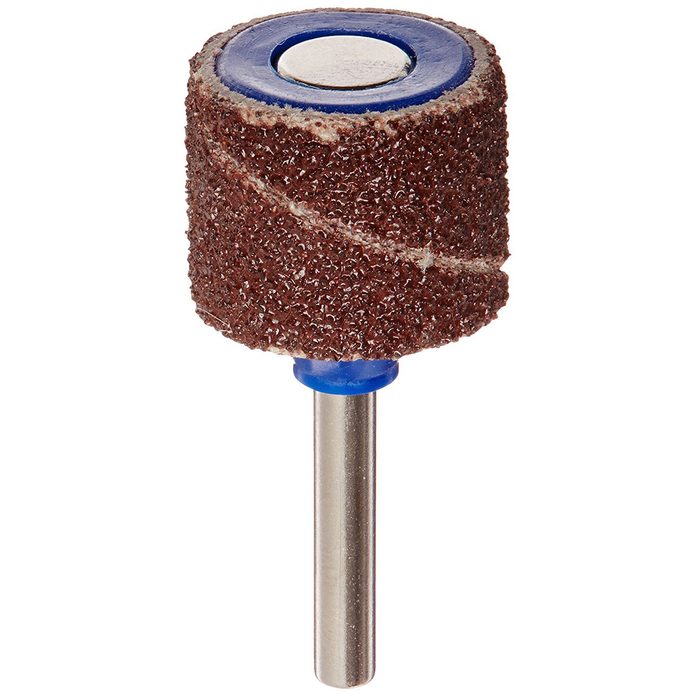
Dremel Drum Sander Band
A Dremel drum sander can be a great tool for pumpkin carving, whether for large designs or smaller pieces.
Photo: Via Amazon