
How to Restore Old Print Photos
Updated: Jun. 14, 2023
Whether you need a little help from the pros or you're into DIY, learn how to restore old photos.
On This Page
Restoring Your Memories
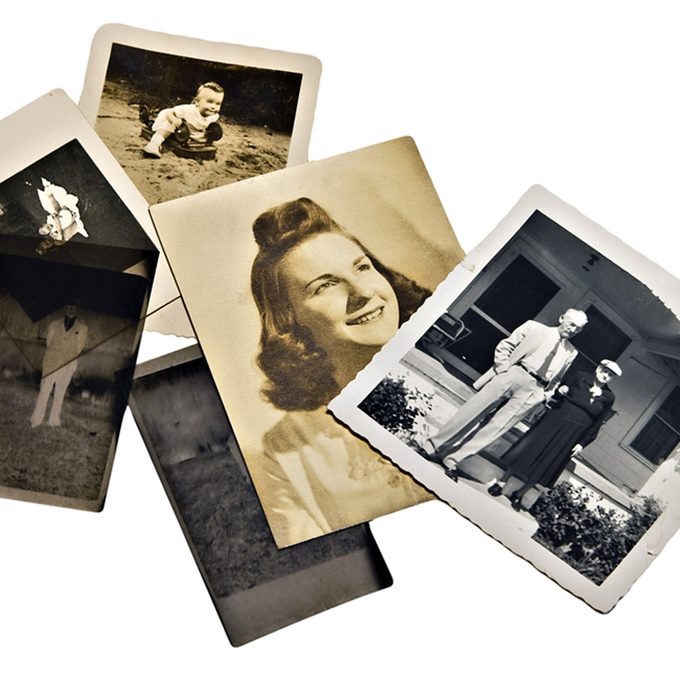
If you have print photos that have not aged well, you may be wondering how to restore them.
Back when all photos were taken with film in a camera, you took your roll of film in for processing and printing. Then you picked up your photos and stored them in photo albums. But these printed photos have a shelf life, since the quality of the photo paper and ink wasn’t nearly as good as it is today according to Adorama Learning Center. That’s why, when you come across these old photos, you may find the ink faded, the edges fringed, and stains and scratches covering up a pretty smile. Here’s what you can do:
1. Digitize Your Old Photo
First, instead of trying to restore a photo, digitize it. You’ll need to scan the photo, or have someone do that for you. Once you have the image as a digital file, the image can be cropped, straightened or rotated. Color adjustments can be made, as well as “fixing” damaged areas. Once you have the digital file, you can print the image and frame it, if you want. Here’s the easiest way to hang a gallery wall of your digitized photos.
2. Manually Restoring Old Photographs
Once the image is digitized, and If you’re more of a hands-on type of person, you may want to manually restore the actual old photographs. For this, you’ll first need to clean the images. Wear rubber gloves, and remove the dirt with a soft brush or soft-bristled toothbrush. If your old photos are stuck together, don’t pull them apart! Instead, soak them in distilled water, where the coating of gelatin will soften to aid in the separation without further damaging the photo.
If the photo is stuck in a frame, you can remove the glass by gently heating the image using a hair dryer. Hold the dryer about 5 inches from the back of the print and after a few minutes, lift one of the corners of the image to begin slowly peeling it out.
If the image has a tear, you can fix it with acid-free tape or use a mending strip.
If you have an image with curled edges, try creating a humidification chamber by filling a plastic storage bin with a couple inches of room temperature water, placing a wire rack in the container, and then resting the photo on top of the rack so it’s not totally submerged. Place a lid on, let it sit for several hours, and then remove the photo, letting it dry face-up on a towel. Weigh it down with a book as it dries, making sure no beads of water remain.
If all that DIYing has you in the mood for more, learn how to make these DIY picture frame with mitered corners. Having trouble with those mitered corners? Here’s how to ensure perfect miters every time.
3. Seek Out a Professional
Another great option is to hire a photo restoration professional, who can restore ripped, stained or otherwise damaged photos. They can even digitally enhance it as well. Once you have your photos restored, hang them up! Here’s how to hang artwork and wall-hangings straight and level.