The Best Carpentry Tips and Advice
Updated: Mar. 28, 2023
We asked carpentry pros who have spent years pounding thousands of nails to pass along some of the best of what they've learned on the job site.
Introduction
We asked professional carpenters to pass along some of the tricks and tips they've learned after years of pounding thousands of nails into just about anything made of wood. Read the following tips to benefit from their hardworking carpentry experiences.Project step-by-step (10)
Practice on Test Pieces for the Perfect Miter
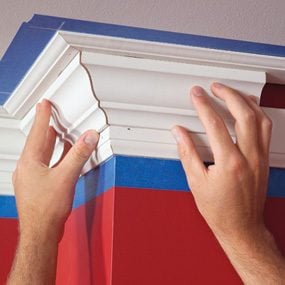
Fine-tuning a miter for a perfect fit is often a trial-and-error process. Practice on smaller test pieces until you get your miter saw set to exactly the right angle, then cut the actual parts.
Use the Construction Lumber as a Template
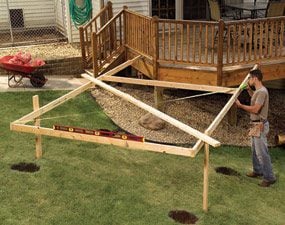
You see it in print and on TV everywhere—some stake and board contraption set up to hold strings to help position postholes, or lay out footings or building footprints. But most of the time, there’s a much better way. Tack together the construction lumber to outline the structure, square it up and use it as a giant template to do all your marking. Set it aside to do your digging and replace it to set the posts.
Use This Formula to Order Framing Materials
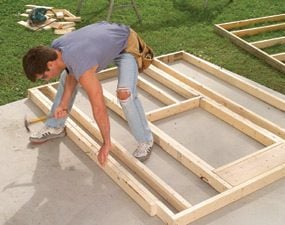
You don’t need a math degree to estimate framing materials for walls. Here’s a formula that works every time, no matter how many doors, windows or corners your walls have:
- One stud per linear foot of wall.
- Five linear feet of plate material (bottoms, tops and ties) per linear foot of wall. It’ll look like too much lumber when it arrives, but you’ll need the extra stuff for corners, window and door frames, blocking and braces. Set aside the crooked stuff for short pieces.
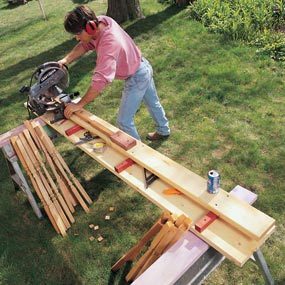
Use Materials on Hand for This Simple Bench
Whether you’re working in your garage, out in the backyard building a shed or up at the in-laws’ cabin building a deck, take a few minutes and cobble together a miter saw bench, With a little creativity, you can use just about any materials you have on hand. The only custom work you’ll need to do is to rip some spacer boards to make the outfeed support the same height as the saw table. It sure beats kneeling on the grass or perching the miter saw on horses. And the bench does double duty as a super-convenient work surface too.
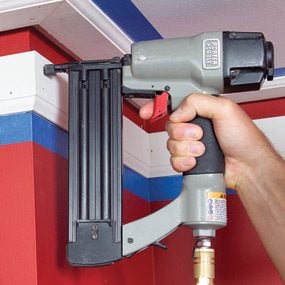
No More Hand Nailing
I haven’t hand-nailed a piece of interior trim in 25 years. Why? Because air-powered trim guns make the results so much faster, better and neater. No splits, no predrilling, no knocking the piece out of place as you hammer, and only itty-bitty holes to fill. If you’re going to buy just one size, the most versatile choice is one that shoots 5/8- to 2-inch 18-gauge brads.
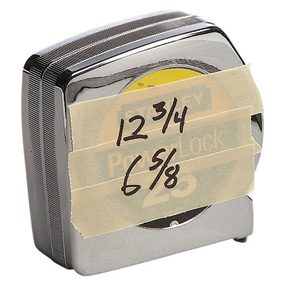
Write Measurements Down
Stick masking tape to your tape measure for jotting down shapes and numbers. That way you won’t forget the length on the way to the saw.
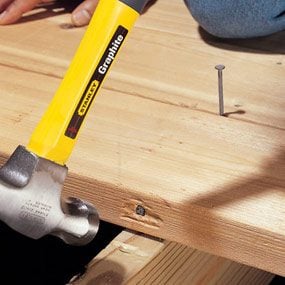
Use the Toenail Trick to Position Lumber
On my first job as a framing carpenter, I was beating on a stud to try to coax it into position. The stud just bounced back. A veteran framing carpenter walked over and drove a big nail at an angle through the edge of the stud. The last two hammer blows moved the stud into position, where it stayed. Now I use the toenail trick whenever I need to adjust stubborn lumber.

Use Your Pencil Instead of Your Tape
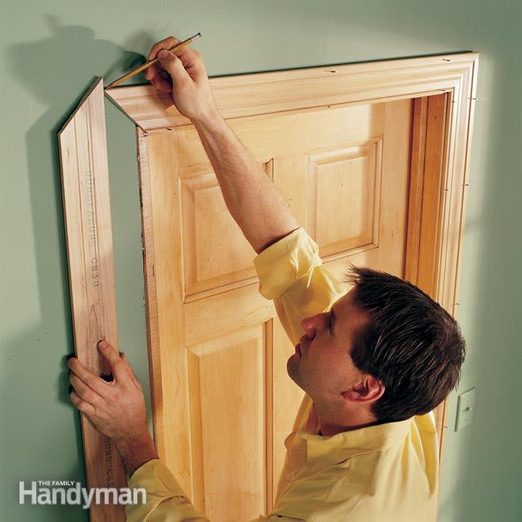
Early on in my carpentry career, I mismeasured an expensive baseboard and cut it too short. Instead of shouting, ‘You’re fired,’ my boss just said, ‘Don’t use your tape measure unless you have to.’ He was right. Holding trim in place and marking it is always more accurate than measuring, often faster and it eliminates mistakes. This is good advice for other types of carpentry work too, like siding, laying shingles and sometimes even framing.
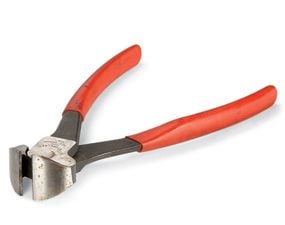
Use Nippers To Pull Nails
Keep a pair of ‘nippers’ in your pouch whenever you’re doing trim carpentry. When you pull trim from the wall, use them for pulling the nails through the back of the trim.
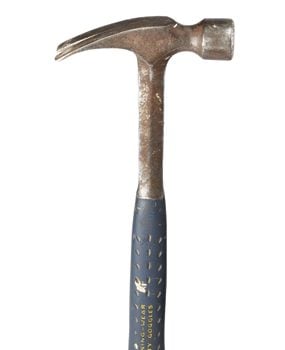
Carry This Multi-Purpose Hammer
Whether you’re doing rough construction or fine finish work, the best all-around hammer is a smooth-faced 20- ounce with a straight claw. I use the claw to drive it under walls for lifting, to embed it in framing and even to do extremely crude chiseling. But best of all, it’s a better shape for pulling nails than the curved claw style. Here are 10 hammer hacks you should commit to memory too!
