
What to Know When Painting Bathroom Cabinets

Updated: Apr. 15, 2024
All you need to know about painting bathroom cabinets, including tips and tricks of the trade.
The stylish new coat of paint on your bathroom walls looks fresh and clean, but only serves to accentuate the dated and worn appearance of the vanity. Your budget, however, precludes the possibility of a new cabinet—and the potential for involving a plumber—so don’t put those paintbrushes away quite yet.
On This Page
Painting Bathroom Cabinets Like a Pro
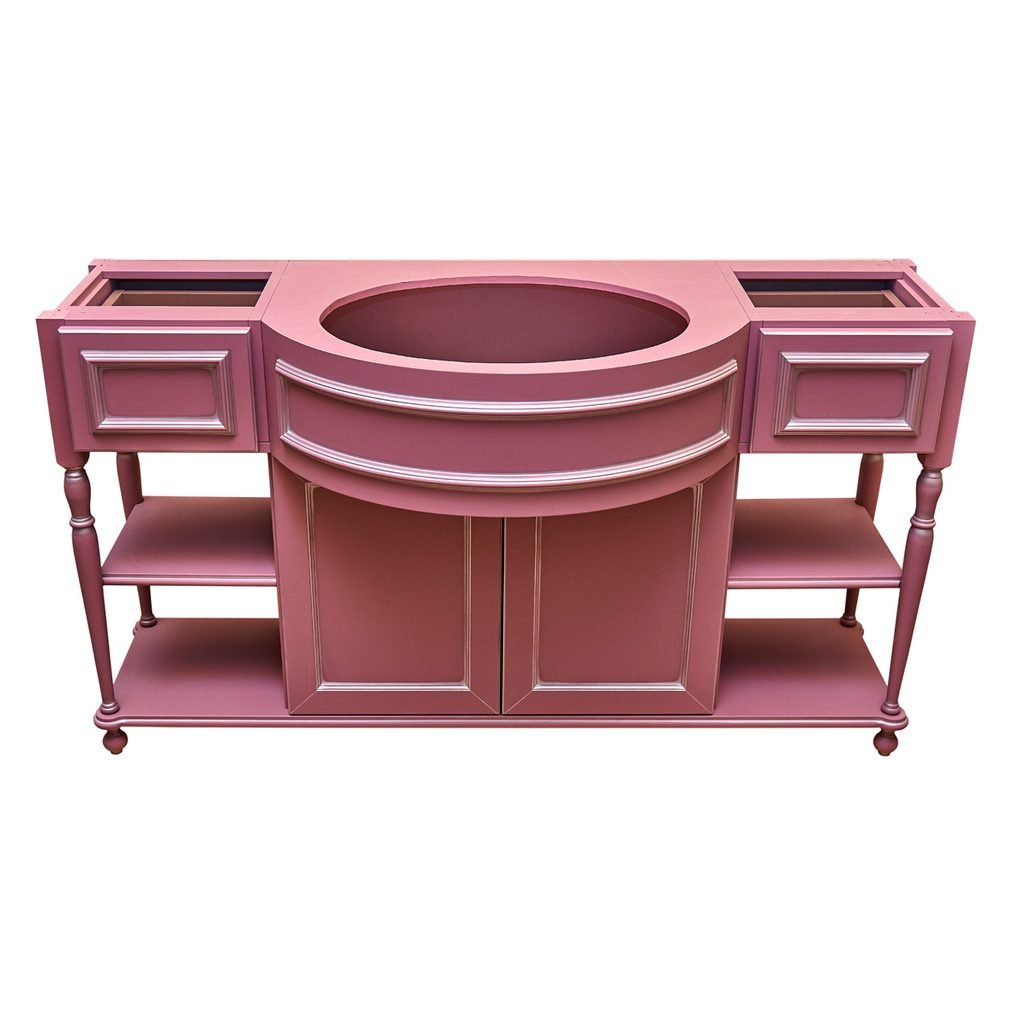
Painting bathroom cabinets can provide a dramatic change in the feel of the room. As a piece of furniture, albeit one that is fastened to the wall, the vanity cabinet offers a canvas with depth, angles and curves that you can highlight in various ways.
Chalk paint, distressing, and color-layering techniques can all provide antique charm to your cabinets, but, here we’ll discuss the fundamentals of painting bathroom cabinets to provide a lustrous coat that stays in place and wears well in a tough environment.
Prepping Bathroom Cabinets for Painting
In DIY circles, engineering ways to avoid the process of preparing a surface for paint has become akin to finding the Holy Grail. However, ask a professional painter, whose profit margin and reputation ride on meeting customers’ expectations and doing the job right the first time, and you’ll likely hear a lot about surface preparation.
Whatever finish your bathroom cabinets have, the preparation process in similar. Start by removing the doors and drawers. Then, remove all of the hardware (pulls and hinges) and number the position of each door and drawer for reassembly. A small number where the hinge was does the job nicely, and a bit of masking tape prevents that number from being painted over. You may choose to remove the drawer fronts or you can paint them, in place, on the boxes.
Clean all surfaces to be painted, eradicating all traces of grease, dirt and loose paint. Trisodium phosphate is commonly recommended for this job. Use protective goggles, clothes that cover your arms and legs, gloves, a respirator and ventilation during this step. After cleaning with TSP, rinse the cabinets thoroughly with a damp sponge and allow them to dry completely. If new hardware changes the location of pulls, cut dowels to fill most of the hole and apply layers of wood filler to both sides until you create a smooth surface. Fill any cracks or dings in the wood with wood filler and sand smooth when dry.
Use 100- to 120-grit sandpaper to scuff the surface of the cabinets and feather out edges where paint has chipped away. Collect the dust with a vacuum using the brush attachment, then run a tack cloth across the surfaces to lift any remaining particles.
What Is the best sander for finishing cabinets?
What Kind of Finish to Use on Bathroom Cabinets
At this point, you need to make a choice. If you want a glassy-smooth finish on your cabinets, you need to assess the depth of the grain in the wood. Heavy grain with deep pits may require some sort of filler. Another option is two coats of primer — one to fill and one to smooth — each followed by light sanding with 220-grit sandpaper. If you can stand a little grain peeking out, one coat of primer may suffice. Choose an oil-based or hybrid primer designed for bathrooms or high-adhesion. Both options do a better job of sticking to the original finish than standard primer, and one or the other will be available from any home center or well-stocked hardware store.
Try these painting tips for an antique look.
What Kind of Paint Do You Use for Bathroom Cabinets?
Because of the moisture present in a bathroom, combined with consistent cleaning and frequent use, oil-based, semi-gloss, enamel paint is almost universally recommended for painting bathroom cabinets. Newer, low-VOC acrylics create an acceptable finish without the fumes, but remain a step below in silkiness. Beware of the thickness of oil-based paint as you work. It should flow from the brush without running. If not, thin according to the manufacturer’s instructions. An added benefit of thinning is that the paint will take longer to dry, and that translates to a smoother finish.
How to Paint Bathroom Cabinets
Apply the top coat on a level surface to promote the smoothing properties of the paint. Once the first finish coat dries, a very light sanding removes any visible brush strokes and prepares the cabinets for the final coat. More than one painter recommends breaking out a new brush at this stage. Apply the final coat and allow the paint to dry to the touch before moving the doors and drawer fronts. They then can be moved to another location or hung to finish drying. A hardened cure may require a couple of days. Reinstall the hardware, and then remount the doors and drawers to complete the job.
Plus: Learn 20 surprising tips on painting kitchen cabinets in the video below.
Originally Published: August 29, 2019