
How to Replace a Side Mirror That’s Broken
Updated: Dec. 13, 2022
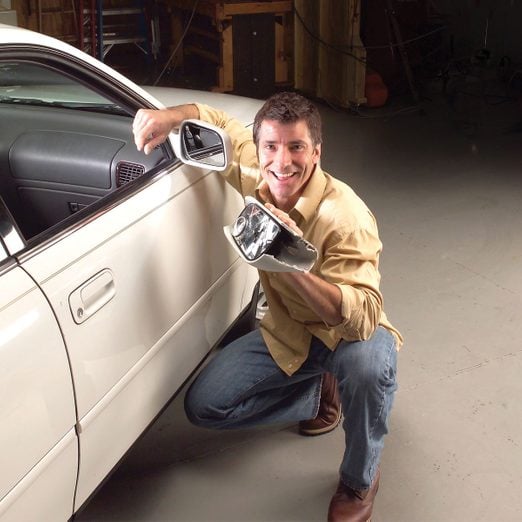
Crunch doesn't have to mean Ouch! Replace your side view mirror yourself and save money.
A full day
Intermediate
$51–100
Introduction
Replacing a broken side view mirror is easier and cheaper than you might think. Once you have the right tools, the hardest part is just finding the hidden fasteners.Tools Required
- 4-in-1 screwdriver
- Hooked pick
- Panel removal lever
- Trim pad remover
Materials Required
- Aftermarket sideview mirror
- Automotive spray paint
Side Mirror Replacement Overview
You had plenty of clearance yesterday morning. But as you drank your coffee and backed out this morning, the garage door opening mysteriously closed in on your car and ripped off the car side view mirror. Even if your insurance will cover a side mirror replacement, this body shop repair is most likely less than your deductible. In other words, it’s coming out of your pocket. The good news is that you can replace the side view mirror yourself for a lot less!
Order a replacement side view mirror

Start your repair job by searching the Internet for an aftermarket side view mirror and for the factory paint color code. Most mirrors are available from online sources for a fraction of the dealer price. Because replacement body parts have to be painted to match your car, we located the factory paint color code and then visited an auto parts store and purchased cans of aerosol touch-up paint and primer.
Painting the side view mirror was easy. We simply masked off the glass and followed the spraying instructions on the paint cans. But if you’re not up to painting it yourself, take it to a body shop.
Remove the cover and door panels
Our power mirror repair required the removal of the door trim panel to access the mirror’s electrical connector. This may seem scary at first, but with the right tools (available at auto parts stores), it’s simple. If your car has a manual mirror, you can probably skip that step and simply pop off the mirror trim panel and remove the three retaining screws (Photos 1 and 4).
Removing the door trim panel isn’t hard. It’s designed to be removed for all types of servicing, such as repairing door handles and window mechanisms. The most challenging part is finding all the hidden fasteners. The trick to removing the trim panel is to know that trim panel screws are usually hidden behind decorative vanity caps (DVCs) or in obscure recesses. Start your search with the armrest. Look for screws in the finger pull area, under the armrest or behind speaker grilles. If you see a round cover that serves no visible purpose, chances are it’s a DVC. Using a “hooked pick” (available at hardware stores; Photo 2), pry off the DVC and you’ll most likely find a hidden screw. We found four hidden screws in our vehicle.
After you remove all the screws, use the trim panel removal tool shown in Figure A to remove the Christmas tree–shaped fasteners from the door. There is no universal pattern to these fasteners, so you’ll have to feel around to find them by slowly prying around the edge of the trim panel. As you locate each fastener, insert the removal tool behind it and pop it out of its hole. When you’ve removed all the fasteners, lower the window and lift the trim panel up and out. Check the trim panel and door to make sure all the fasteners came out of the door properly. If any were damaged, take them to an auto parts store to get the proper replacements. Leave the power window and door lock connectors in place and lean the trim panel against the door.
Disconnect the cable
Next, follow the cable from the mirror and disassemble the mirror’s electrical connector. Remove the screws that hold the mirror and remove it from the door. Attach the new mirror. Reconnect the electrical connector and make sure you test the new side view mirror before putting the parts back into place. Reverse the entire procedure to reassemble the door trim panel. Use your fist or a small rubber mallet to reinsert the Christmas tree trim panel fasteners. Replace the screws and the DVCs.
Figure A: Special Tools
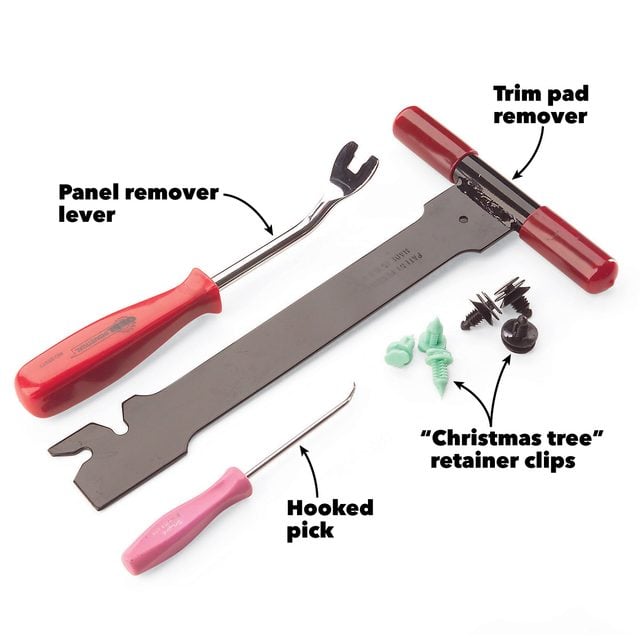
Special tools for removing the panels and replacing the side view mirror are available at auto parts stores.
Project step-by-step (5)
Remove the side view mirror trim panel
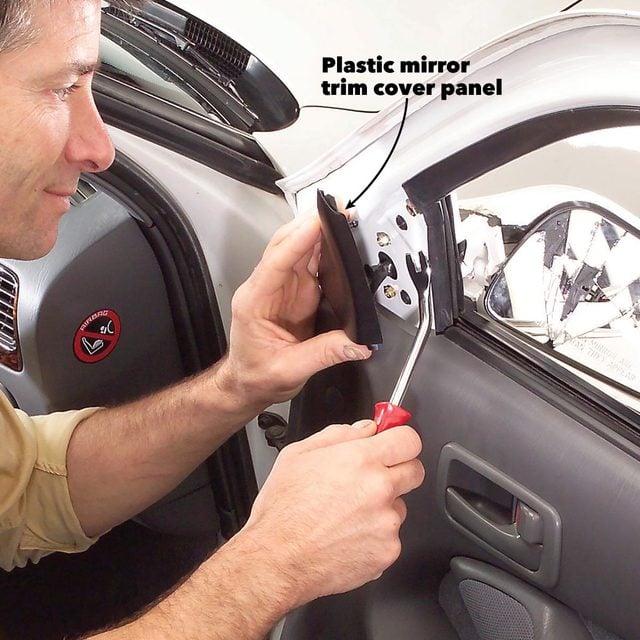
Pop off the mirror trim panel using the Door Panel Remover tool.
Find the hidden screws

Remove decorative vanity caps from screws with the hooked pick, then remove the screws.
Remove the door handle bezel
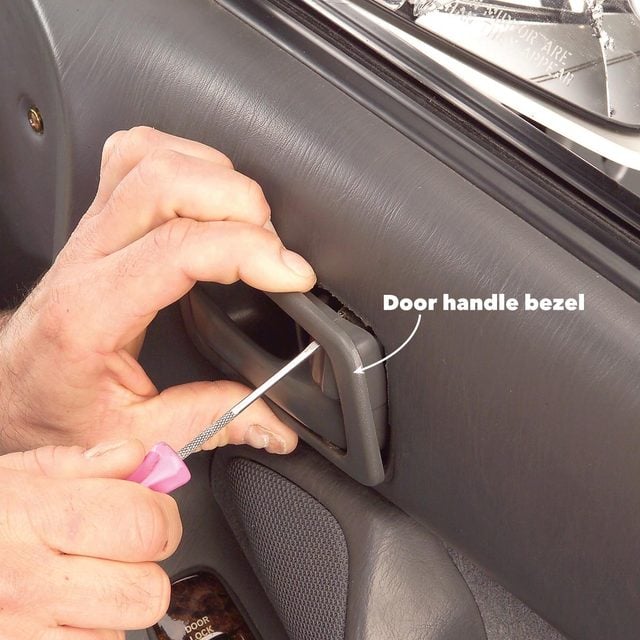
Check for retaining screws holding the door handle bezel. If there aren’t any, that’s your clue that it snaps into place. Use a small flat-blade screwdriver to undo the snaps.
Replace the side view mirror
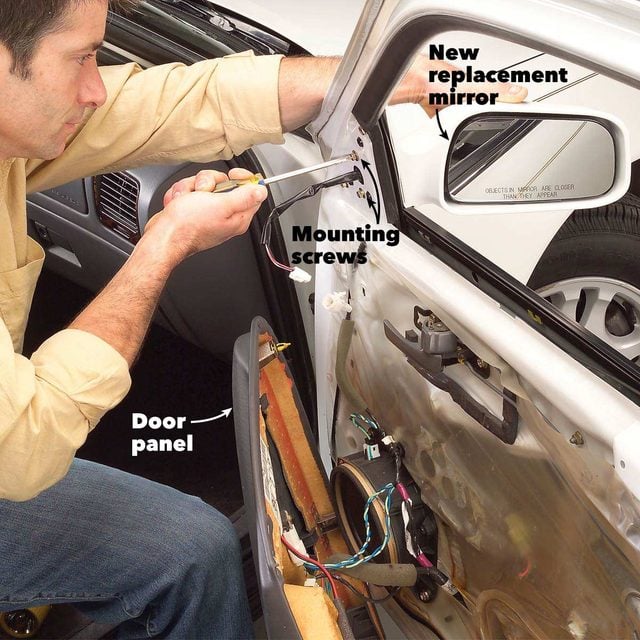
Remove the three mirror mounting screws on the inside of the door and replace the mirror.
Test the side view mirror

Connect the electrical connector and test the mirror. Then reassemble the door panel, reinstalling it in the reverse order that it was removed.