
Check for Head Clearance
Building codes vary by location, but most require at least a 7-foot clearance for attic expansions; that’s measured after you finish the ceiling. If you don’t have enough height, you’ll have to raise the roof line and that adds a lot to your construction costs.
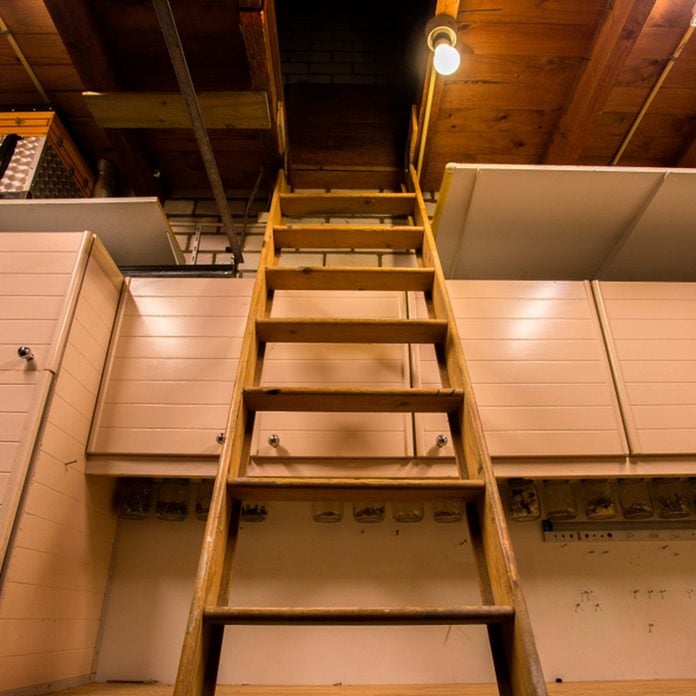
Plan On a New Staircase and a Bigger Landing
You don’t need much headroom or a large landing just to store boxes in your attic. But the second you turn your attic into living space, it’s a whole new ballgame. You’ll need a much larger staircase and landing to accommodate furniture. The stairs have to be wide enough to handle a dresser or sofa, but also have a large enough landing to handle the turn at the top.
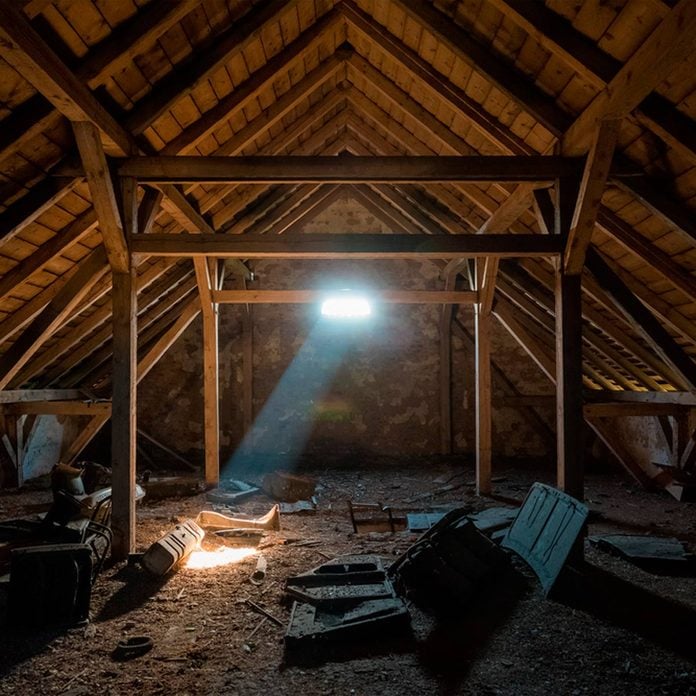
Call In a Pro for a Structural Analysis
Your attic floor may be strong enough to store your Christmas decorations, but that doesn’t mean it’s strong enough to support the weight of furniture and people. Don’t assume you can add walls, flooring and drywall and call it an attic expansion. Start by hiring a pro to conduct structural analysis. They’ll detail any floor and roof structural modifications and come up with recommendations for the placement of any bump-outs.
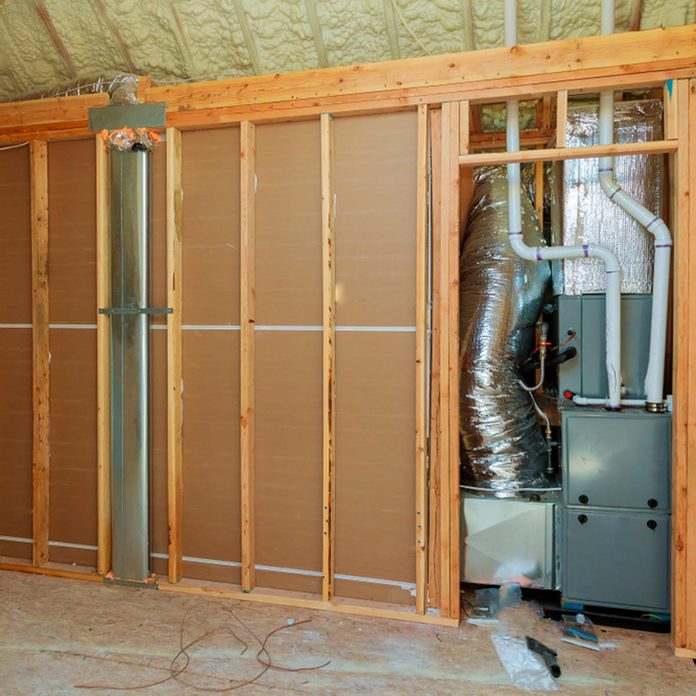
Get a Quote From an HVAC Contractor
Many DIYers try to cut corners by installing electric baseboard heaters and a window AC unit to heat and cool their new attic space. Electric baseboard heaters and window AC units may be cheaper upfront, but they cost a lot more to run. Plus, they don’t allow for fresh air exchange, a requirement in most building codes.
In most cases, you can actually save money by calling an HVAC contractor and having them install a free-standing, high-efficiency HVAC unit in the new attic space rather than tapping into your existing HVAC system. That’ll give you maximum temperature control at the lowest cost.
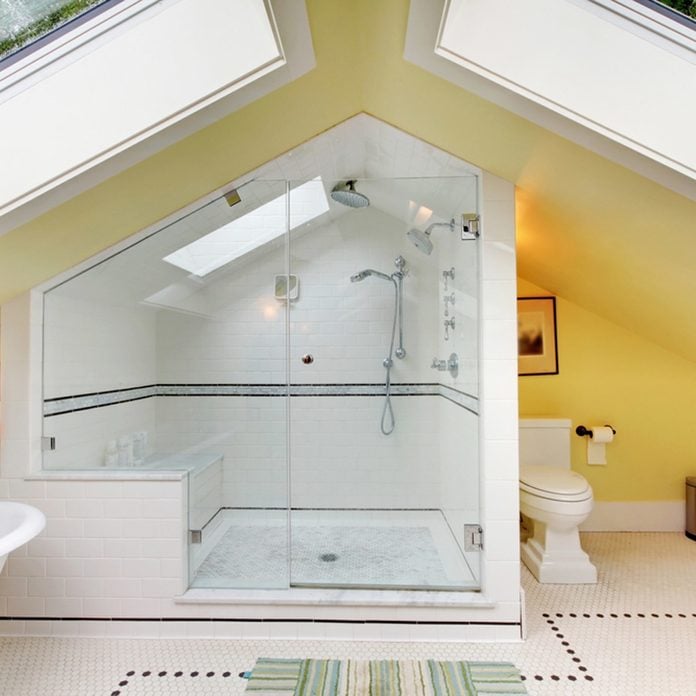
Yes, You Should Install a Bathroom
Adding a bathroom to your attic expansion costs a bundle, but it can be worth it. It makes the living space more, ah, livable—especially if you’re also adding a bedroom. But even if you’re planning to use your attic as an activity room or office, a bathroom makes the space more comfortable and it’ll improve resale value.

Check Out All Insulation Options
Don’t make the mistake of limiting yourself to just low-density, kraft-backed fiberglass insulation. Spend some time checking out the newer high-density fiberglass insulation products, mineral wool and spray foams. High-density fiberglass is the perfect choice for vaulted/cathedral ceilings where you need a high R-value in small-depth cavities.
Spray foam also works well for ceilings and walls, and you can do it yourself! In fact, the latest DIY spray foam kits allow you to get professional results without expensive equipment. Lastly, consider mineral wool for walls—it’s making a comeback. Some benefits of mineral wool insulation are that it’s easier to install and won’t leave you itching for days on end.

Get More Space With a Bump-Out
We won’t kid you, adding a bump-out to your attic expansion plan will also bump up the cost by a lot. That’s because they require structural modifications. But an attic bump-out is also the most cost-efficient way gain maximum usable space. Plus, a bump=out is a great way to add windows, getting you more natural light and fresh air.
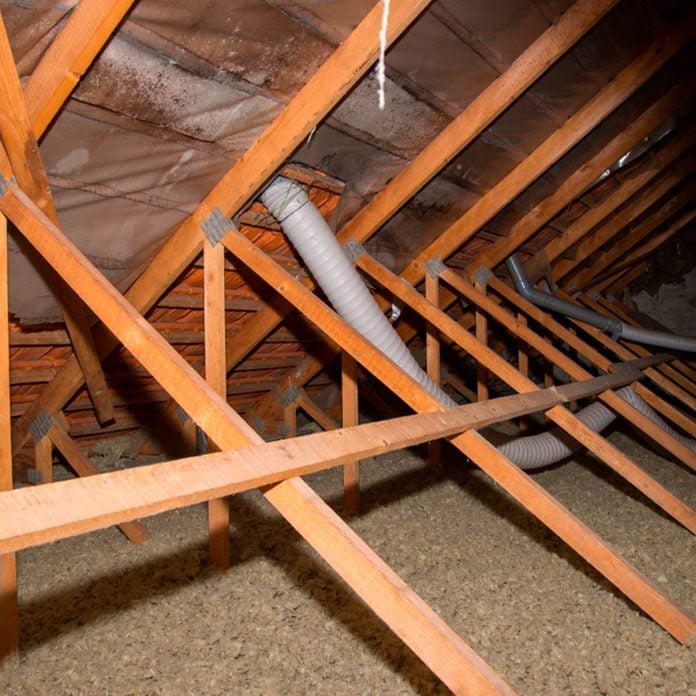
Move the Plumbing Vents and Ditch the Flue
Chances are you’ve got plumbing and bath fan vents running through your attic. They’ll most likely have to be moved to open up the space. That’s something you can do yourself, as long as you follow the building codes for pipe and duct size, slope and insulation. But moving a furnace flue isn’t that easy; you can’t just jog it to the side of the room and then angle it up through the roof.
That leaves you with two choices; plan your attic layout around the flue or upgrade your HVAC and water heater to high-efficiency power-vent models that don’t require flues. You’ll probably upgrade anyway when your old units conk out, so why not do it now and avoid losing that space in your new attic?

Ditch the Drywall Ceiling
A drywall ceiling is cheap but boring. Turn a typical attic expansion into something dramatic simply by taking the ceiling treatment up a few notches with natural wood, beadboard panels or tongue and groove paneling.
Pull a Permit
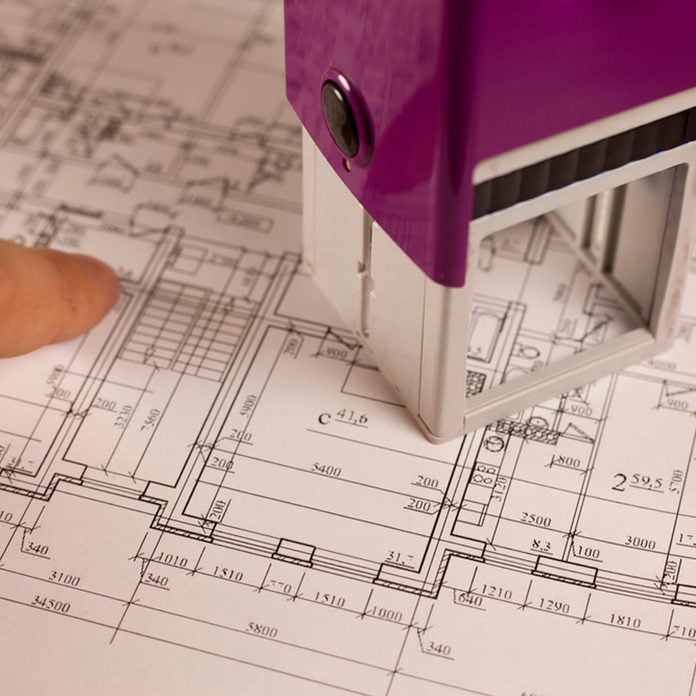
Don’t even think about doing an attic expansion without pulling a permit; that’ll just come back to haunt you when it’s time to sell your home. To pull a permit you’ll need to a detailed plan that’s been reviewed by a licensed structural engineer/architect. You can still do a lot of the work yourself, but you’ll have to do the work according to the latest building codes in your area and you’ll have to have it inspected. Many DIYers mess up on electrical work because the code changes every year. Here are the two most common electrical code violations to avoid.
Smoke and Carbon Monoxide Detectors: You can’t just slap up new smoke and carbon monoxide detectors and call it a day. They must be hooked into the existing units throughout the house so they all alarm at the same time. Here’s what you need to know when installing smoke and carbon monoxide detectors.
Arc fault and TR: All new wiring in your new attic living space must be protected by either an arc-fault circuit breaker or arc-fault receptacle. Plus, all outlets must be tamper-resistant. So look for the TR stamp on the outlet’s face.