
Tips for Installing a Chain Link Fence

Updated: Jan. 18, 2024
It might sound intimidating. But with the right equipment, experience and help, you can install a chain link fence in a few days.
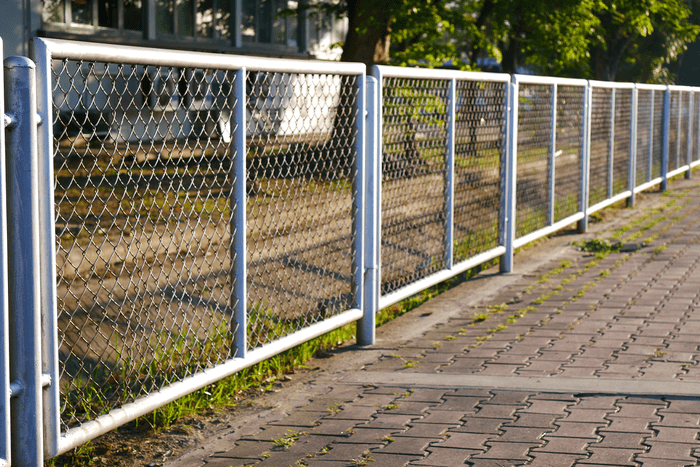
Installing a chain link fence on your property can provide security and safety for your kids, pets and equipment. But just like any DIY project, it will require careful planning and a fair amount of muscle to do correctly.
Chain Link Fence vs. Wooden or Vinyl Fences
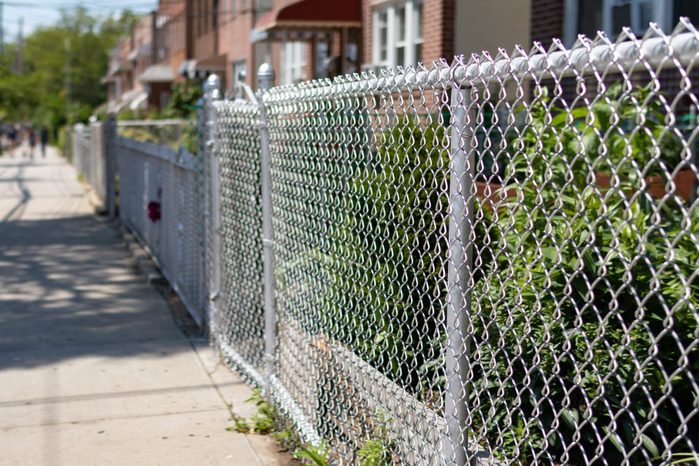
The cost of a chain link fence, today, is similar to a wood or vinyl one. However, it’s considerably easier to install, so you’ll end up saving on labor whether you do it yourself or hire pros to handle it for you. Repairing a chain link fence is relatively easy too, compared to other materials.
There are a few things to consider related to the cost of a chain link fence. While they’re more durable than wood and require less maintenance, they’re not great for the resale value of your home. Chain link fences aren’t going to give you much in the way of privacy either, and they’re not particularly effective for home security.
But if you’re trying to fence off a large plot of land or need something to keep critters out of your garden, a chain link fence is a solid option.
We’ve had some experience repairing and installing chain link fences. But we also called upon Vince Christofora, owner of Woodstock Hardware, to walk us through the process.

Check Local Building Codes and Property Lines
Building codes vary among municipalities and towns, so check to see what’s required before you start your project.
Since you’ll be digging post holes, Christofora recommends calling 811 in your state so someone can come out and mark utility lines on your property. Make sure you’re absolutely sure about where your property lines start and end so you don’t accidentally dig in your neighbor’s yard.
Design and Layout Your Fence
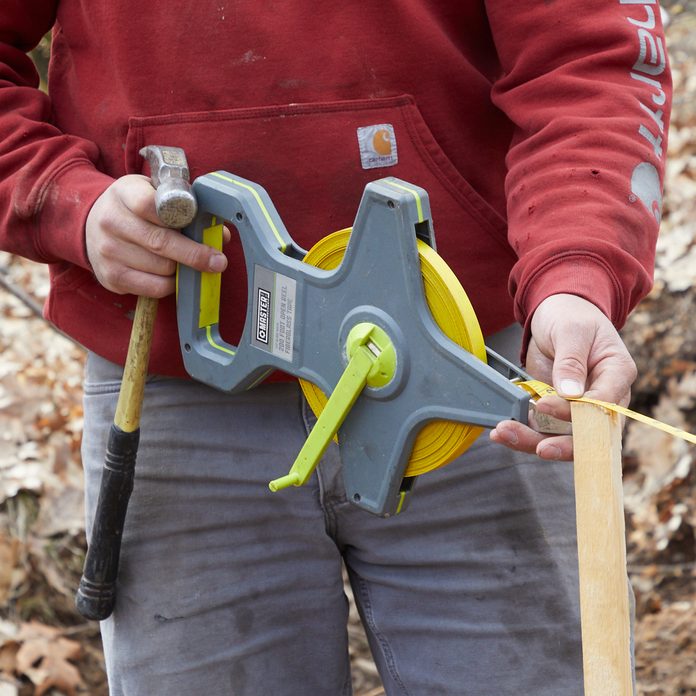
To identify potential conflicts with landscaping or building structures, mark your fence line and the locations of the posts. This lets you know how much fencing you’ll need to purchase. Christofora recommends using spray paint to better visualize your future fence. The paint disappears the next time you mow your grass. Here are a few tips for painting a chain link fence.
Determine the location and size of the gates. “On larger projects/longer fences you may want more gates to avoid long walks,” Christofora says. Also, remember large equipment like riding mowers or lawn tractors may need a double gate. Vehicle-wide gates can provide access to septic pump trucks.
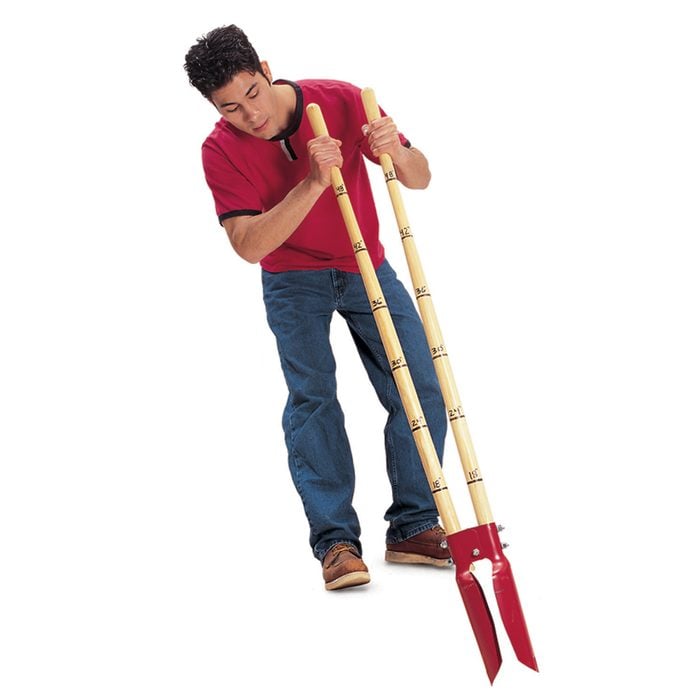
Dig and Install Fence Posts
In addition to your fencing materials, you may need some digging tools beyond your trusty shovel. Post-hole diggers and picks are essentials, and if you have rocky or hard soil, it may require rock bars or small jackhammers. You’ll need concrete mixing items like a wheelbarrow, mortar pans and mixing hoes, and installation tools like a level, a come-along, wire cutting pliers and locking pliers.
Once you have your materials and tools, the next step is to install the posts that anchor your fence. Once you’ve dug the holes and set them in the ground, secure the posts with concrete. In our experience, dig three times wider than the diameter of the post itself, and place one-third of the post underground. Posts need to be spaced evenly for aesthetic purposes, 4-10 feet apart.
Install Rails, Post Caps and Tension Bands
Once you’ve set the posts, add the tension bands that hold the fence to the end, corner and gate posts. Place a cap on the gates, corner and end posts, driving them in place with a mallet. Then install the top rails through the caps.
Follow the manufacturer’s instructions carefully, ensuring they’re oriented correctly. Then you won’t waste valuable time fixing them later on.
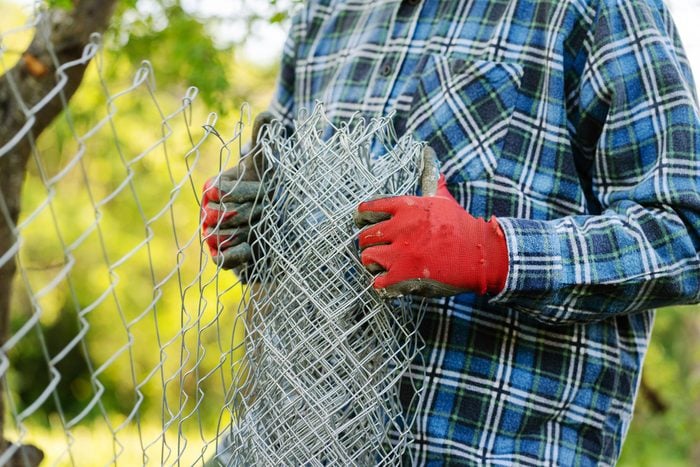
Attach Fence Material and Tighten It
Lay down your fence rolls — these are heavier than you might think — and unroll them along the length of the fence. While weaving it through the end of the fencing, slide the vertical tension bar through the tension bands. This will secure the fence to the end post and let you stretch the fence into place.
Pro tip: Wear a sturdy pair of work gloves to protect your fingers.
Chain-link fencing needs to be stretched taught or it’ll droop or sag. Using a come-along, pull the fence tight to eliminate any extra slack. Attach it to the end post with a tension bar. Christofora says this step requires a decent amount of muscle, so you’ll need a helper or two.
Remove Excess Fencing
Any extra fence left over past the tension bar can be easily removed by unlooping the top and bottom weave and pulling the strand. Then tighten the bolts on the tension bands and release the come-along.

Tie Fencing to Rails
Separate aluminum wires called “tie wires” attach the fencing to the top rail of the fence. Slide the tie wire through a loop in the top of the fence link, around the rail and back around to the fence, tying it tightly in place. Place tie wires every 24 inches along the top rail. Given that this fence type is see-through, learn more about how you can cover chain link fences for added privacy.
Originally Published: March 15, 2023