Build an Outdoor Table with Quikrete Countertop Mix
Updated: Oct. 25, 2023
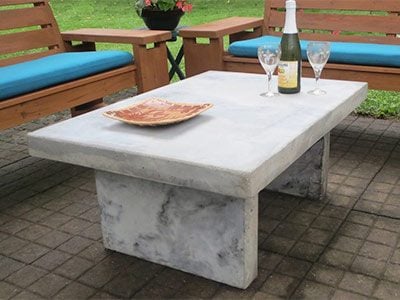
I needed to make an outdoor table that would be reminiscent of stone (without the high cost) and have the durability and strength of concrete.
Sponsored by Quikrete
As a project designer and builder, I’ve constructed a lot of outdoor benches, tables and patio furniture for clients. That’s why I was excited to give Quikrete’s special Countertop Mix a try. I needed to make an outdoor table that would be reminiscent of stone (without the high cost) and have the durability and strength of concrete. The Countertop Mix was just the answer. My customer was more than satisfied with the results.
The Quikrete White Countertop Mix is specially formulated to flow well into forms and respond to the detail and smooth finish we needed. This DIY outdoor countertops project is well within the scope of the average DIYer, but if working with concrete is new to you, I’d recommend trying out a small sample project before diving in and also watching a couple of the casting projects at quikrete.com. To show you how easy the patio table project went, I snapped some photos of the process from start to finish.
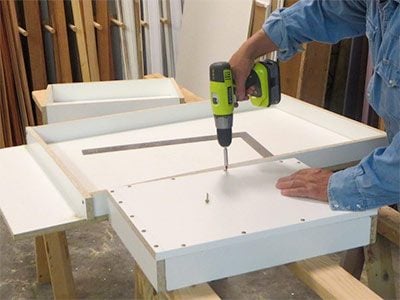
I built the forms from 3/4-in. melamine that I picked up at my local home center. I cut the pieces to size and then screwed them together with special GRK cabinet screws that are self-drilling. This step nearly eliminates splitting.
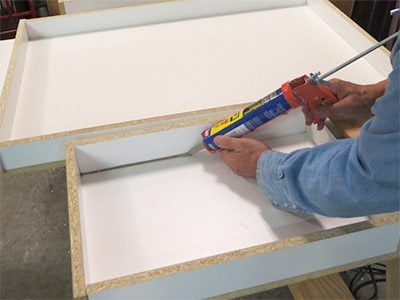
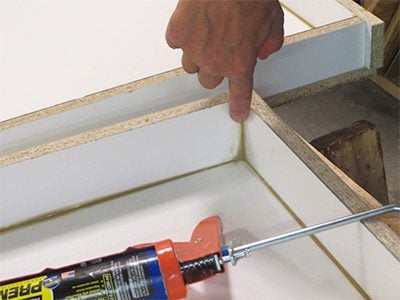
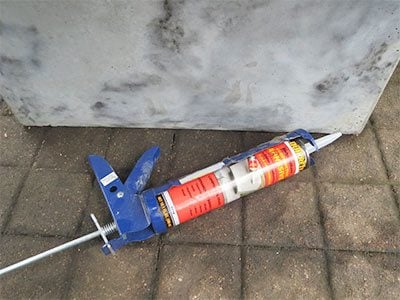
Once the top and leg forms were completed, I caulked the corners with polyurethane adhesive. The polyurethane holds tightly to the melamine and smooths out nicely to slightly round the inside corners of the forms.
Make sure the caulked corners are smooth—the Countertop Mix picks up every detail. The mix won’t stick to the caulk or the melamine. Be sure to let the urethane caulk harden overnight.
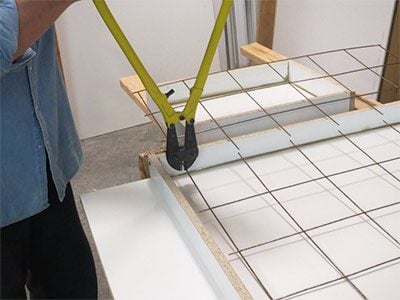
Buy some steel mesh at your local home center. You can usually find smaller, manageable sizes near the concrete aisle. Cut the mesh so you have at least 1-in. clearance around the entire perimeter.
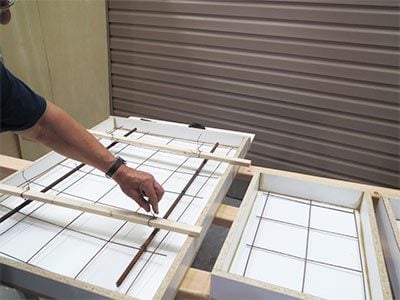
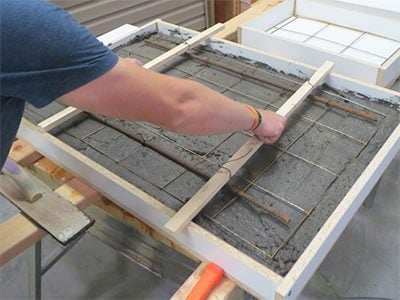
The top will be subject to more stress than the legs, so I added two lengths of 1/2-in. rebar to the mesh. I twisted the mesh and rebar together with steel wire. I also wired the mesh and rebar to a couple of sticks to elevate the assembly so it would float in the middle of the forms.
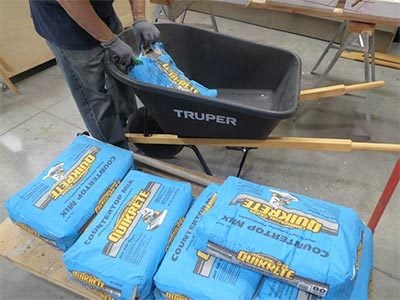
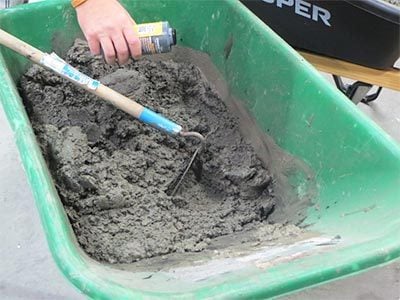
Mix the Countertop Mix in a wheelbarrow or a mixing tub. Thoroughly mix it with water to the consistency of mashed potatoes.
I mixed up a second batch simultaneously and added colorant to the mix. The plan was to randomly shovel in portions from each mixture to create a marbling effect.
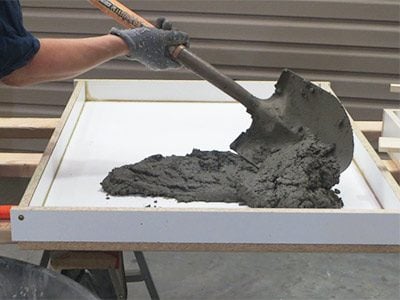
I shoveled the mix into the forms with just enough to fill the form halfway and worked the concrete into the corners with a piece of scrap wood.
With the form half full, I laid the mesh/rebar assembly onto the mix and then continued filling the form with Countertop Mix from both of my batches. Once the form was filled, I cut the wires attached to the wood supports and bent them down into the mix.
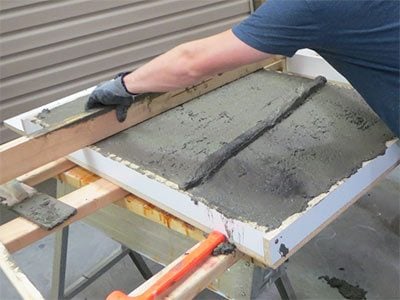
With the steel mesh embedded into the mix, I screeded the mix with a 2×4, making sure the mix was level with the top of the forms. All you need is a side-to-side motion, working from one end to the other. Too much manipulation will bring all the fine cream in the mix to the top (remember, the detail is at the bottom). Once the form was full, I tapped rapidly along every side of the form with a soft mallet to bring trapped air bubbles in the mix to the top.
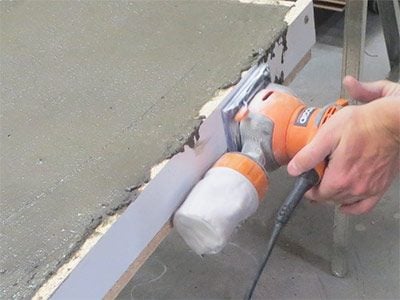
To further get rid of air bubbles, I ran my random orbital sander along the edges and bottom of the form.
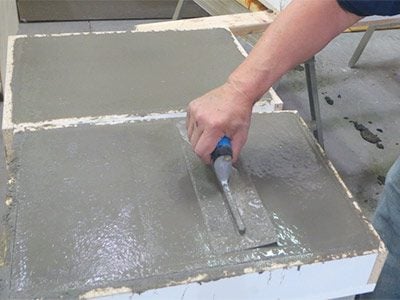
The last step in the forming process was to smooth the top with a steel finish trowel. Be careful not to overwork the concrete. I let it set for an hour or more and then returned to give it a final smoothing. All that was left was to fill the leg forms and then wait two days to remove the forms.
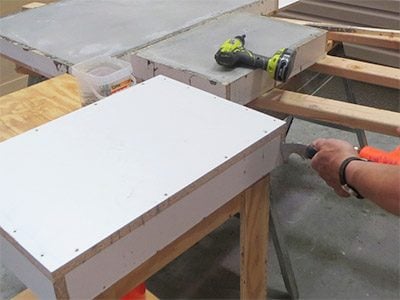
After removing the screws, I inserted a thin paint scraper into the seam of the form to loosen it. Be careful not to pry against the delicate surface of the fresh concrete. Once you get one side free, the others will peel back.
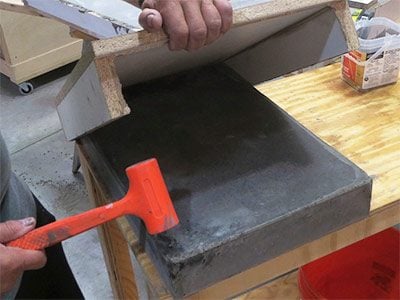
Tap the edges of the form to pull the form gently from the mold. The concrete is “green” at this stage, so you’ll need to be careful, especially near the fragile edges. The concrete takes a week to get really hard and about four weeks to get to near full strength.
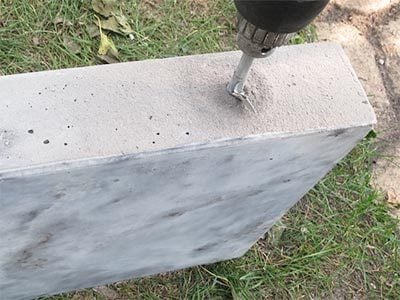
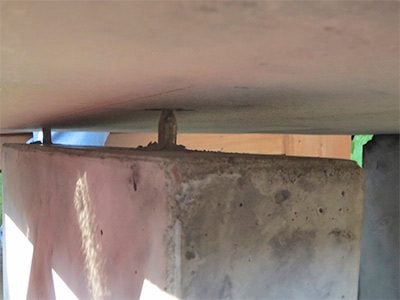
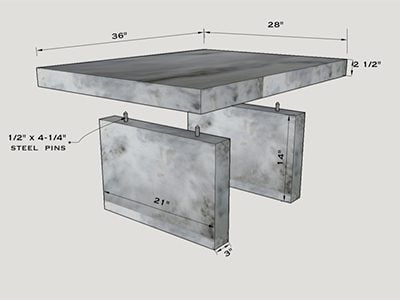
After a few days, I drilled holes on the tops of the legs and into the bottom of the top to accept the steel assembly pins. I used a plywood template to get consistent spacing. It’s best to drill a 3/16-in. pilot hole and then finish with a 1/2-in. hole. I cut landscaping spikes to 4-1/2-in. lengths to use as pins. The holes were 1-1/4 in. deep into the top and 3-1/4 in. deep into the top of the legs.
It’s wise to do a test fit with the steel pins inserted before final assembly. This step takes some real effort. The top weighs about 240 lbs., so get some strong backs and then another person the guide the pins into place. Also, I built a couple of wood braces to fit under the top to act as safety stops in case someone lost their grip.
Once the fit looked good, I used Quikrete Adhesive to bond the legs and the top together. I also put a couple dabs near the edges where the legs meet the patio (once I made sure my placement was locked in). After the Countertop Mix fully cured (28 days), I applied a couple coats of sealer to the top and legs to protect them from food and beverage stains. I recommend applying a fresh coat after a year of use. While you’re at it, also learn how to build a Quikrete walkway.
— David Radtke, Contributing Editor
