Perfect Miters Every Time
Updated: Oct. 10, 2023
Pro tips for making perfect miters
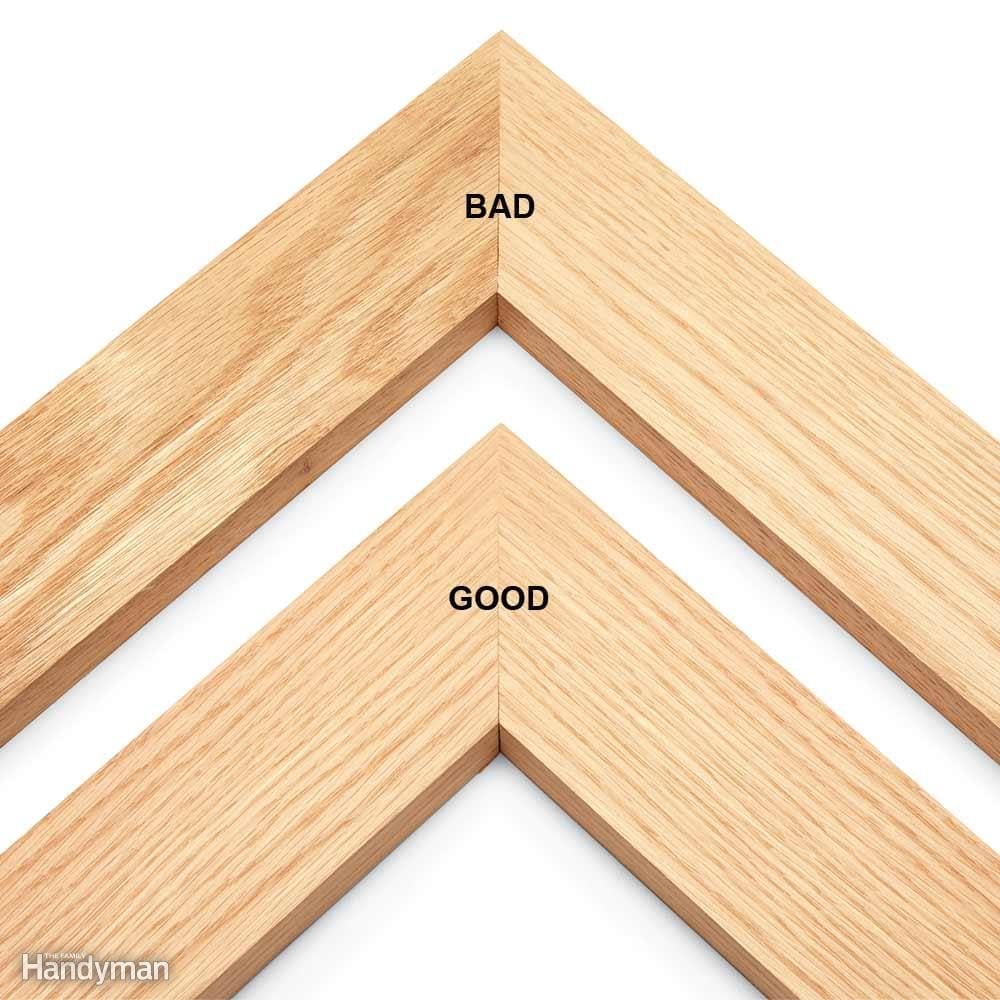
Miters: Match Wood Grain
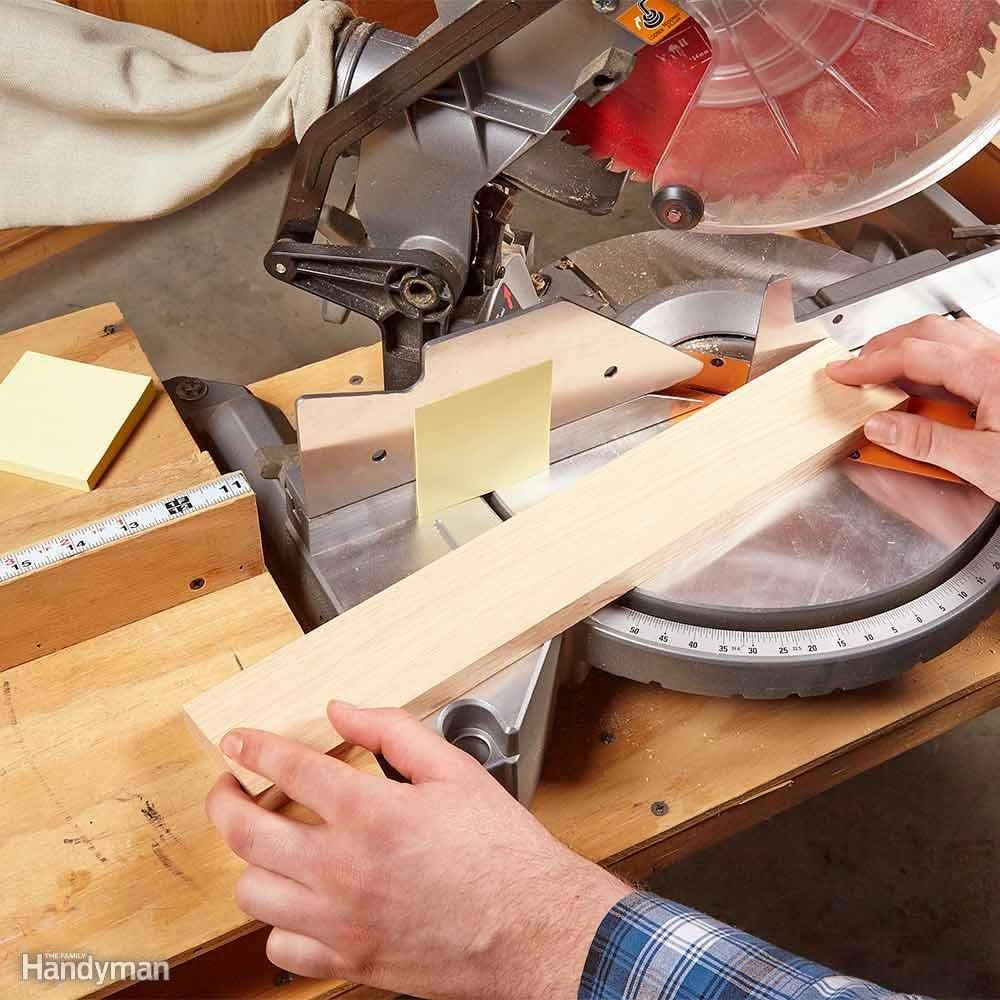
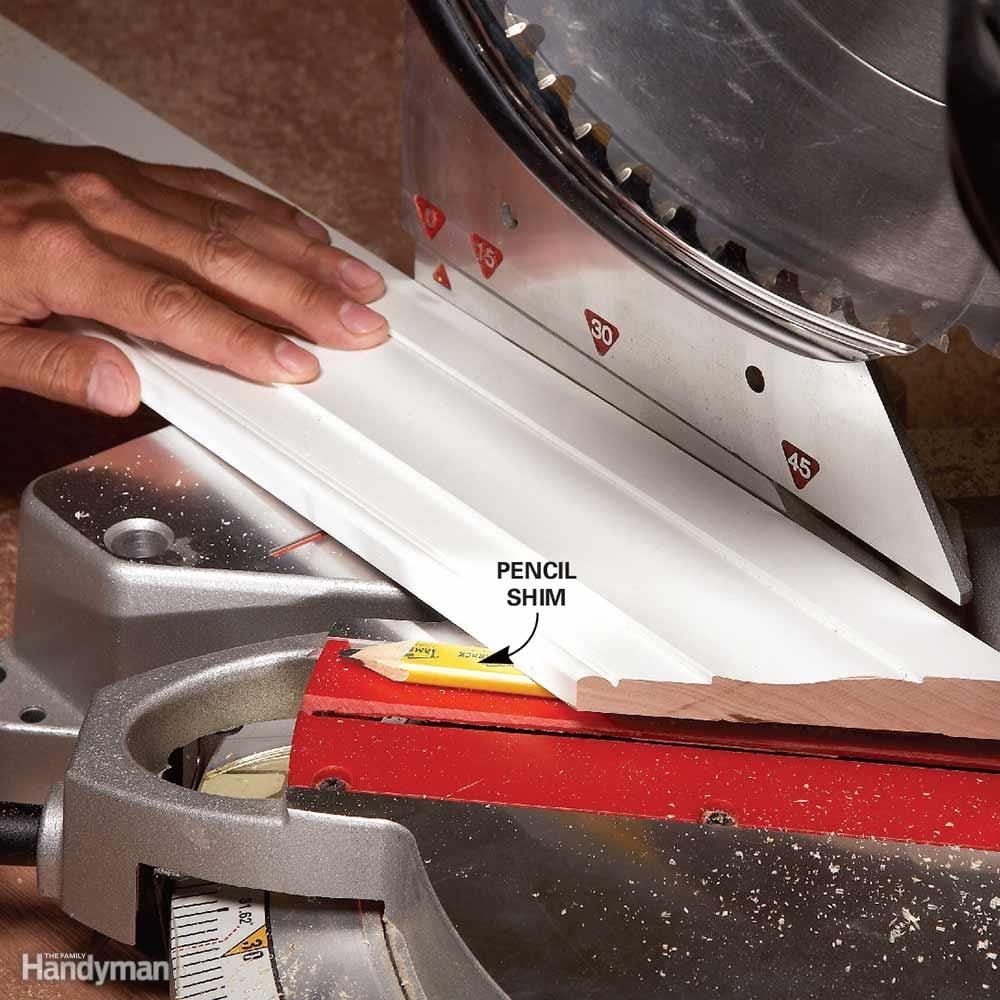
Miters: Micro-Adjust With Paper Shims
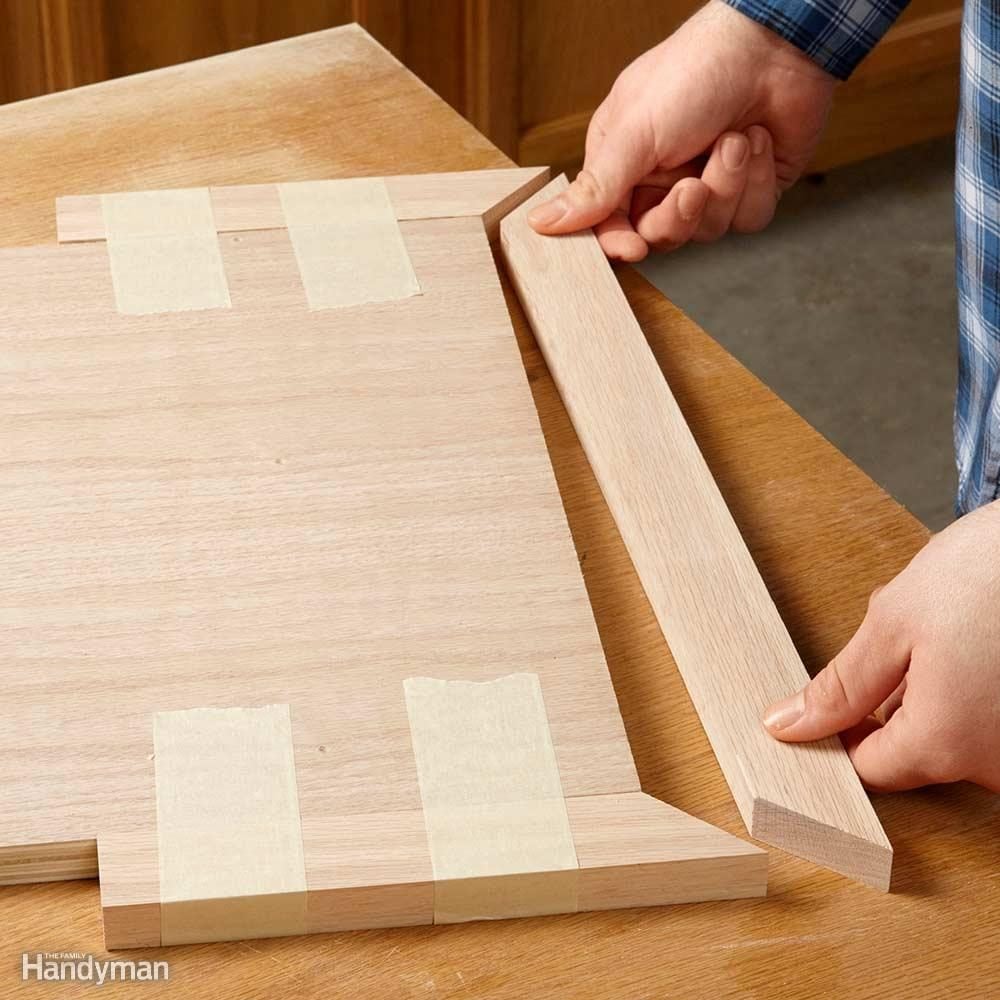
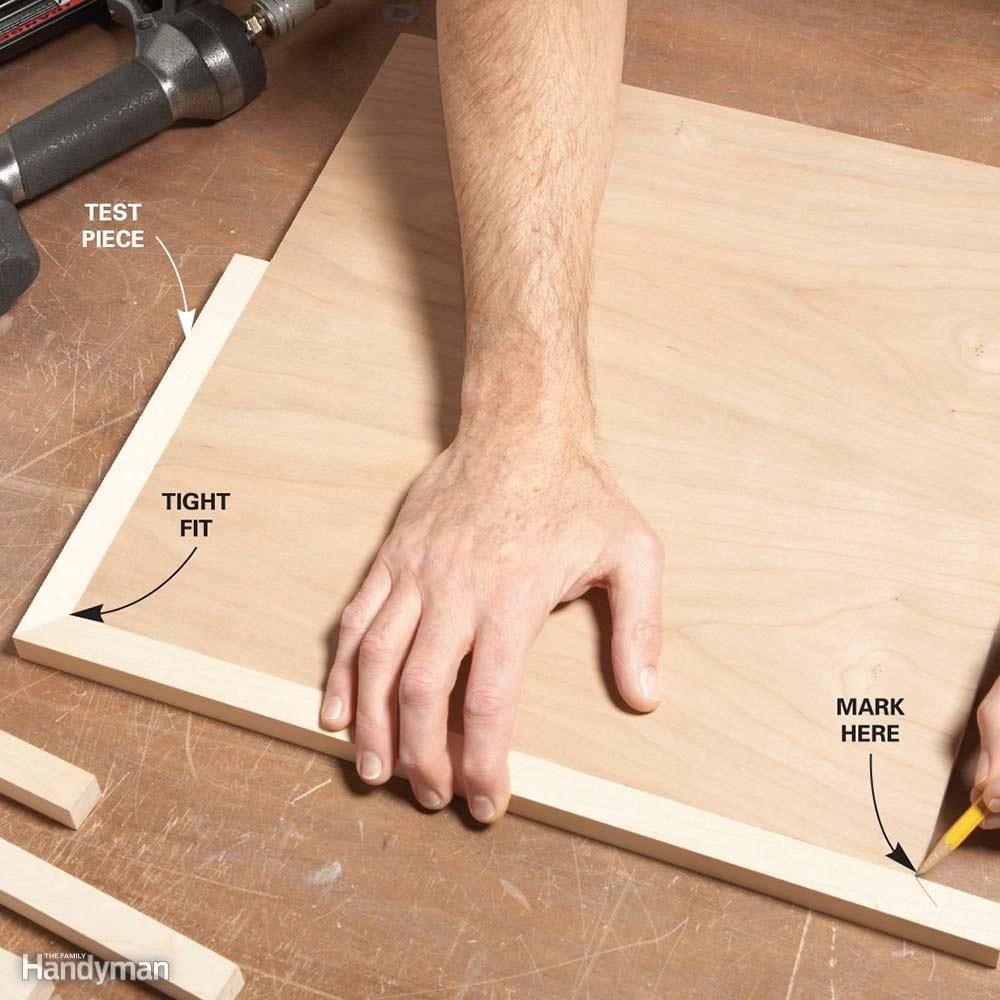
Miters: Use Scrap Wood Guides for a Perfect Fit

All homes come with some assembly required…
Now headaches aren’t included. Introducing the DIY University. Try it FREE!
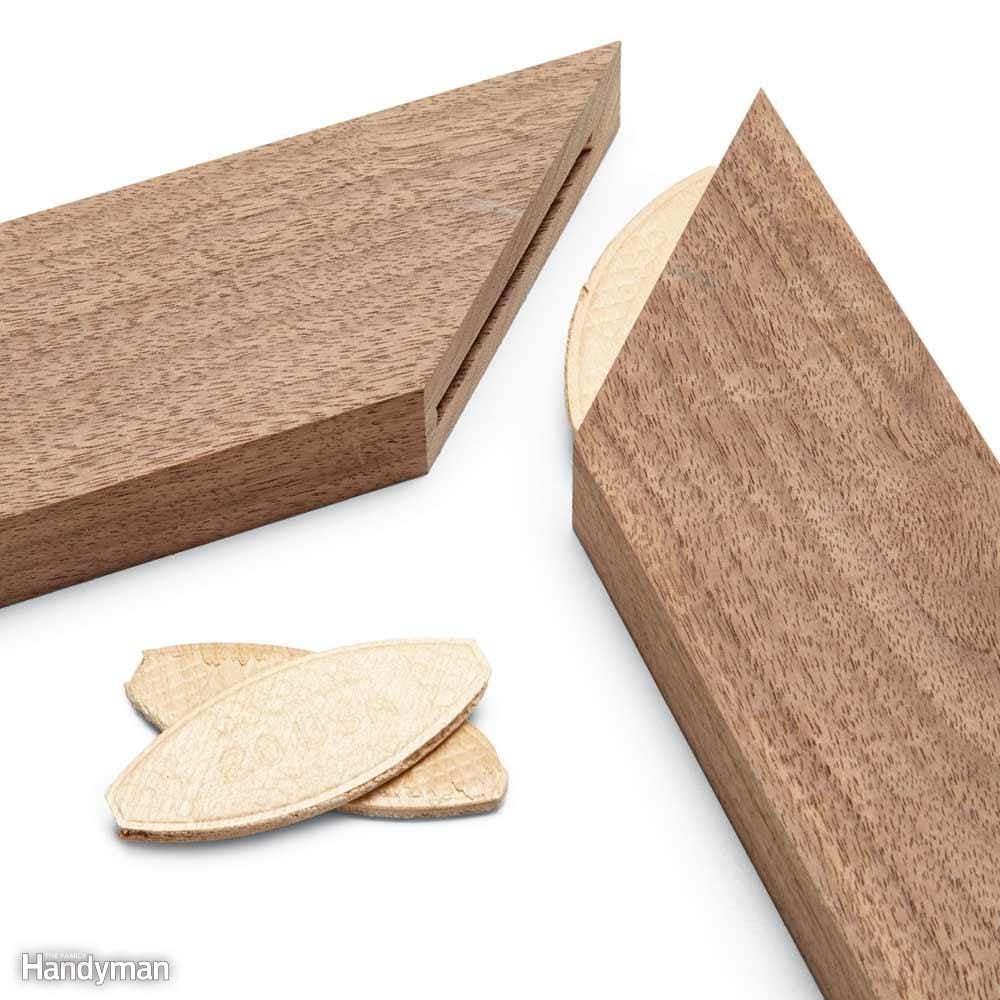
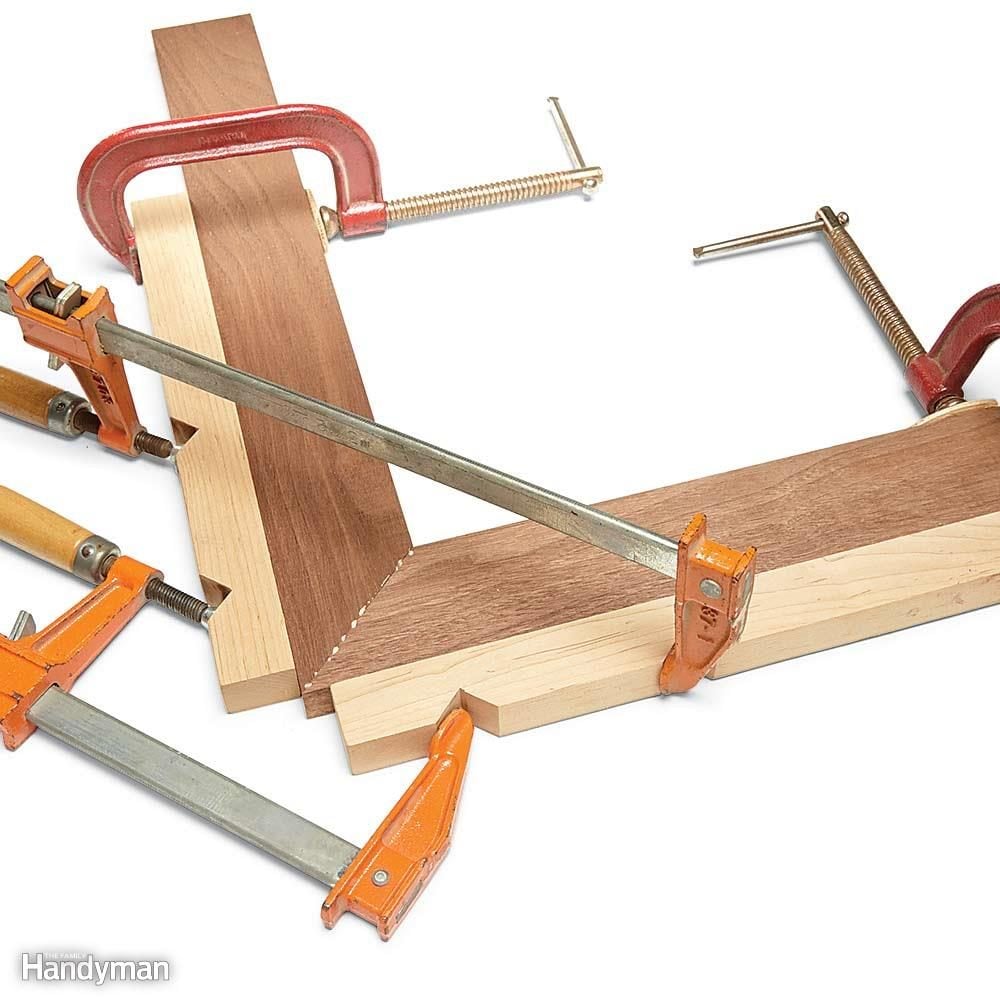
Miters: Align With Biscuits
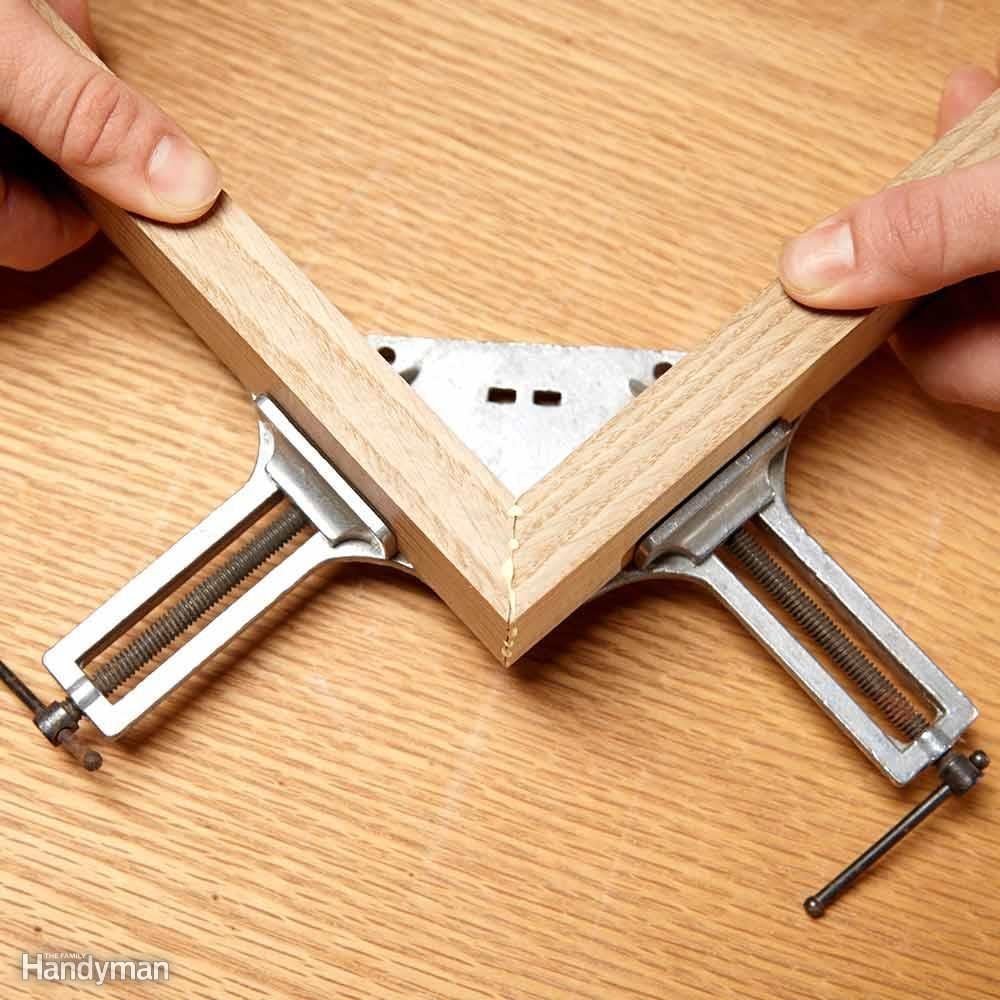
Miters: Square Up With Corner Clamps
Try out a Collins Miter Clamp that we featured in a Stuff We Love video below.
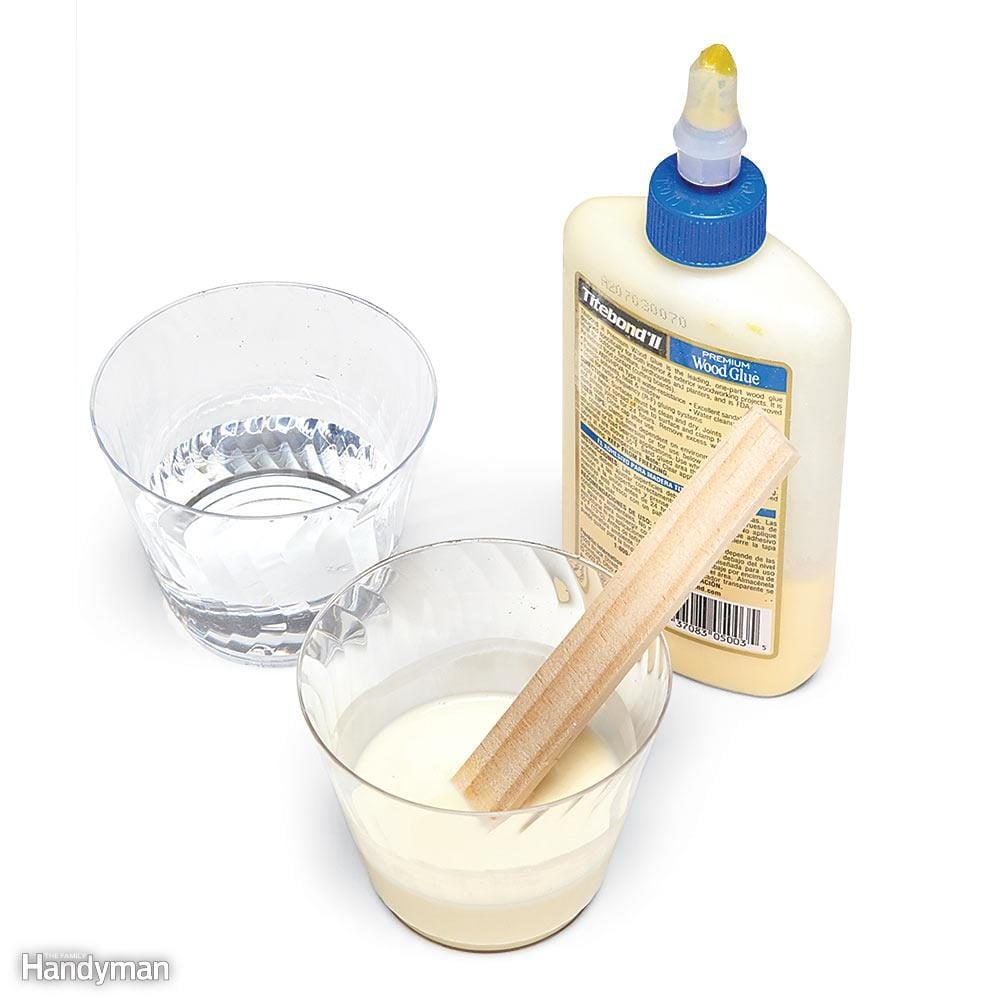
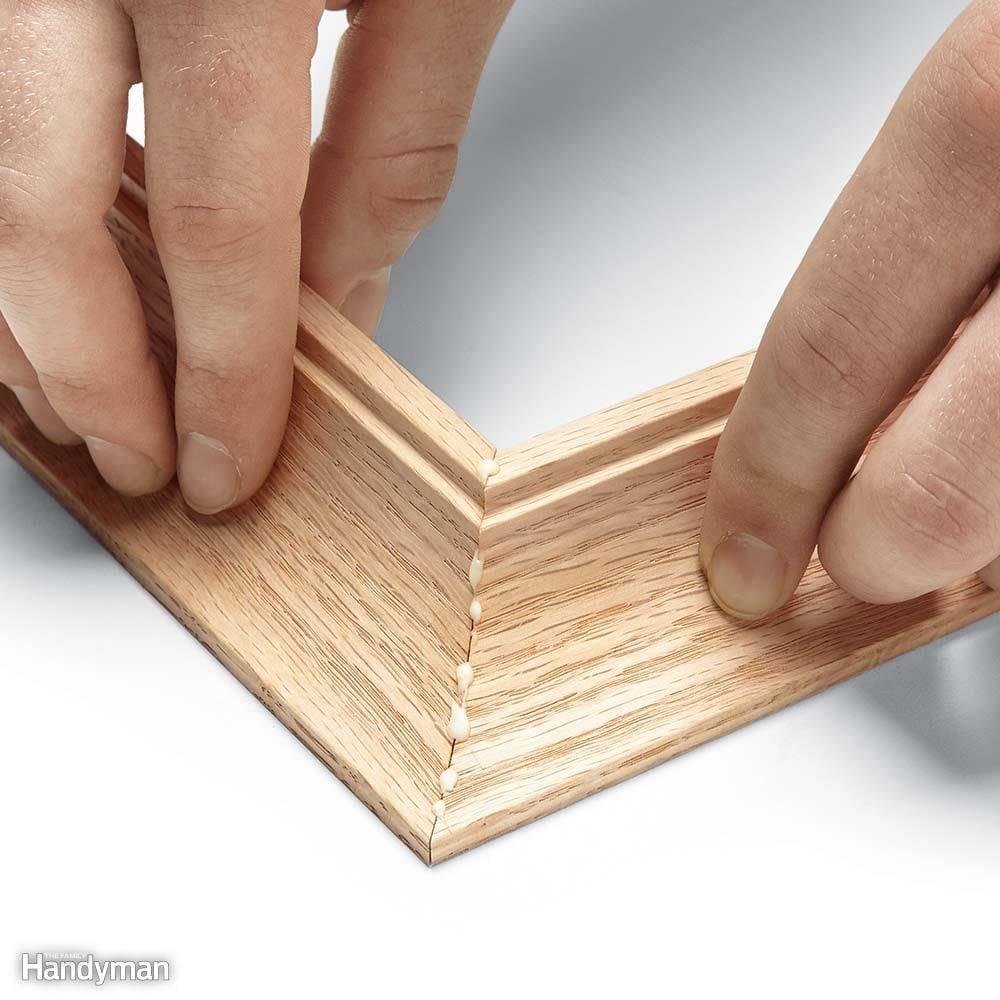
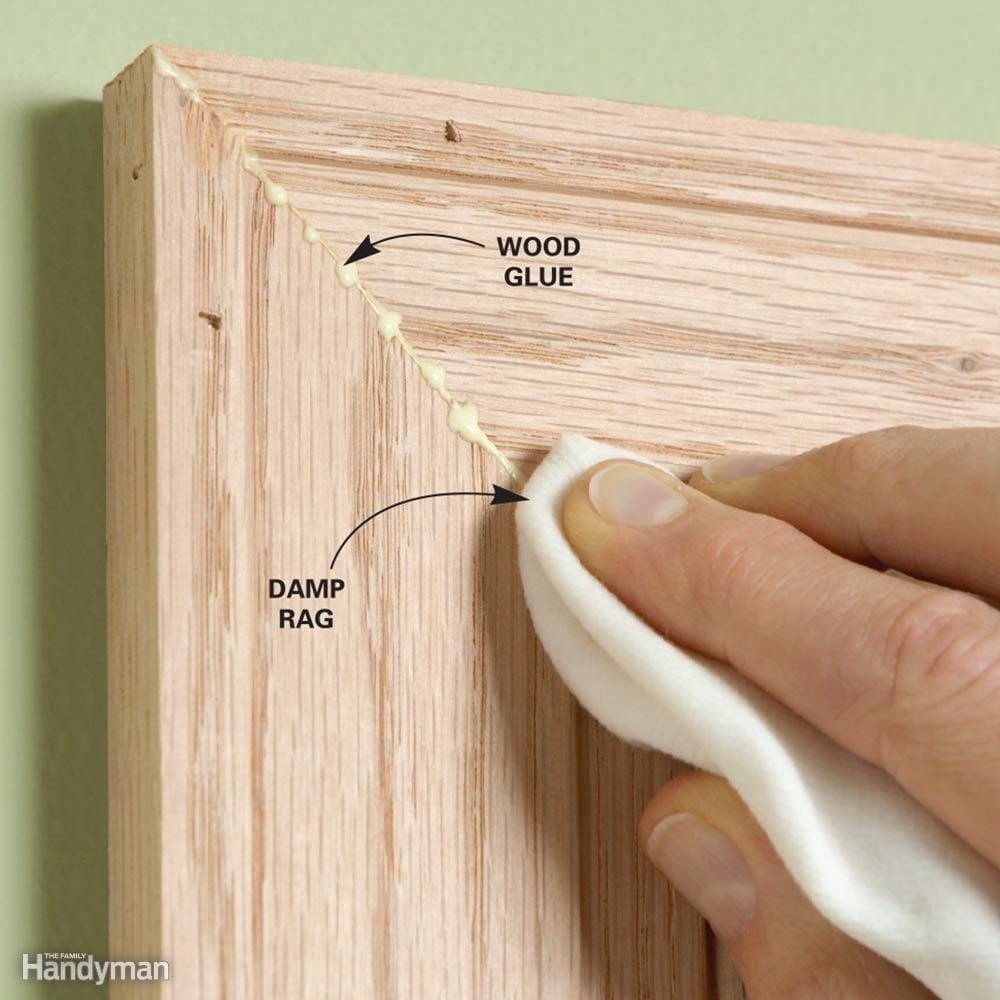
Miters: Slow Down Your Glue
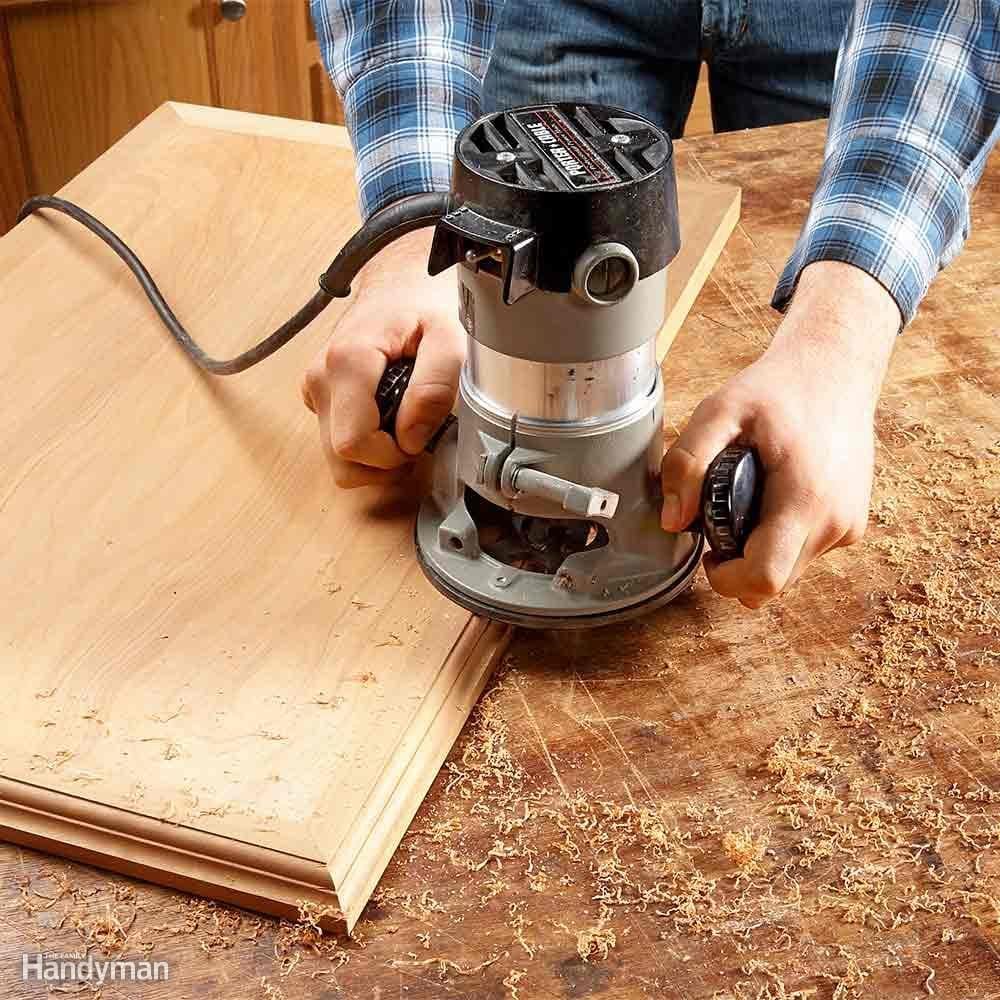
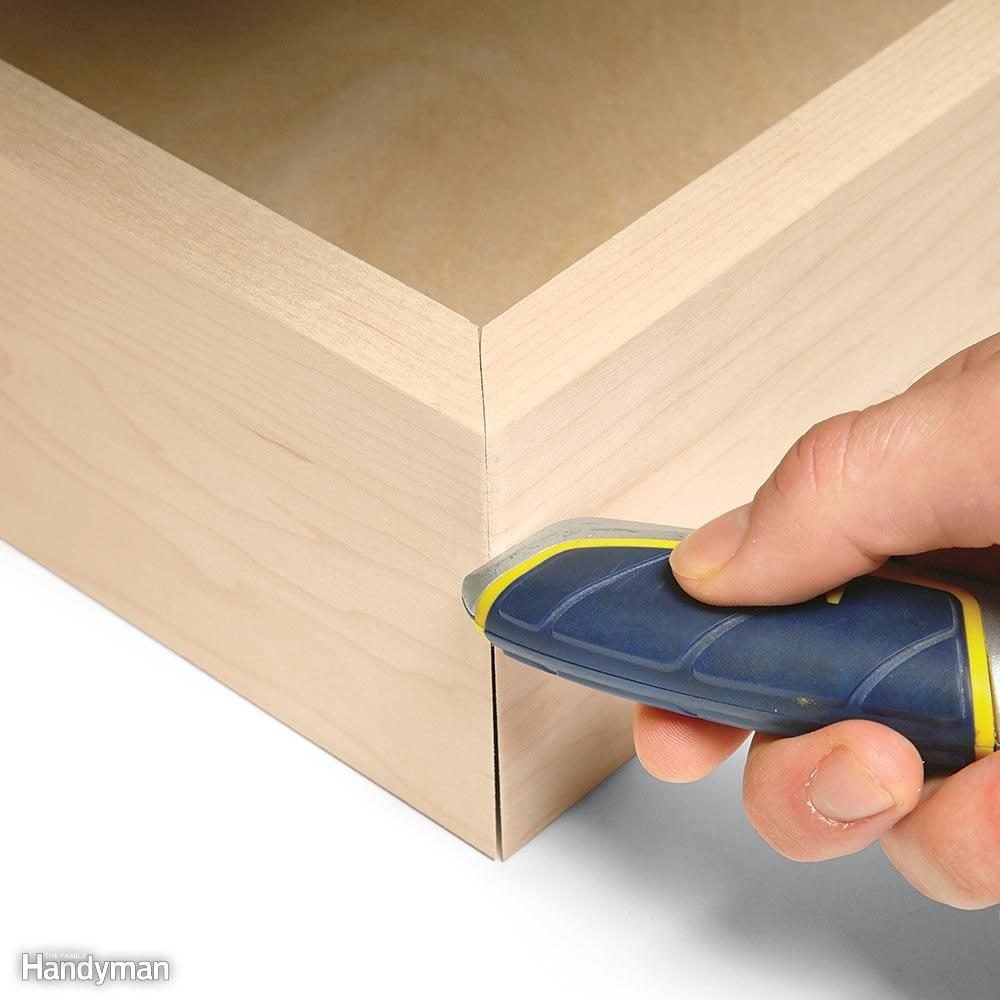
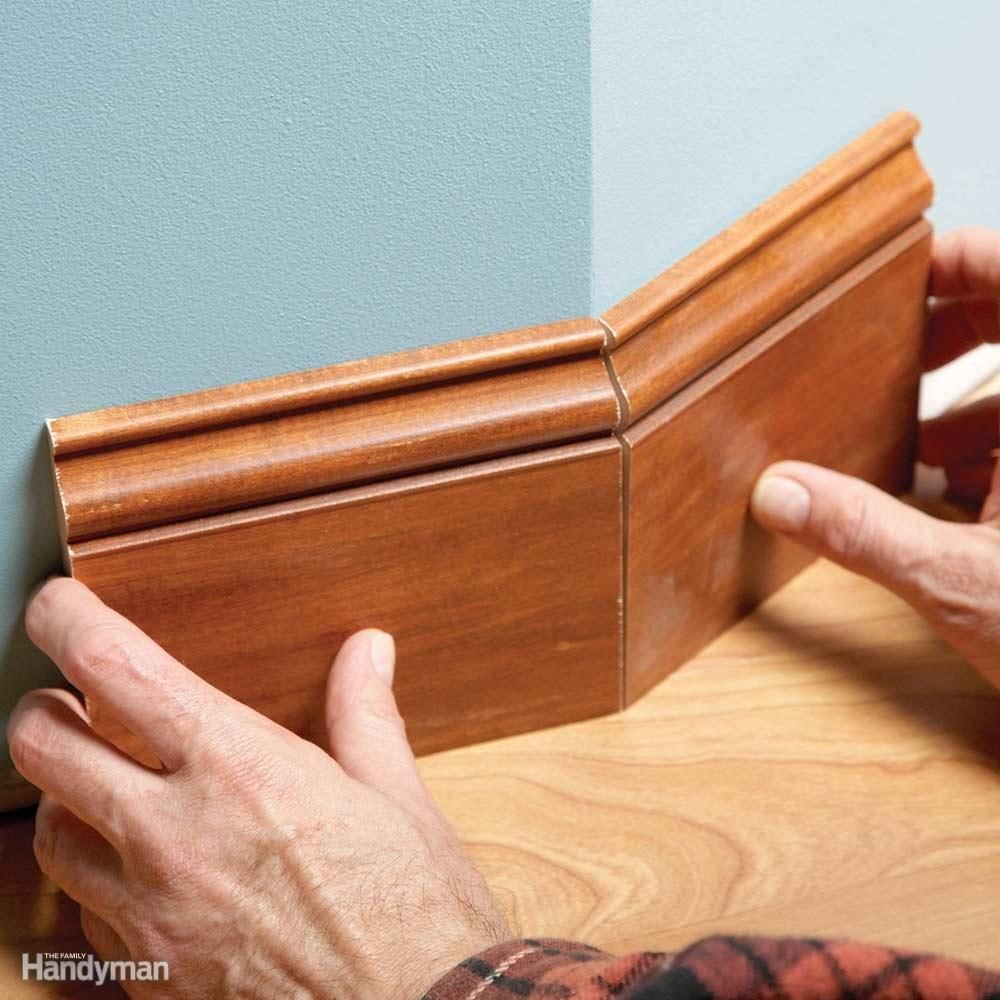
Miter, Assemble, Then Rout
Shaped moldings can be tough to miter, align and clamp. So make life easier by starting with plain square stock. Then, after assembly, grab your router and shape the edges. The risk with this method is that you'll gouge or splinter parts that are already in place. The best way to avoid disaster is to make a series of shallow passes instead of one full-depth cut.
Miters: Clamp With Your Hands
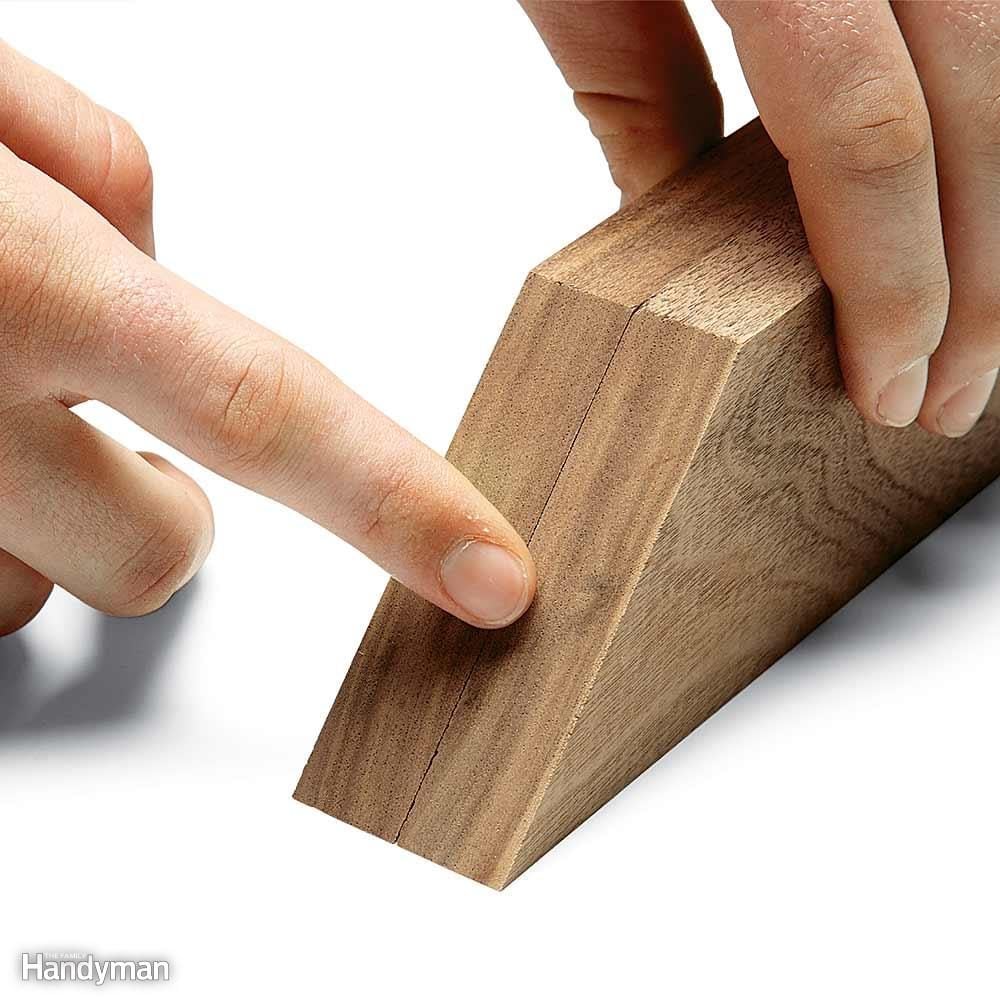
Miters: Feel the Difference
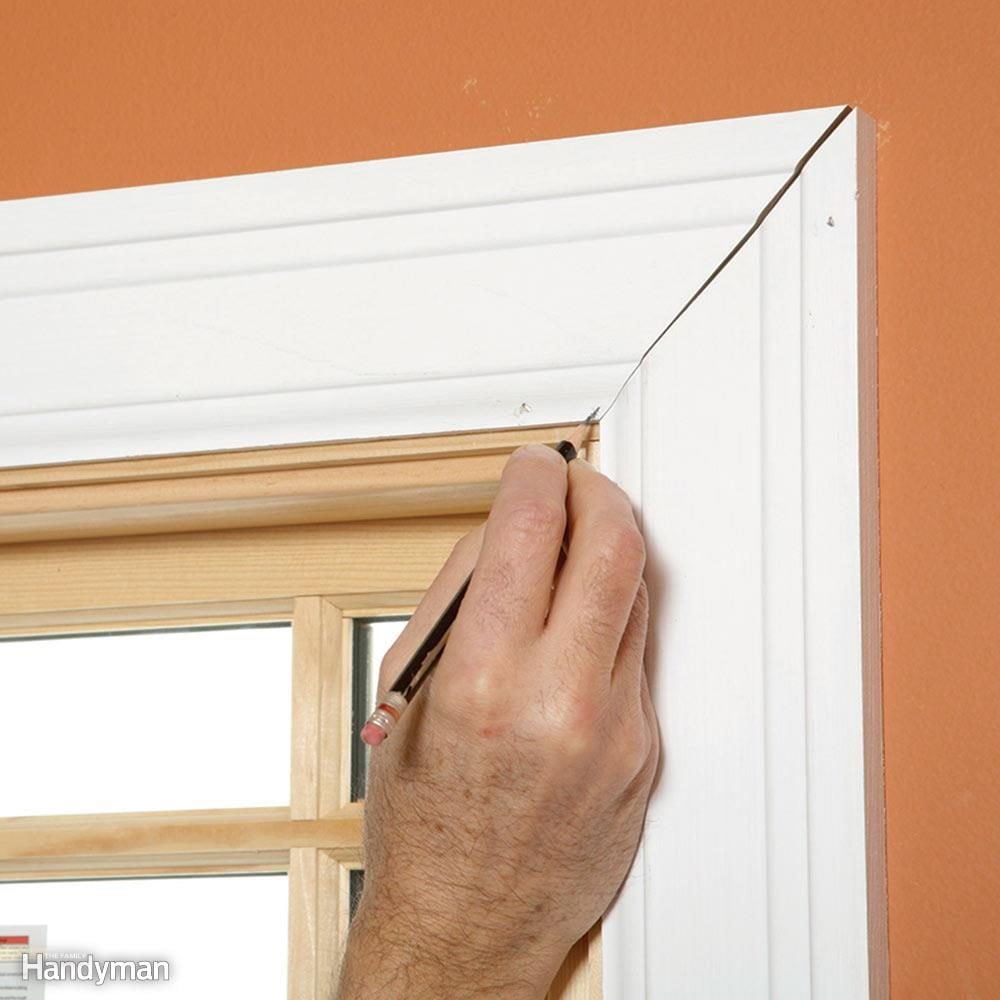
Miters: Close Ugly Gaps
Miters: Make Your Own Corner Clamps
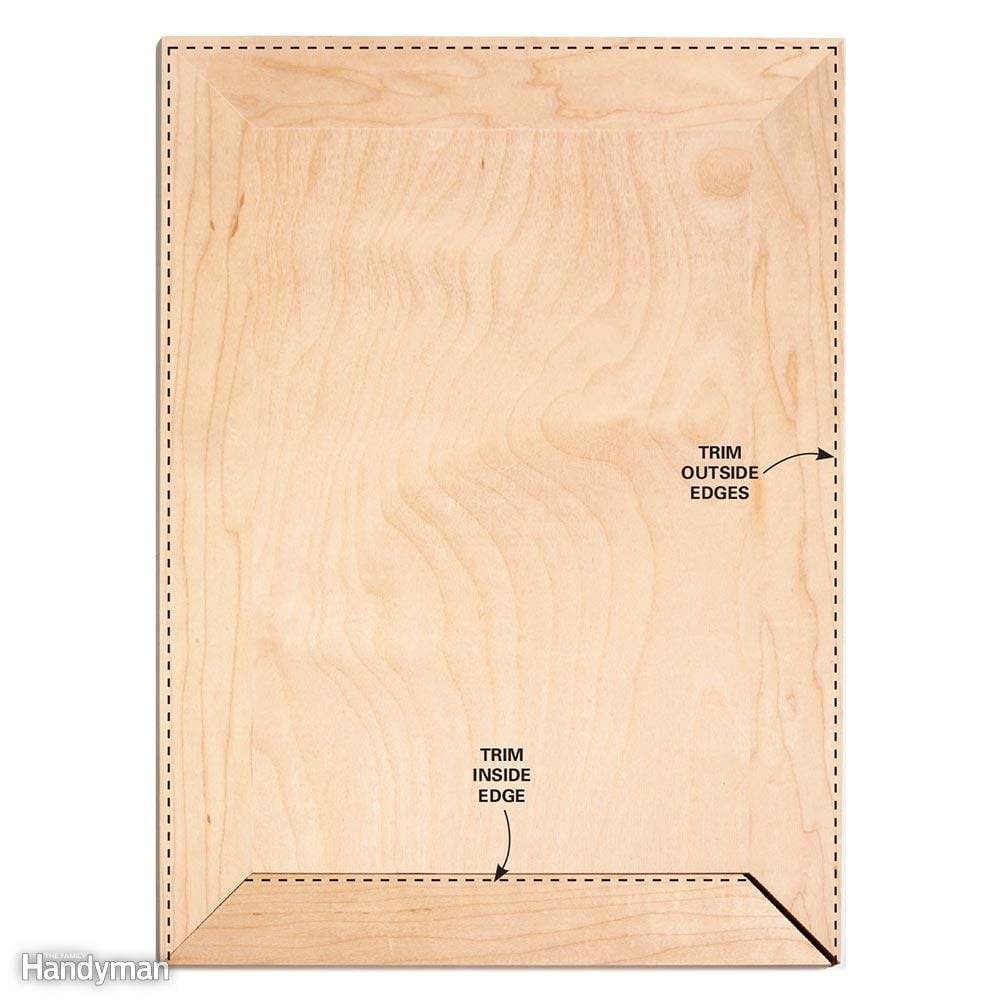
'Lengthen' a Board
Ever cut that last part just a bit too short? There's a solution for that: First, trim off the inside edge of the too-short part. By cutting off the short edge, you effectively make the mitered part longer. Then trim the same amount off the outer edges of the other three sides. Your edging will be a little thinner than you had planned, but nobody will notice.
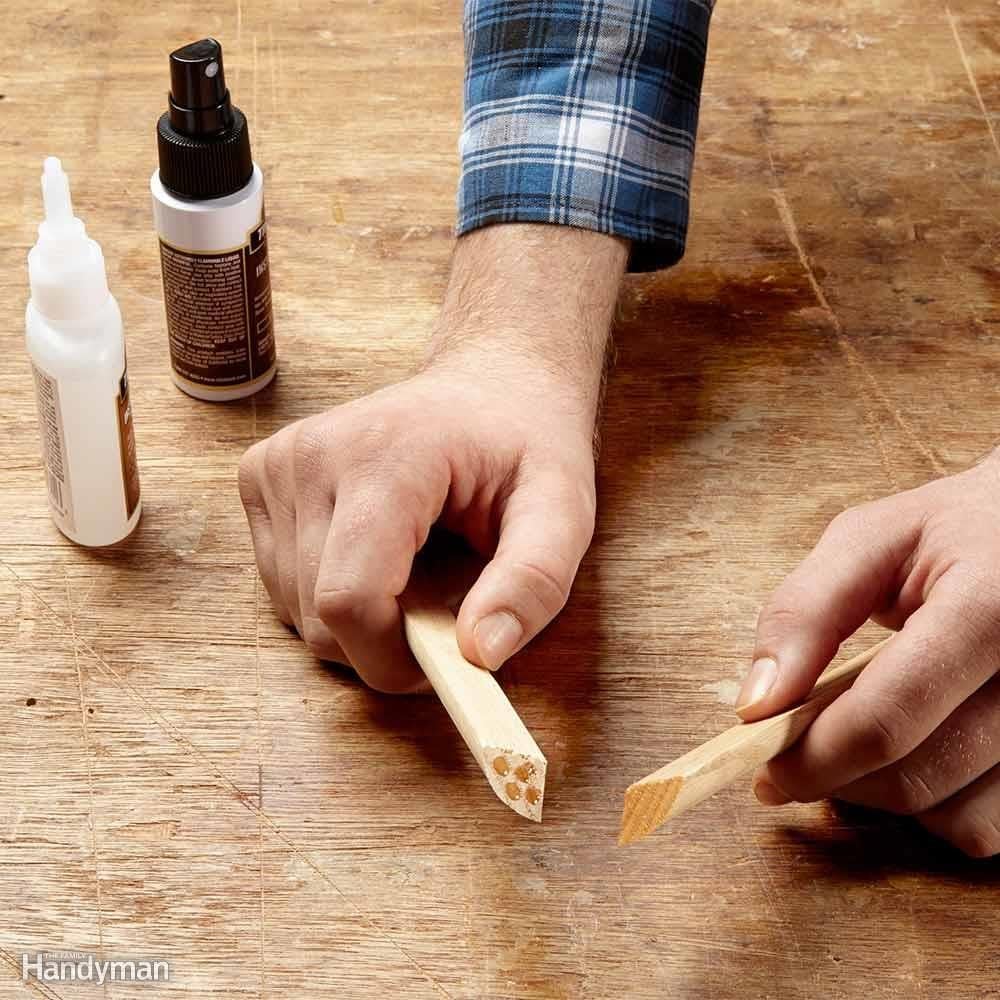
Bond Joints Instantly
Trim carpenters have used this system for years: Apply a few dabs of cyanoacrylate adhesive (aka “superglue”) to one surface and apply activator (or “accelerator”) to the other. Immediately press the parts together and they'll bond in seconds. No waiting, no complicated clamping setup. Activator is sometimes sold separately ($5 and up), sometimes with the glue. Look for it at home centers or shop online; rockler.com carries a good selection of glues and activators.
Miters: Guess and Test
Miters: Fit One Miter at a Time
Glue and Sand Miters for a Seamless Fit
Miters: Tweak the Cut
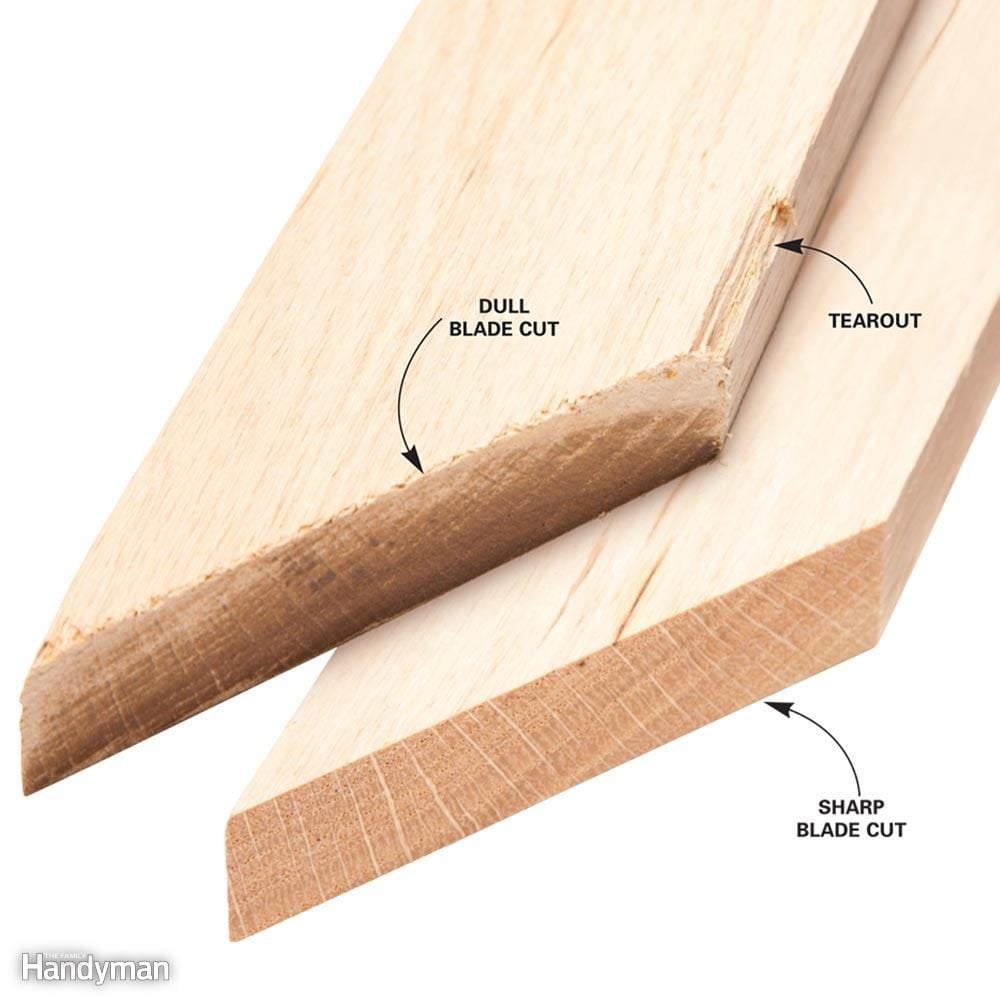
Miters: Use a Sharp Saw Blade