How to Clean and Unclog a Kitchen Sink Drain
Updated: Apr. 22, 2024
With two simple tools — a plunger and a drain snake — you can clear 95 percent of your stopped-up drain problems.
An hour or less
Beginner
Less than $20
Introduction
Save yourself the plumbing service call and clear your clogged drain yourself. In this article, we'll show you how to unclog a kitchen sink using a plunger and drain snake to clear up the most stubborn drain clogs.
Tools Required
- Allen wrench
- Clamps
- Pipe wrench
- Pliers
- Plunger
Materials Required
- Baking soda
- White vinegar
Project step-by-step (10)
Start With the Right Tools
- Plungers are sold at any hardware store or home center.
- Pro tip: Those with larger rubber bells deliver more thrust, but most sizes will work for kitchen sink drains. Be sure the plunger has a stout handle so you can apply plenty of force as you learn how to unclog a drain.
- A drain snake (sometimes called a hand auger) is a long, serpentine tool that, as the name suggests, snakes into the drain and penetrates and pulls out the clog.
- Drain snakes vary greatly in price, depending on their size, length and turning mechanism. For all-around use, the best drain snake is a 3/8-inch model that’s about 20 feet long. It’s easy to turn down into the drain. Shorter, 1/4-inch types will work for most clogs, too.
- Pro tip: Since unclogging stubborn drains hopefully won’t be a regular activity in your home, consider renting a high-quality drain snake over buying a cheap one.
- Keep these other items handy:
- a bucket or a plastic bin that fits under your drain
- rubber gloves
- a bright flashlight
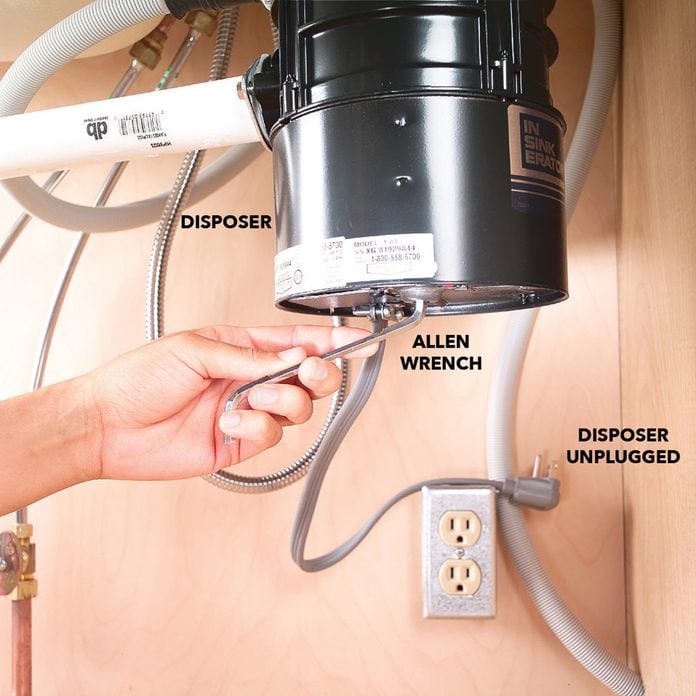
Check the Garbage Disposal First
- If the side of the sink that has the disposal doesn’t drain, plunge it first to remove the clog or force it down the drain.
- Note: One of the most common causes of a clogged drain is when your garbage disposal is clogged.
- If you flip the switch to turn on your garbage disposal and all you hear is a low humming sound, your disposal is probably jammed. Switch it off and unplug the unit.
- You can usually free it by turning the blades manually by inserting an Allen wrench into the hole on the bottom of the disposal.
- If the disposal doesn’t make any sound when you turn it back on, an internal breaker on the motor has probably tripped. Give the disposal a minute to cool off. Then press the reset button located on the bottom of the unit, and turn it on again.
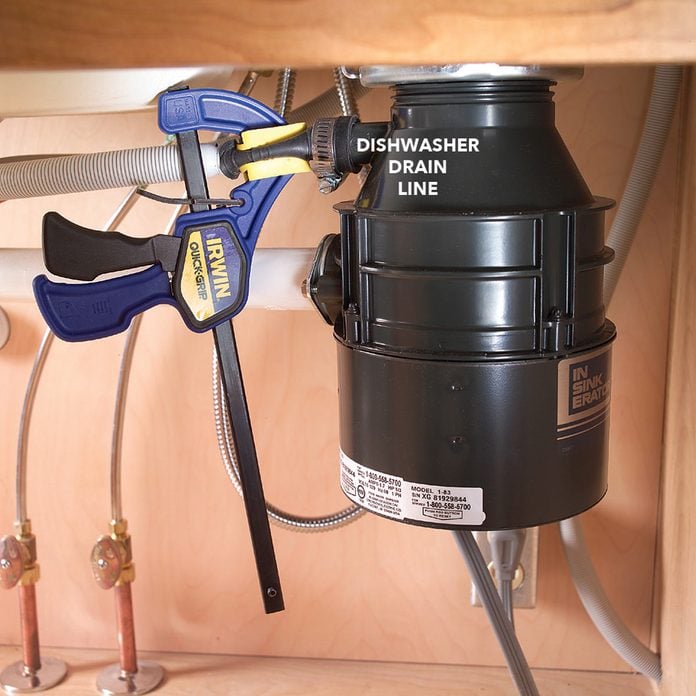
Clamp Off the Dishwasher
- If you have a dishwasher, tighten a clamp over the flexible part of the drain line before plunging the drain.
- Note: This prevents dirty water from flowing back into the dishwasher cabinet.
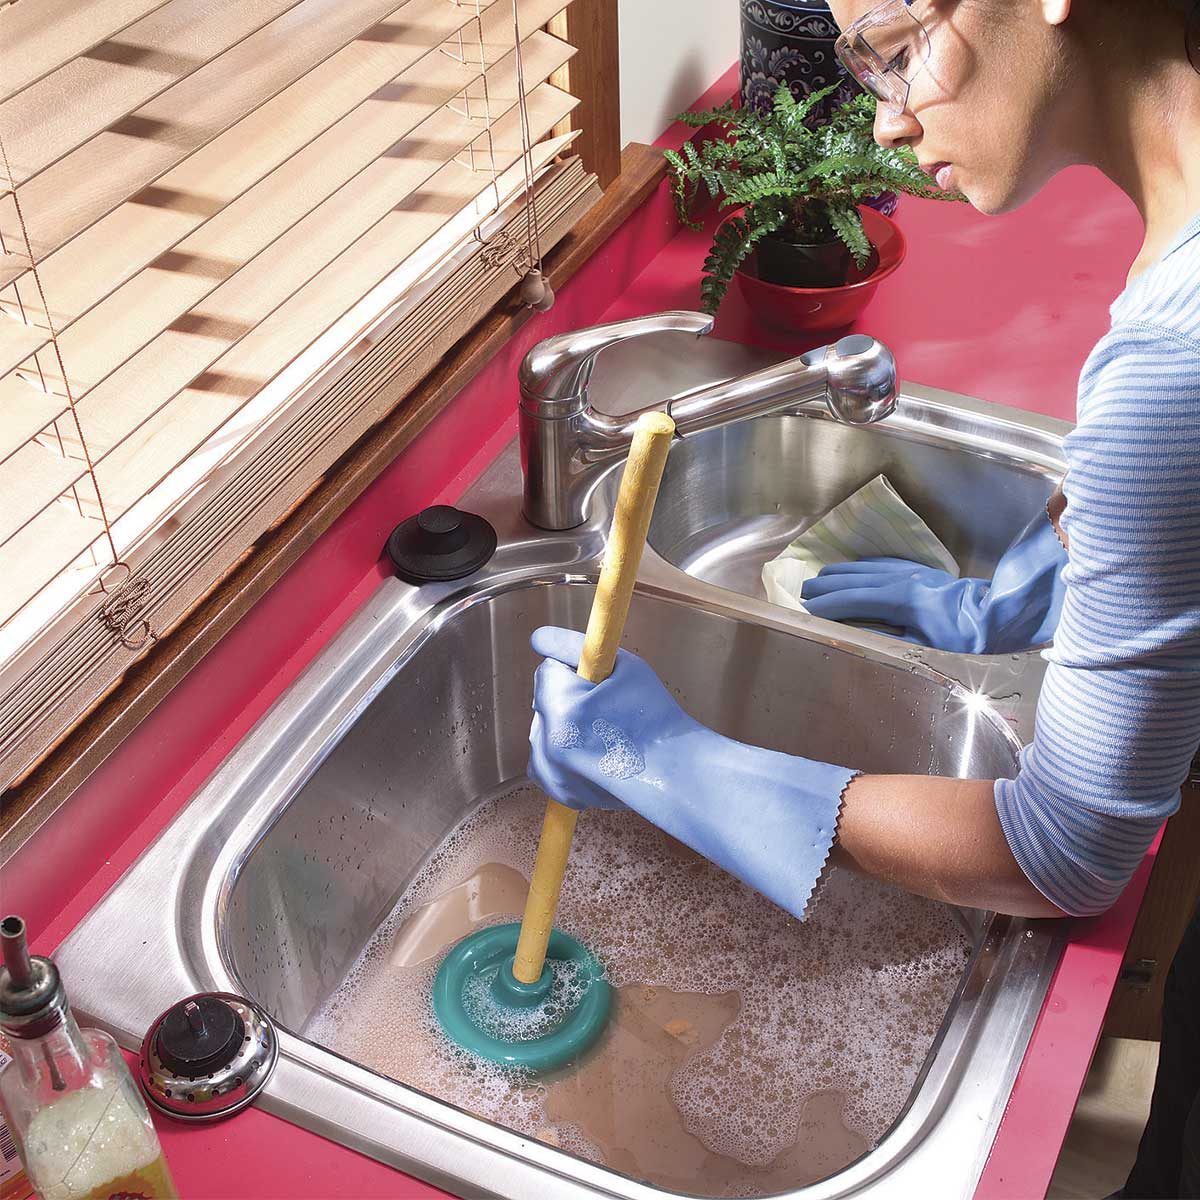
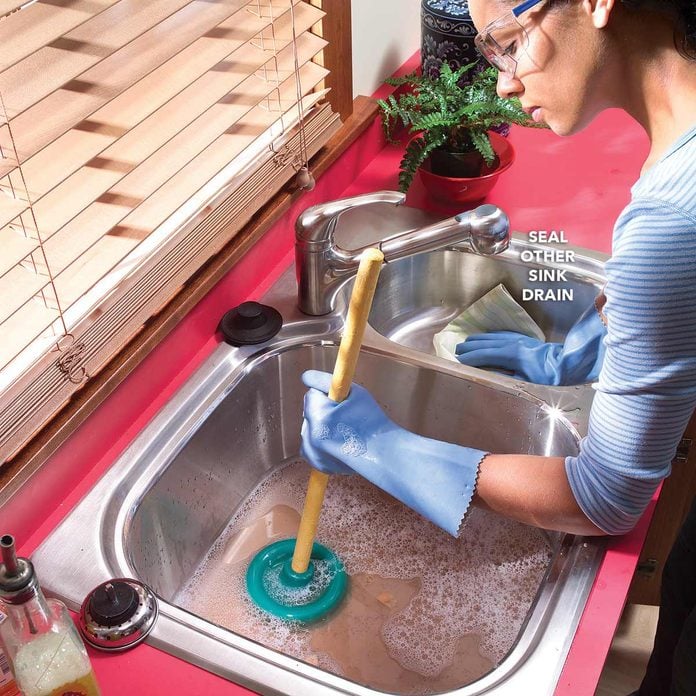
Get Busy With the Plunger
- If the problem isn’t in the disposer, plunge the drain.
- Fill the sink with 3 to 4 inches of water to ensure that the plunger seals around the drain.
- Pro tip: Hold a wet rag tightly over the other drain opening in double sinks or use the basket strainer to seal it.
Work the Plunger
- Plunge up and down vigorously for about 20 seconds.
- Pro tip: Roll the head of the plunger into the water so you force water, not air, into the drain.
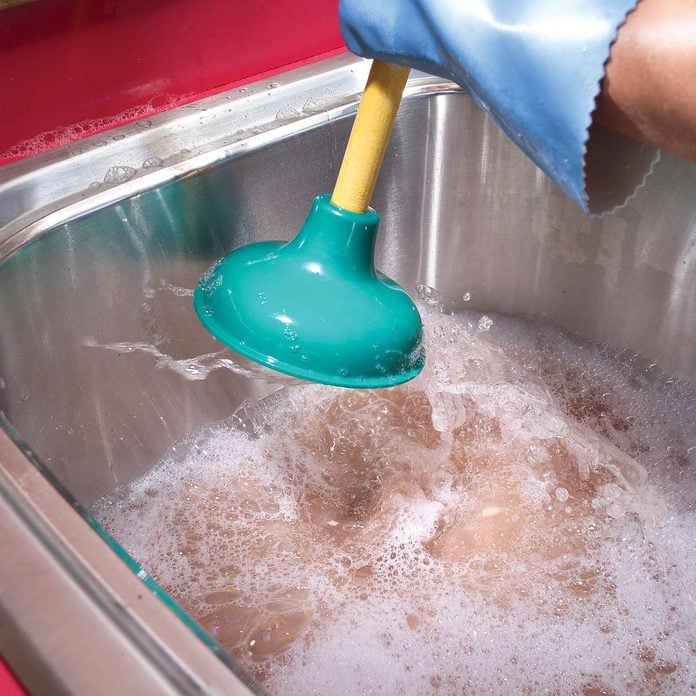
Pop the Plunger
- On your last upstroke, pop the plunger off the mouth of the drain for extra pressure. If the water doesn’t swirl straight down the drain, continue plunging for several minutes.
- Pro tip: Plunging can be quick and easy or it can be a wet mess. Keep towels handy to soak up spills.
- Also learn how to clean and unclog your kitchen sink, and get your smelly, stopped-up drain running fast again.
Clean the P-Trap
- If intensive plunging doesn’t remove it, disassemble and clean out the P-trap.
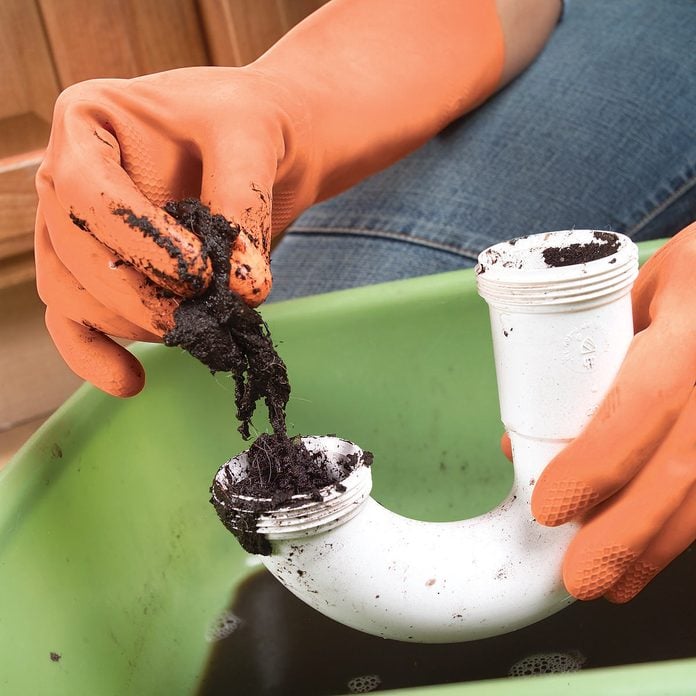
- Note: Clogs that occur in the P-trap and trap arm of the drain most often occur when grease or coffee grounds build up.
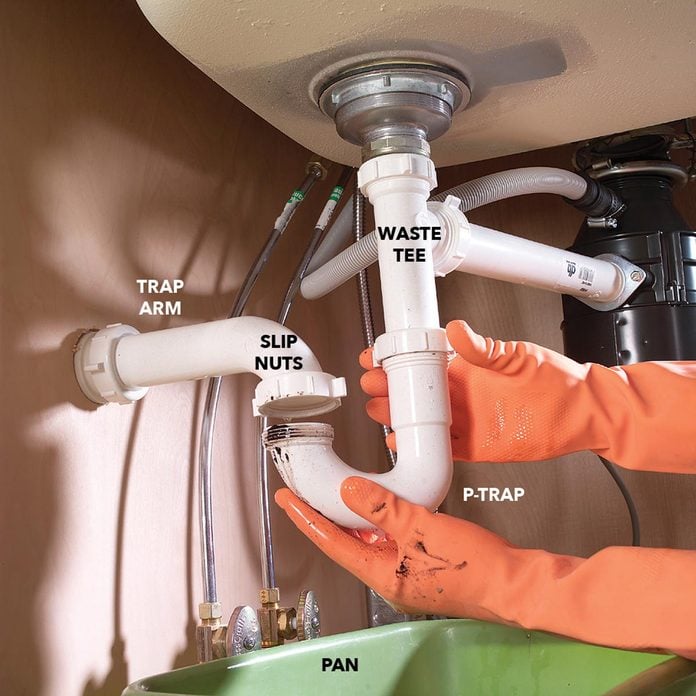
Disassemble the Trap
- Loosen the slip nut on the trap arm assembly and the continuous waste tee and wiggle the trap free.
- Pro tip: Begin by sponging the water from the sink to reduce the flow under the sink when you pull off the trap. Keep your pan or bucket underneath; dirty water will flow out.
- Note: We show plastic drain lines, but many older kitchen sinks have metal traps and pipes. Metal slip nuts are usually more difficult to loosen than plastic, but either will probably require the use of slip-joint pliers to break them free. Loosen the plumbing joints gently to avoid cracking or bending the trap assembly.
- Pro tip: Begin by sponging the water from the sink to reduce the flow under the sink when you pull off the trap. Keep your pan or bucket underneath; dirty water will flow out.
Clean Out the Trap
- Unscrew the slip nut between the P-trap and the trap arm first, then the nut at the bottom of the waste tee.
- Clean out any debris from the P-trap.
- Pro tip: Inspect both the P-trap and the trap arm for cracks or weak walls. If it’s worn, replace it to avoid problems in the future.
- Reinstall the P-trap and test the line with warm water.
- Pro tip: Don’t over-tighten the slip nuts. Hand-tight plus a quarter-turn with pliers should be enough.
Remove the Trap Arm
- If the P-trap isn’t clogged, move on and remove the trap arm and clean it.
- To remove the trap arm, loosen the slip nut and slide the trap arm from the drain line stub-out.
- Pro tip: You will likely need pliers to remove the nut.
- Next, run a screwdriver around the inside of the pipe stub-out and pull out any debris that may have collected in the opening.
- If you still haven’t found the clog, reach for the drain snake!

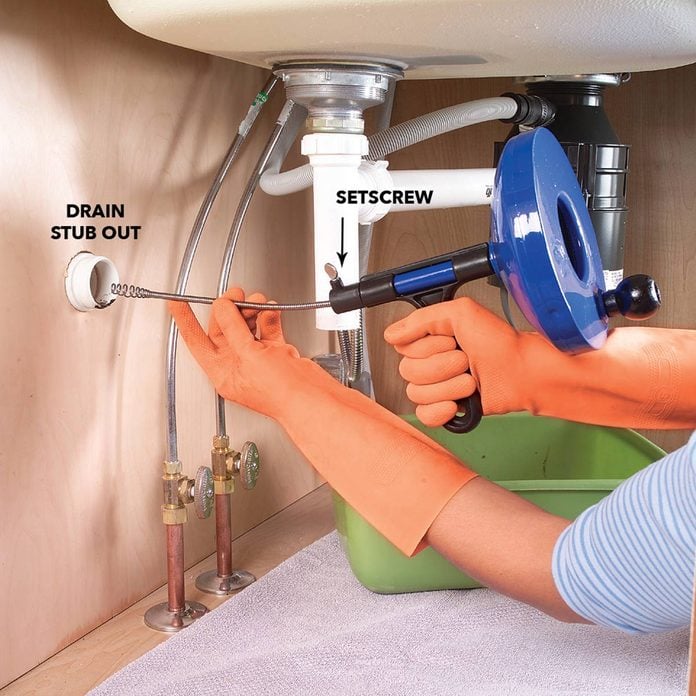
Insert the Drain Snake
- Loosen the setscrew at the tip of the snake and pulling out six-to-10-inches of cable.
- Then tighten the setscrew and spin the drain snake down into the drain line.
- Pro tip: Initially, you may feel an obstruction, but it’s likely that the tip of the snake is just turning a corner. Loosen the setscrew, pull out another six- to 10-inches of cable and continue to feed the snake into the line.
- Thread the tip of the drain snake into the drain stub-out. Tighten the setscrew and turn the crank clockwise to feed it into the drainpipe.
Turn the Drain Snake Through the Clog
- Continue to turn the snake when you encounter resistance.
- Note: The snake tip is designed to corkscrew through clogs and around corners.
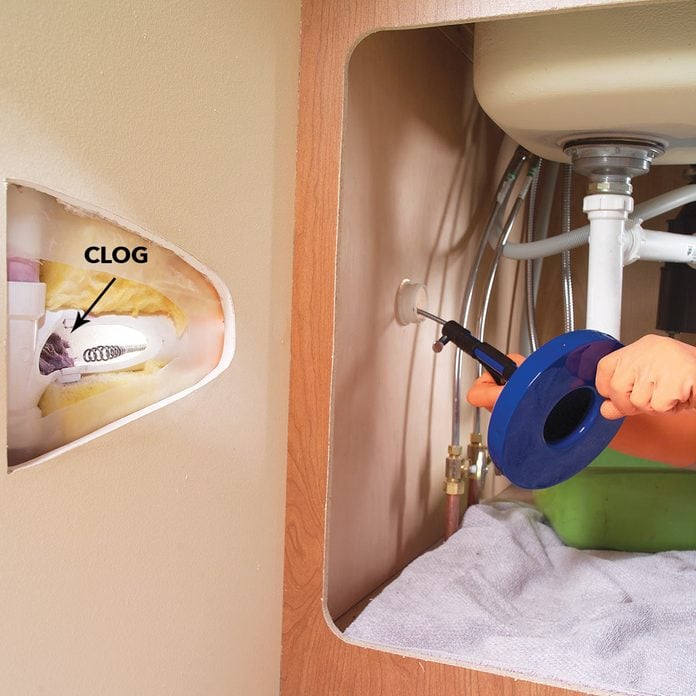
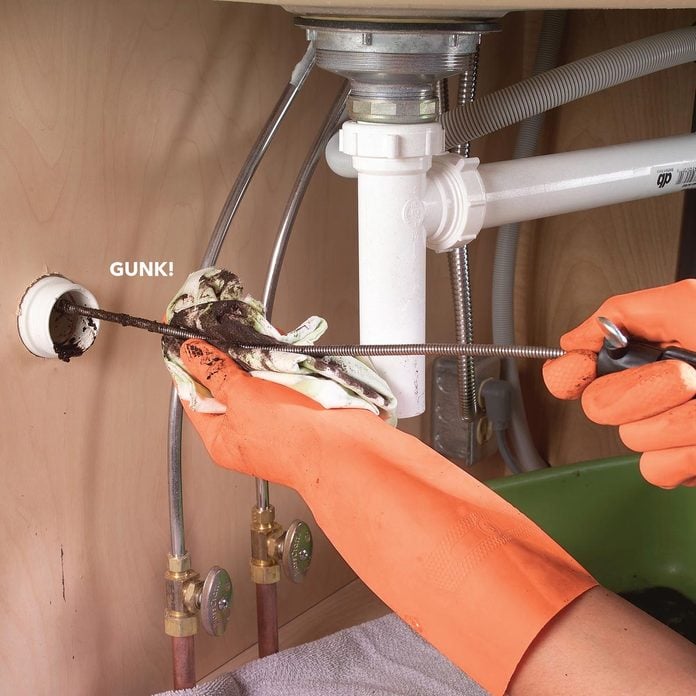
Retract the Drain Snake
- When you feel the cable hit an obstruction, continue cranking and pushing the cable through the clog until you feel the tip bite through.
- Note: This should be obvious because the tension in the cable will drop.
- When you are through the clog, turn the crank counterclockwise and pull out the cable.
- Pro tip: Clean the cable as you pull; it’ll probably be covered with incredibly dirty gunk. You may get a large plug of material at the end of the snake, so keep that bucket handy.
- Repeat the process until you no longer feel a blockage, then reassemble the trap and run plenty of warm water to flush the line.
Clean the Drain
- After the drain is open, pour 1/2 cup of baking soda and 1/2 cup of white vinegar into the drain. Cover both openings and let it sit for a few minutes.
- Then run another gallon or so of warm water behind it to flush out the mixture.
- Note: The combination of baking soda and vinegar will break down any leftover fat deposits and will leave your drain smelling fresh.
- Reinstall the P-trap and run water to test the drain.
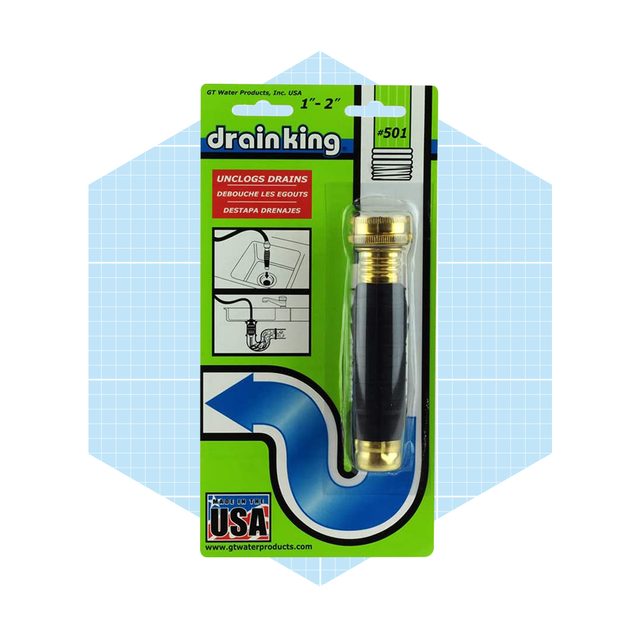
Here’s Another Option
When all else fails, John Wood, a plumber with over 25 years of experience, turns to GT Water Products’ Drain King drain cleaner. “It is my go-to tool for removing tough clogs.” he says. “When drains in basements, bathrooms or kitchens stop up and homeowners can’t plunge the clog out, I hook this tool up to a garden hose, feed it into the drain and turn on the faucet.”
Here’s how it works: As its bladder swells, the Drain King wedges itself inside the pipe. Then, its patented dispersing valve vibrates the pipe while simultaneously shooting jets of water to dislodge the clog without chemicals.