How to Build a Patio Chair
Updated: Dec. 17, 2021
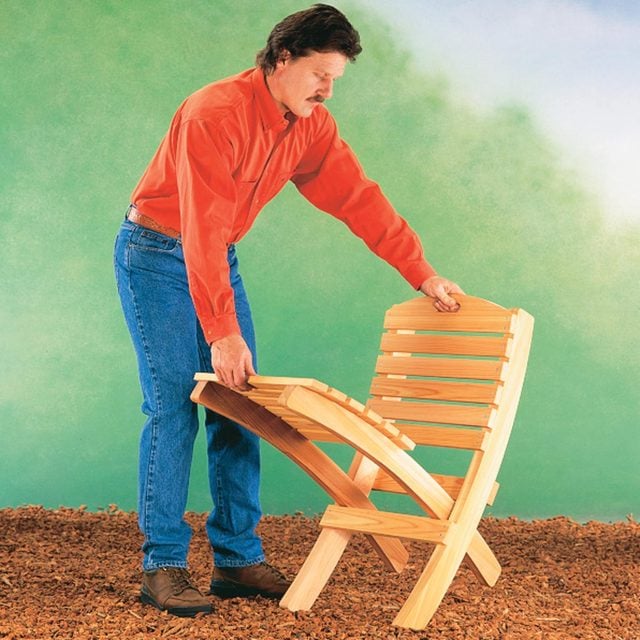
The ultimate easy chair: Easy to build, easy to tote, easy to set up and store.

A full day
Intermediate
$51–100
Introduction
Whether you're staking out a curbside spot for watching a parade, heading to the woods for a weekend or simply trying to catch a few rays, you'll love the portability and comfort of this chair. Interlocking legs and gravity keep the two sections together when in use. And when it's time to pull up stakes, the seat section tucks neatly inside the back. A handle cutout in the top slat makes for easy carrying and storing too.
Tools Required
- Belt sander
- Carpenter's square
- Combination square
- Drill/driver - cordless
- File
- Jigsaw
- Phillips bit
- Screwdriver
- Table saw
Materials Required
- 1/8-in. x 24-in. x 48-in. Hardboard (for templates)
- 1x6 x 8 ft. cedar boards (2)
- 2-in. galvanized screws
- 2x6 x 8 ft. cedar boards (2)
- Thompson's Water Seal finish (1 pint)
- Wood glue
We made our chair from cedar because it’s lightweight, but you could use cypress, fir, treated or other decay-resistant woods. We didn’t want knots weakening the legs or seat, so we spent about $75 for knot-free “D-grade” cedar.


Project step-by-step (9)
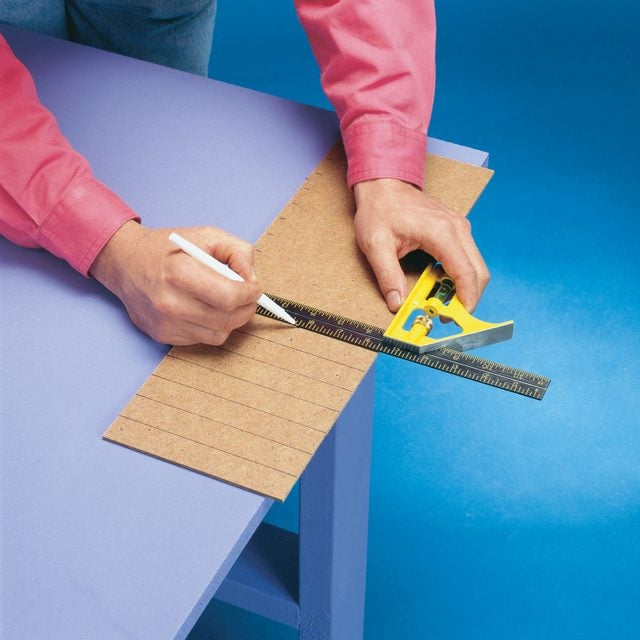
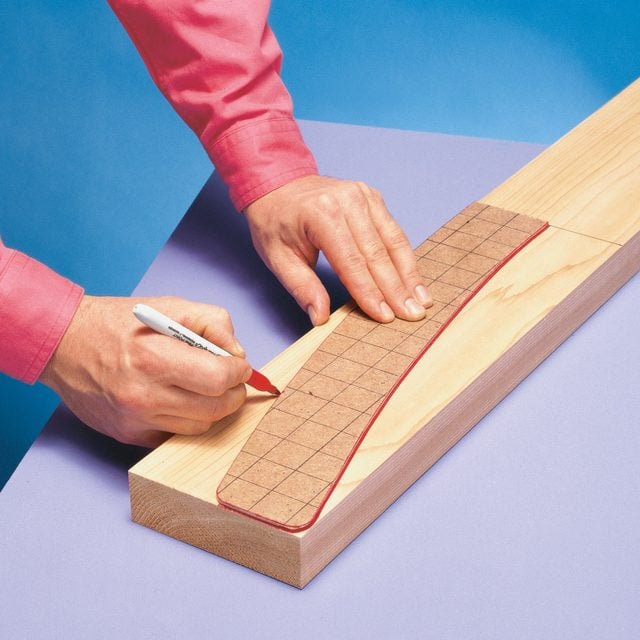
Measure and Mark
- Mark one-inch increments on both ends and one side of the hardboard.
- Draw grid lines using a combination square, straight edge and fine-point permanent marker.
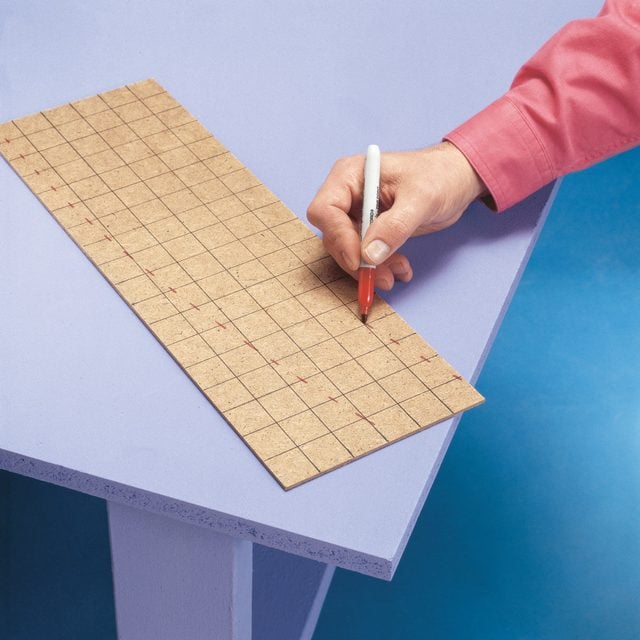
Develop the Pattern
- Transfer the points to your hardboard grid where the shape intersects the grid lines in the drawing.
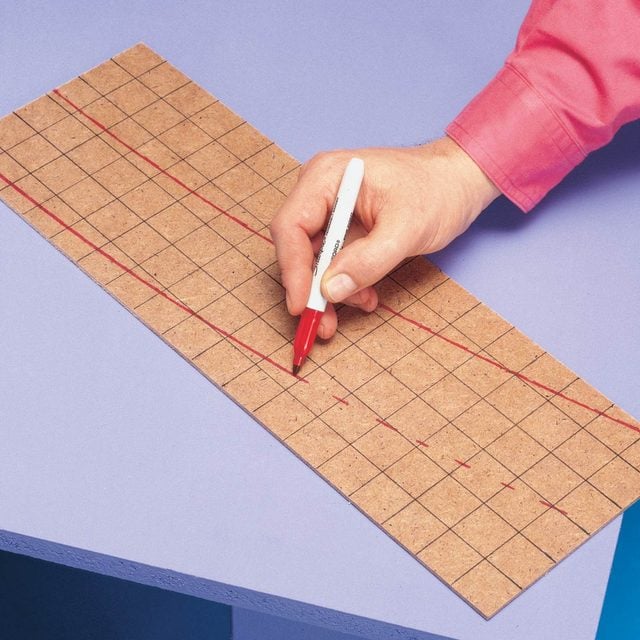
Draw the Lines
- Draw lines connecting the points made on the grid.
- Use a smooth, arcing arm movement to draw the gradual curve.
- Use a quarter to trace the 1/2-in. radiuses at the bottom of the leg.
- Use a jigsaw to cut out the pattern.
Align the Backrest
- Align the backrest strut template to the centerline and bottom edge of the cedar piece and trace the shape.
- Flip the template along the centerline to draw the other half.
- Cut out the pieces with a jigsaw.
To use the template
- Align it to centerlines drawn on the boards, trace around it, then flip it over the centerline and trace the rest of the shape.
- Remember, the seat struts are 1/4 in. skinnier and two inches shorter than the backrest struts.
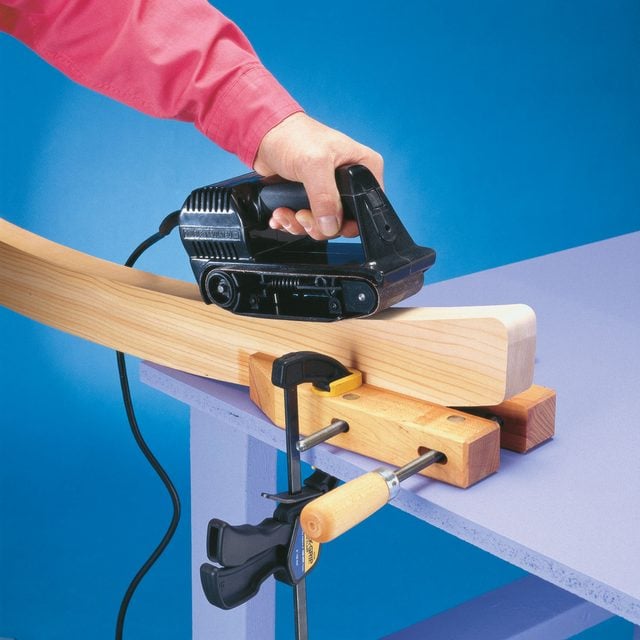
Sand the Edges
- Sand the edges of the curved pieces with a belt sander.
- If you don’t have a bench vise, you can support the legs with a handscrew clamp while you sand.
- Cut all the pieces to the dimensions given in the Cutting List, using the templates for the legs and the top slat.
- Cut out the shapes with a jigsaw.
- Sand the pieces with a belt sander.
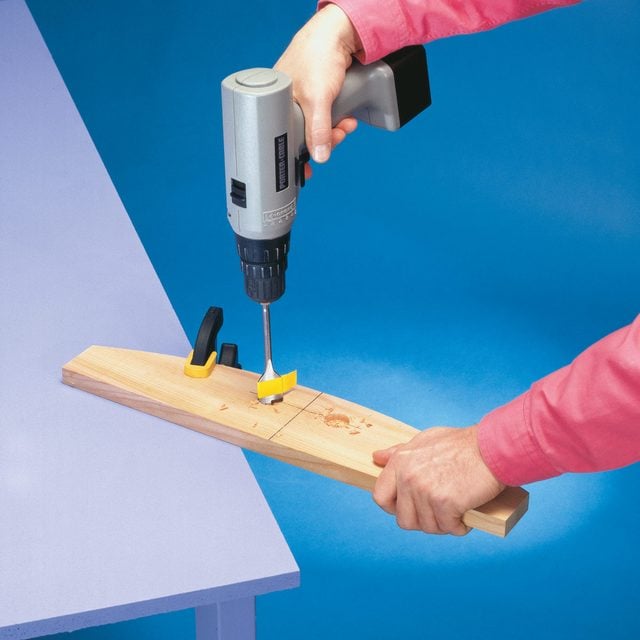
Drill the Ends
- Drill the ends of the hand grip holes with a 1-in. spade bit.
- Pro tip: Drill part way in from both sides so you won’t tear out the wood.
- Lay out the hand grip hole in the top slat (C), then cut it out using a jigsaw and spade bit.
- Rip the back and seat slats two inches wide using a table saw.
- Lay out, countersink and drill all the screw holes for the slats and supports.
- Sand all the pieces with 120-grit, then 150-grit sandpaper.
- Round over the sharp edges with the sandpaper.
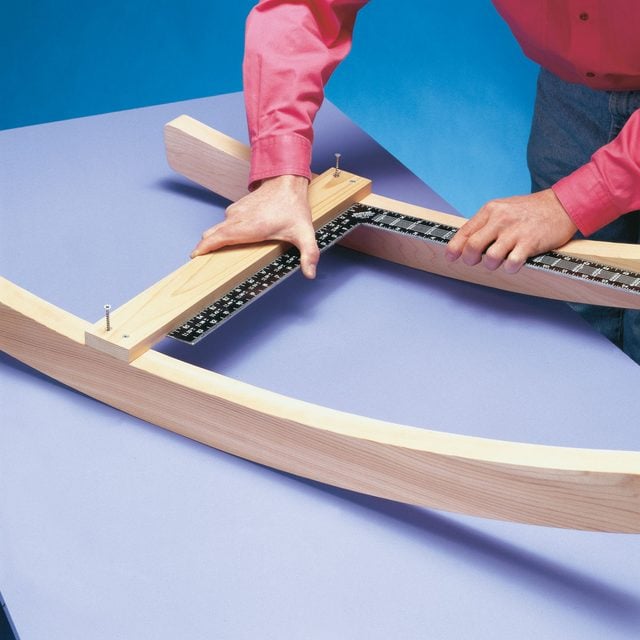
Align the Seat
- Use a carpenter’s square to align the seat supports 90 degrees to the backrest struts, then glue and screw them in place.
- Use glue and screws to attach the slats, too.
- Screw the two seat supports (D) and curved top slat to the backrest struts using the spacing given in Fig. A.
- Attach the five slats to the backrest struts and six slats to the seat struts.
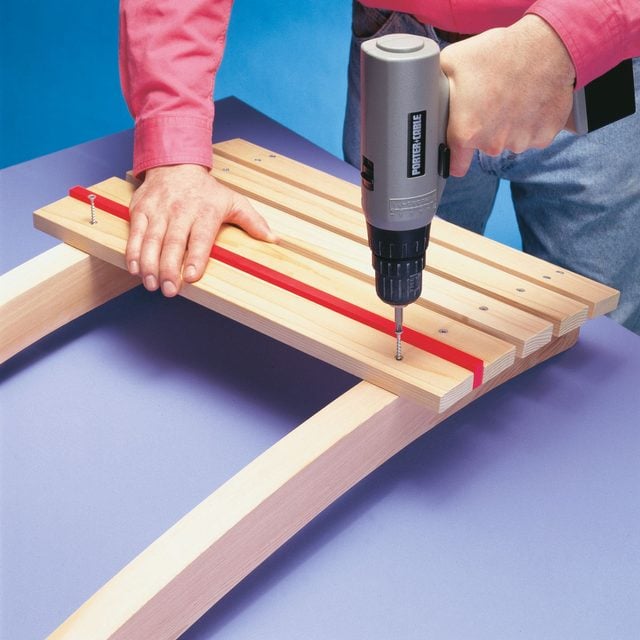
Attach the Slats
- Attach the slats to the seat struts using a 1/2-in. spacer to align them.
- Finish driving the screws by hand to avoid setting their heads too deep.
- Pro tip: Cedar is soft, so when screwing the pieces together, finish driving the screws by hand to avoid setting their heads too deep.
Finishing Touches
- Before applying the finish, unscrew the two seat supports and apply weather-resistant glue (like Titebond II or Gorilla Glue) to the joints, then re-screw the seat supports to the backrest struts.
- Pro tip: The glue will strengthen the joint. The chair relies primarily on these seat supports for strength.
- Brush on two liberal coats of a penetrating exterior wood sealer (like Thompson’s Water Seal).
- Let the first coat dry for 24 hours, then apply the second coat.
- After an hour, wipe off any excess finish.
- Let the finish dry for a couple of days before using the chair.
- After a year or two, plan to re-coat the chairs to keep them looking good.
- Pro tip: If you decide to paint the chairs instead, use an oil-based primer followed by a semi-gloss oil-based paint. Don’t use a clear varnish; the sun will eventually break it down and you’ll be refinishing every summer instead of relaxing.