
How to Replace a Broken Lawn Sprinkler Head
Updated: Nov. 28, 2022It's pretty easy to damage a sprinkler head with your mower if the head sits too high.

- Time
- Complexity
- Cost
- A full day
- Beginner
- Less than $20
How to buy replacement sprinkler heads
A replacement sprinkler head doesn’t have to be the same brand as the broken head. But it does have to be the same type: pop-up (stationary, rotor- or gear-driven rotor) or impact. And the new head must also match the inches-per-hour (iph) or gallons-per-minute (gpm) delivery rate of the old head. Plus, the spray pattern and throwing distance must also match. If you install the wrong head, it can over- or underwater that section of your lawn or garden and possibly cause other heads in that same zone to underperform. So you’ll need all the specs from the broken head before you buy a replacement.
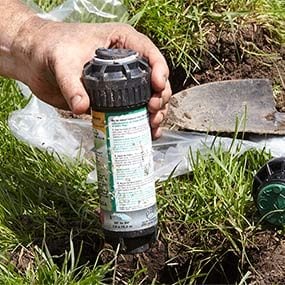
Locate that information on the nozzle, the top of the head (if it’s still there) or on a label stuck to the body of the head (see ‘Remove the Broken Head’). If you can’t find the specifications, at least find the brand and part number. Then look up the specs on the manufacturer’s website. If you strike out on the specs and part number, take the old head to an irrigation service company and ask for a matching replacement head.
Buy a replacement head at a home center or online (Sprinkler Warehouse is one source). The replacement head will most likely come with an assortment of snap-in nozzles, so you can adapt the head’s delivery rate, spray pattern and throw rate to fit your needs.
Find out which sprinkler is the best for your yard.
Remove the broken head
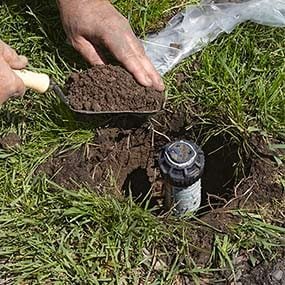
Lay down plastic sheeting next to the broken sprinkler head. Then use a garden spade to cut an 8-in. circle around the old head. Pry out the sod and set it aside. Then dig down and around the old head, placing the dirt on the poly sheet (Photo 1). When you reach the water line, unscrew the broken head.
If the head is located at the low spot of a watering zone, chances are the hole will fill with water, and mud will get into the water line. Suck the mud out with your shop vacuum. (The water line gets flushed later.)
Set the new head height
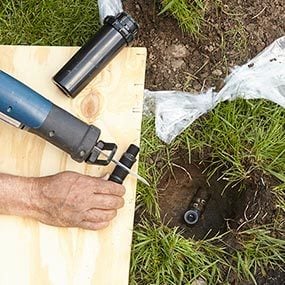
If the old riser fitting came out with the old head, remove it and screw it onto the new head. Then test-fit the new head by screwing it into the water line. The top of the head should be flush with the ground, not sticking up into the grass. If it’s not the right height, grab a new poly cutoff riser (about $1 each at home centers) with multiple threaded sections and cut it to the correct length (Photo 2). It may take a few tries (and a few risers) to get the height just right. Once you get the proper height, remove the head and flush the line using the steps shown here.
Build a flushing tool and flush the water line
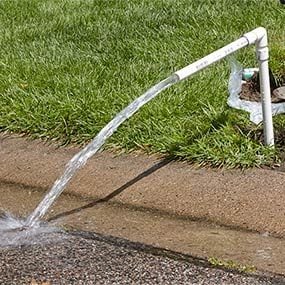
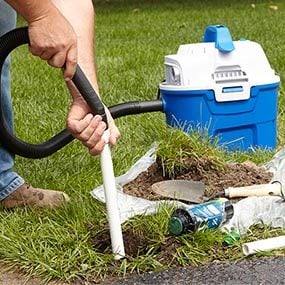
No matter how careful you are, dirt is going to fall into the water line fitting. If you can’t remove all the dirt with your shop vacuum, you’ll have to flush it. Build a flushing tool with 3/4-in. PVC pipe and the fittings (about $5 in parts at home centers) shown in Figure A. Then flush the water line (Photo 3). Finish by sucking the water out of the flushing tool (Photo 4).
Figure A: Build a flushing tool
Cut a length of 3/4-in. PVC pipe into two 18-in. sections. Glue a 3/4-in. x 1/2-in. MPT fitting to one end of a pipe and a 3/4-in. x 3/4-in. MPT fitting to the other. Then glue a 3/4-in. x 3/4-in. MPT fitting to the second piece of pipe. Connect the two pipes with a 3/4-in. x 3/4-in. FPT elbow.
Install the head and backfill
Screw the new head into the flushed water line and begin backfilling the hole. Align the head so it sits straight in the hole as you tamp the dirt with your hand. Finish the job by replacing the grass. Water immediately to reestablish the grass roots.
Try these easy steps to install an irrigation system for keeping your lawn green even through the hottest days of summer.
