
Drafty Patio Door? Weatherstripping Stops Drafts Cold
Updated: Feb. 05, 2023
Stop patio door drafts!
Introduction
Patio door weather strip seals slowly degrade and wear, letting in small drafts that are barely noticeable. Achieve better sliding door insulation by replacing the seals. Here's how.Drafty doors? Add Sliding Door Insulation with New Seals
If you spent the winter kicking up the thermostat (or grabbing a blanket) just to be comfortable near the door, you’ve already wasted enough money on heat to buy several sets of weather-strip seals. If you open your patio door frequently or the door is exposed to sunlight, it pays to replace the weather stripping every 10 years. Spring is the perfect time to do this.
We bought all the seals for this early ’90s Marvin sliding patio door for about $65 including shipping. Replacing the seals is a one-person job, but enlist a friend to help lift the heavy door in and out of the track. You just need a screwdriver, a hammer, hooks and picks, and a putty knife. The entire job takes just a few hours. Here’s the process.
Find the make and model
Some patio door manufacturers engrave their logo on the door pull lock hardware, but others hide the branding and model information. If you can’t find a manufacturer logo or model label, look along the door edges or jamb for a gold sticker from the American Architectural Manufacturers Association (AAMA).
If you find the label, shoot a digital photo and go to aamanet.org and click on ‘certified products directory’ to decipher the codes and get the brand and model information. If you can’t locate the label, copy the numbers on the metal strip between the panes of glass. Then go to igcc.org to decipher the codes. If neither approach works, or the manufacturer no longer sells replacement weatherstrip seals, you’ll have to use off-the-shelf weather stripping and come up with a custom fix.
Next, measure the stationary and movable sections. Take a digital photo of the entire door, track and jamb. Then contact the manufacturer’s customer service/parts department to order replacement parts.
If you can’t find the factory parts
If you can’t locate manufacturer weather-strip seals in stores, try these sources:
- amweatherguard.com
- biltbestwindowparts.com
- strybuc.com
- swisco.com
If you’ve checked all online sources and still can’t find an exact match, you’ll have to improvise with off-the-shelf materials. V-seal can be used in place of factory jamb, header and track leaf seals. Just fold along the score line to form a ‘V.’ Remove the backing and stick it in place. Place EPDM foam rubber on the jamb and adjust the latch to accommodate the thickness. Use entry door seal strips to replace factory pile strips in mating areas.
Project step-by-step (10)
Unscrew and Remove the Header
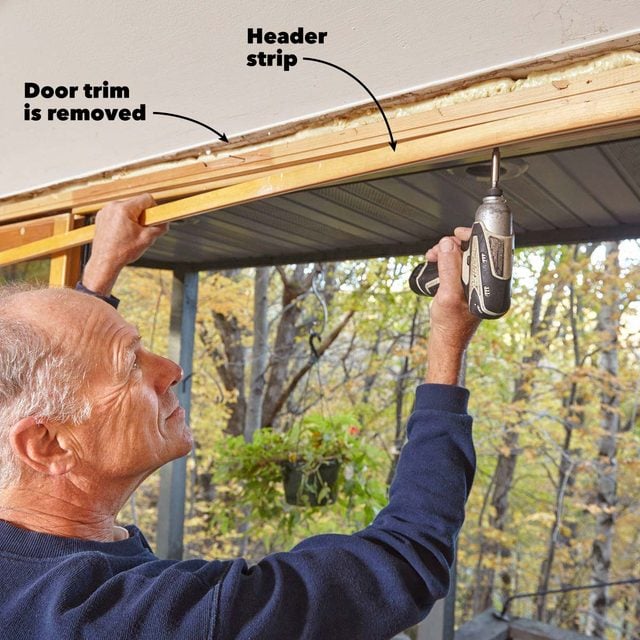
Open the patio door so the sliding door is in front of the stationary section. Start removing the header screws from that end. As you reach the open part of the door, have a friend brace the movable door so it doesn’t tip out. Then remove the entire header strip. (If the door trim overlaps the header strip, you’ll have to remove it.)
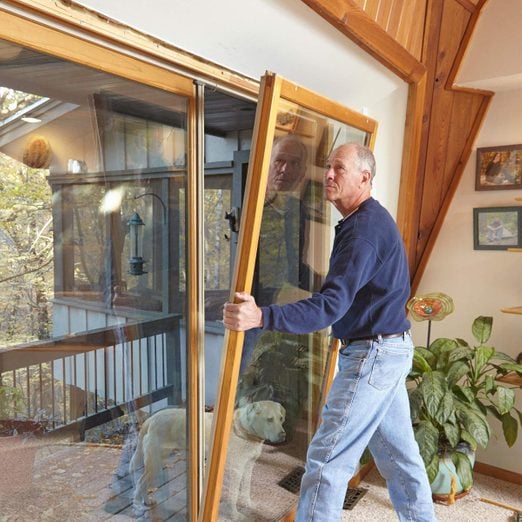
Tilt and Lift
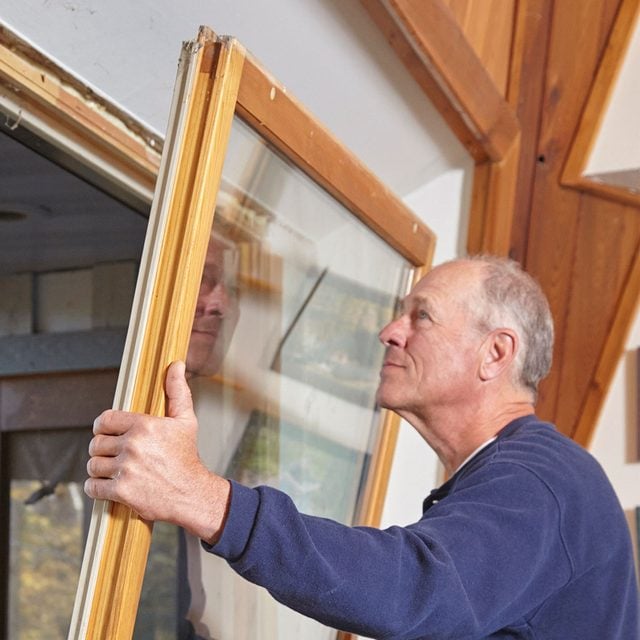
Tilt the top of the sliding door out far enough to clear the frame. Then lift the door up and off the bottom track (get help-it’s heavy). Set the door on a drop cloth and lean the door against a wall. Plus: Learn how to replace old weather stripping here.
Identify and Locate the Seals
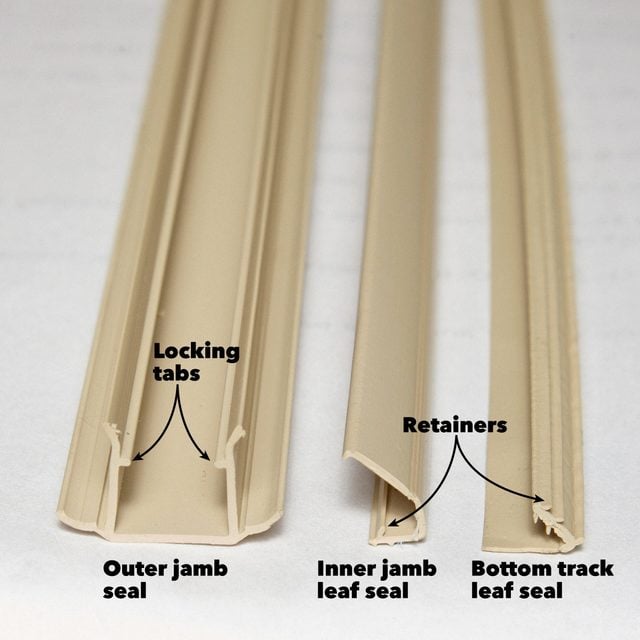
You’ll find a few different types of sliding door insulation seals. The outer jamb seal is hard plastic with locking tabs and rubber sealing wings. The inner and track seals are made from a softer flexible material and are held in place with retainers.
Remove the jamb seals
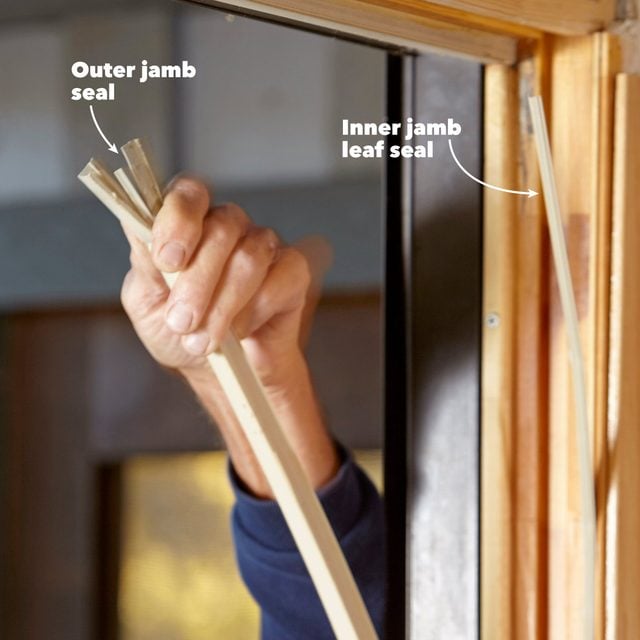
Grab the outer jamb seal at the top and pull it off. Then pull the leaf seal out of the inner part of the jamb.
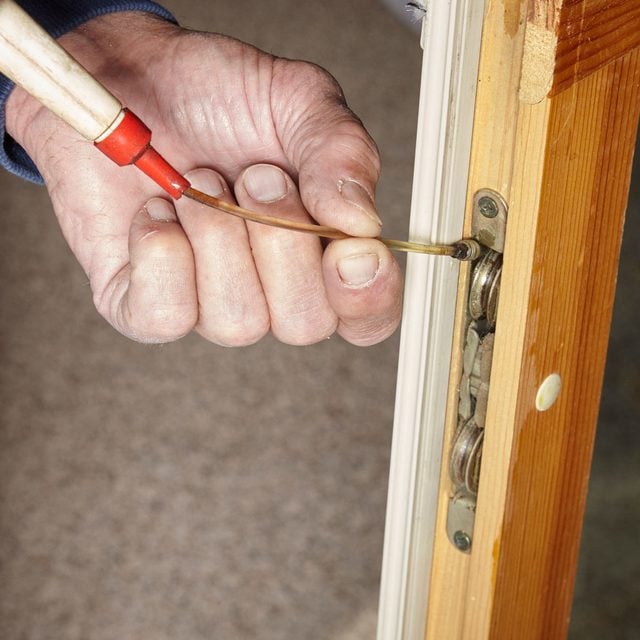
Remove the header seal
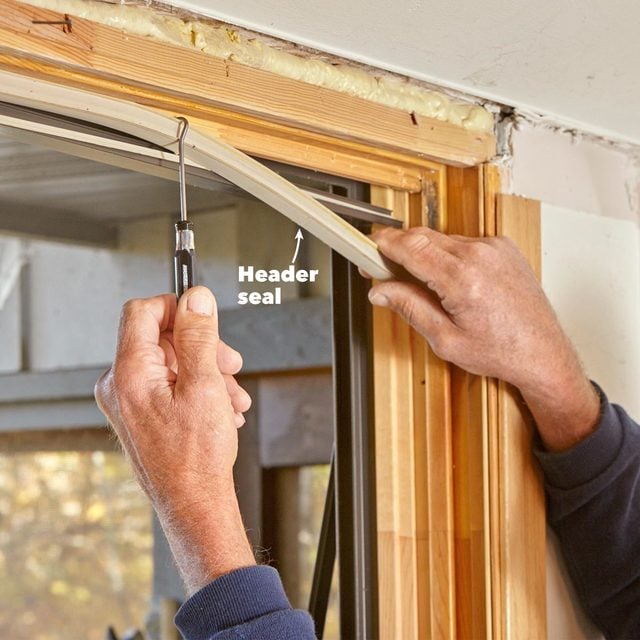
Starting at one side, slide a hook or pick behind the header seal and pry it away from the wood. Then slide the pick along the header as you pull off the entire header seal.
Cut the new seals
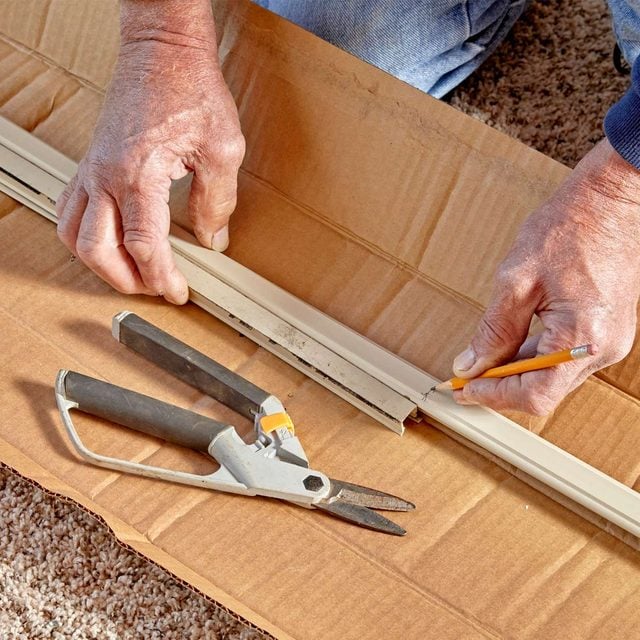
Using the old seals as templates, mark and cut the new seals to the proper length. Cut with a scissors, utility knife or hacksaw.
Install the new seals
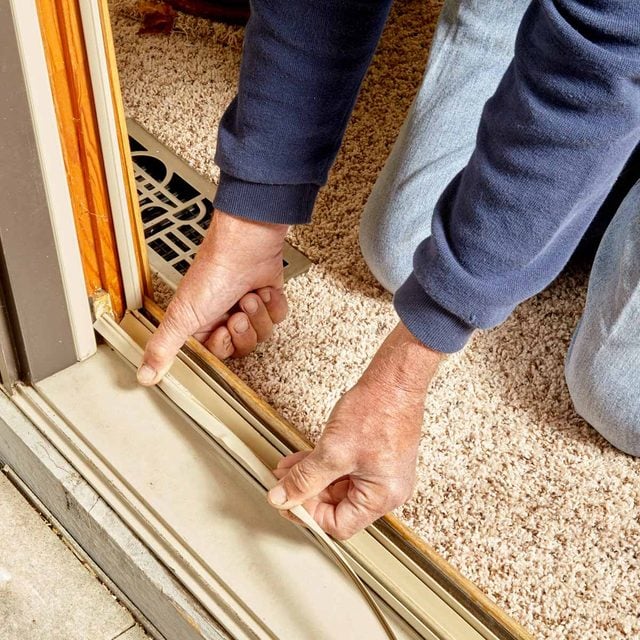
Spread the locking tabs and snap the outer and header jamb seals into place. Push the inner leaf seal into the groove. Then slide the bottom seal into the track. Did you know you can even replace the weather stripping in your car yourself? Here’s how.
Install the new mating seal
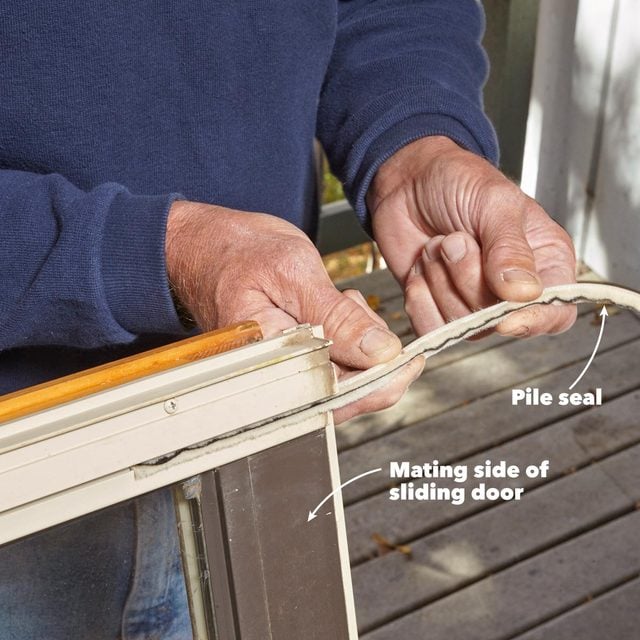
Slide the new pile seal into the groove on the mating side of the sliding door. Then attach new self-adhesive pile trips at the top and bottom of the stationary door.
Lubricate the rollers
Clean the bottom rollers with a grease-cutting household cleaner. Then apply a few drops of oil to the roller axles. Wipe off the excess before installing the door.