
How to Use a Multimeter

Updated: Apr. 19, 2024
Here is a step-by-step guide on how to use a digital multimeter.
An hour or less
Beginner
Under $50
Introduction
We will show you how to use a multimeter for troubleshooting electrical outlets and testing batteries for functionality.
Tools Required
- Multimeter
Trying to figure out if your electrical outlet is getting power? Grab a multimeter. A multimeter is a versatile tool used by electricians and homeowners to measure electrical voltage, current, and resistance. They are fairly simple, consisting of a display screen, a dial or buttons to select different measurement settings, and two probes used to make contact with the circuit being tested.
You can find basic multimeters for around $25. These entry-level models will provide you with the necessary functionality for testing outlets and other basic electrical measurements.
What Does a Multimeter Do?
A multimeter is a multipurpose electronic device that measures various electrical system quantities such as voltage, current, and resistance.
Analog vs. Digital Multimeter
You’ll want a digital multimeter in most DIY electrical situations. Learning how to use and read a digital multimeter is much simpler than analog. Changing the functions on a digital multimeter is also easier. Digital multimeters have clear LCD readouts and do continuity testing. Some digital multimeters also feature auto-ranging and overload protection and other advantages analog multimeters lack.
Analog multimeters have multiple scales on the dial, a moving needle and many manual settings on the function switch. It’s tricky spotting the multimeter symbols and scale on the dial. Plus, you sometimes have to multiply the reading by 10 or 100 to get your final value.
For easier, hands-free viewing, choose a multimeter with a stand to prop it up or hang it on a wall. If a multimeter doesn’t come equipped with either jumper wires or alligator clips, buy them.
Safety Considerations
When I got my first multimeter, I was very excited to start using it. I took a quick glance at the owner’s manual and then proceeded to stick the multimeter’s probes into the closest appliances, light switches and outlets to see what the tester could do.
I fried that multimeter. I was more studious and careful with the next. Even now, there are still some repairs I let the electricians and repair technicians handle—with their multimeters.
In order to avoid possible injury to yourself and damage to your multimeter, disconnect power to appliances and turn off circuits before conducting a resistance test. For more information about your tool, please refer to the manual for your specific multimeter model.
Project step-by-step (6)
How to set up a multimeter to test an outlet
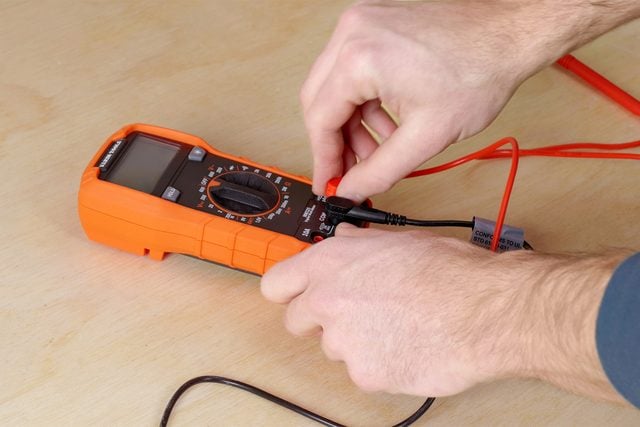
Attach the black and red probes to the multimeter. There are usually three color-coded ports on the tool.
- Attach the black probe to the black “COM” port.
- Attach the red probe to the red port that usually has a variety of characters including a V and/or an Ω. Another red port on multimeters, usually labeled “10A”, is reserved for large currents over 200mA.
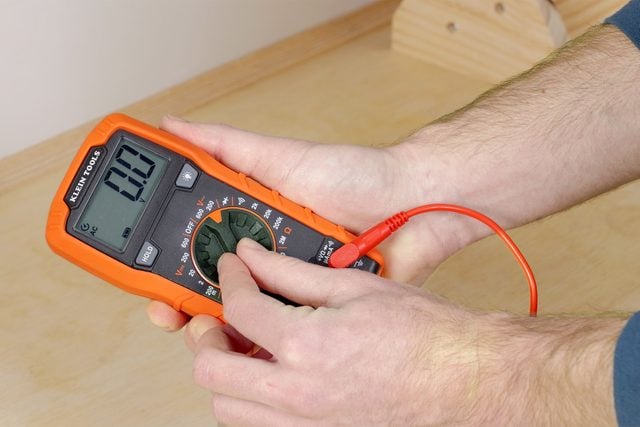
- Turn on the multimeter by turning to the setting that allows it to read an outlet, Volts AC. The AC voltage symbol is a “V” with a “∿” over or next to the V.
- Finally, select the proper range under AC voltage. For a common 120v household receptacle, I set it to 200v. Selecting the proper range is very important and refers to setting the function switch on your multimeter to a voltage or amperage value that’s higher than the top value you anticipate testing.
If you need help finding or are unsure of which setting this is on your multimeter, refer to the manual for your model.
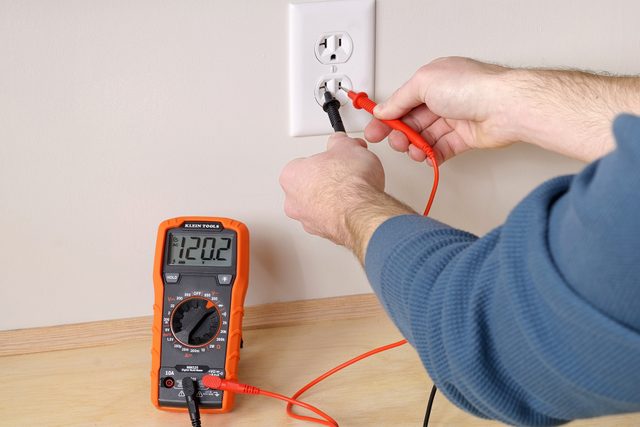
Insert the probes
- Always hold probes at their insulated handles to prevent accidentally shocking yourself.
- Connect the black probe into the neutral, larger slot on the outlet receptacle. If you start by connecting the red, you energize the multimeter probes, which opens the possibility of getting shocked.
- While holding the neutral (black) probe in place, connect the red probe into the hot wire (small) slot on the outlet.
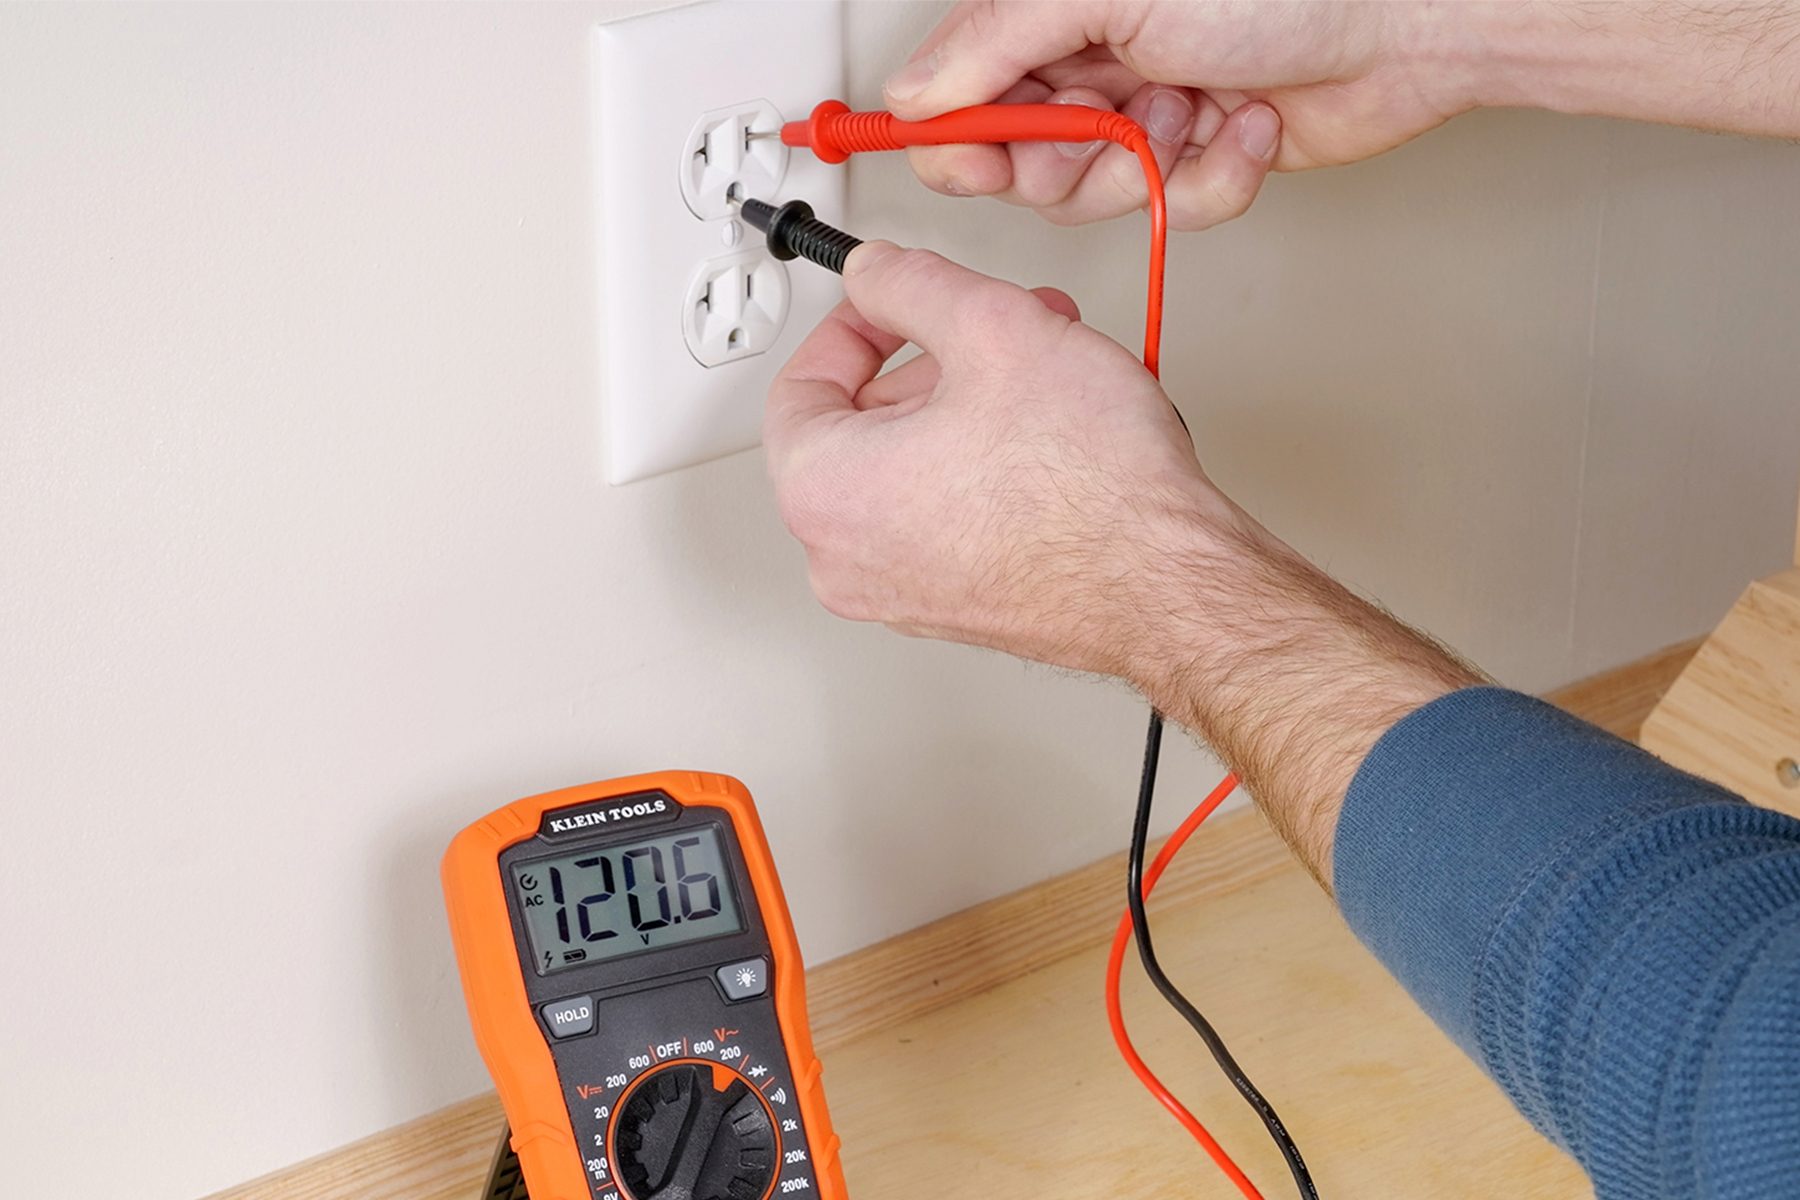
Reading a multimeter
Read the number on the multimeter screen while holding the probes in place. In the US, a reading should be between 114 and 126 volts (120v +/- 5%) for an outlet to work properly. If your reading is lower or higher than that range, that tells you if the receptacle doesn’t have power or the outlet is not wired correctly. Now you know if further investigation needs to take place.
After you get your reading, remove probes starting with the red and then the black.
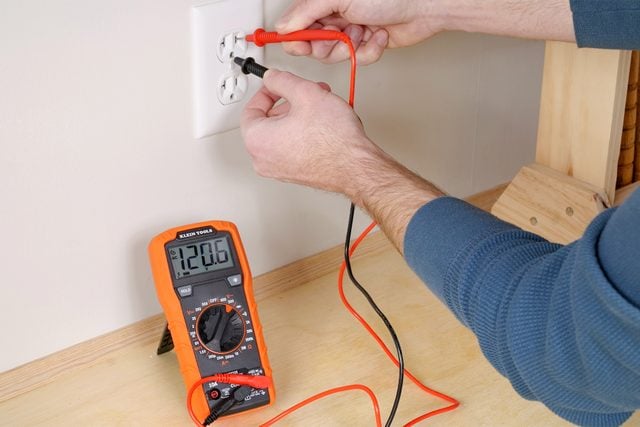
Test if the outlet is grounded
You can also find out if the ground wire in the outlet has a complete path between the breaker panel and the outlet. To do this:
- Place the black probe into the ground slot of the outlet.
- While holding the black probe in place, connect the red probe into the smaller hot wire slot in the outlet.
- If the reading is between 110V-120V, there is a complete ground path from the breaker panel to the outlet.
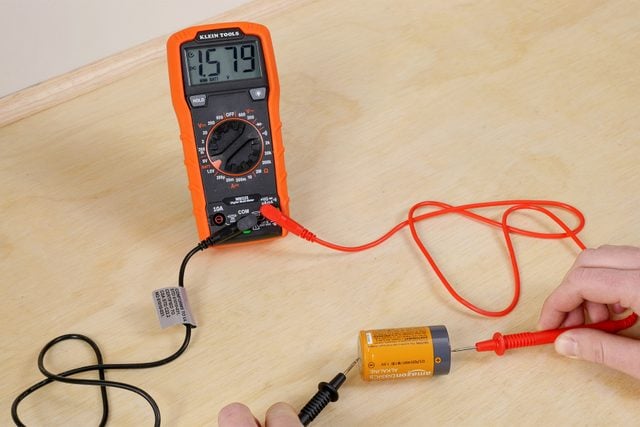
How to test a battery with a digital multimeter
To test batteries:
- Switch the multimeter to DC voltage (a “V” with a straight and dashed line above or next to it) and in the proper range. Some multimeters, like ours, also have a battery test function.
- Attach the black probe to the negative side of the battery.
- Attach the red probe to the positive side of the battery.
- The reading for an AA, AAA, C, or D battery should be approximately 1.5V. Batteries with voltage readings 20 percent below their original rating should be replaced.
- Remove the red probe and then the black.
Turn off the multimeter
Turn off the multimeter so it doesn’t drain the batteries by adjusting the setting to “OFF” and removing the probes.
FAQs
Can I get shocked when using a multimeter?
Yes, it is possible to get shocked when using a multimeter. To avoid this, hold the multimeter probes at their insulated handles, check that your multimeter is not damaged before use, keep fingers away from exposed conductors, and always start by attaching the black probe before the red.
What setting should my multimeter be on?
If you want to measure the voltage across a circuit or a component, you should set your multimeter to the voltage setting in AC or DC. When you want to measure the resistance of a component or a circuit, you should set your multimeter to the resistance setting in OHMS. It is important to read the manual of your specific multimeter model to understand the specific settings and how to select them.
Originally Published: September 23, 2019