
Fixing a Water-Shutoff Valve Leak
Updated: Mar. 02, 2023
Solution to a leak around the water valve shut-off handle
On This Page
How to fix a shutoff valve leak
It’s not uncommon for a brand new shut-off valve to leak around the handle area whenever you turn it on. is probably occurring around the water valve stem. The water valve stem passes through a “packing” nut and washer, which provide a watertight seal. In the “old” days, fiber was packed tightly around the stem, hence the name.
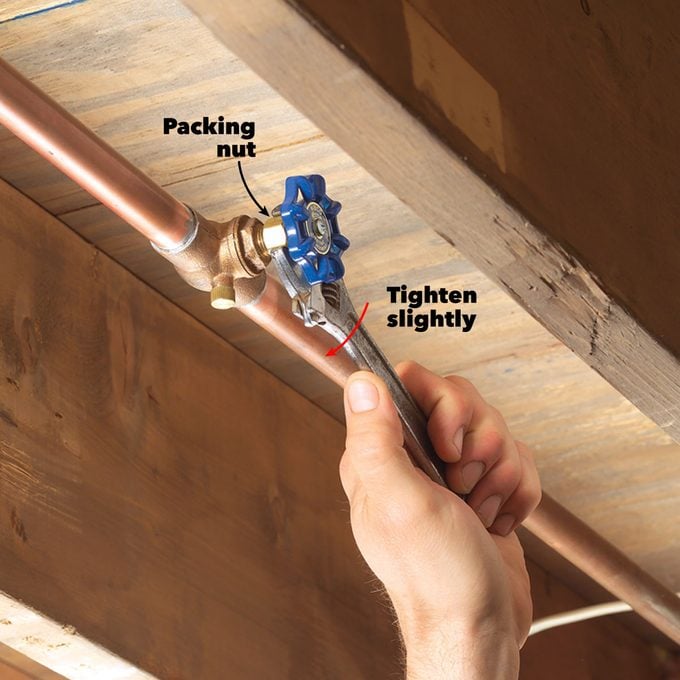
Tighten the packing nut
First try tightening the packing nut one-eighth to one-quarter turn with a wrench. On a new water valve, this almost always stops the leak. If it doesn’t, the packing washer is probably damaged and will need replacement.
Here’s how. First shut off the water to the leaking water valve. Next remove the handle from the stem and then loosen and remove the packing nut. Remove the old washer and slide on the new one. Reinstall the packing nut, tighten lightly with a wrench (don’t over tighten at this or any other point) and reattach the handle. Turn the water back on, open the repaired water valve and check for leaks. If it’s leaking, tighten the packing nut one-eighth of a turn at a time until the leak stops.
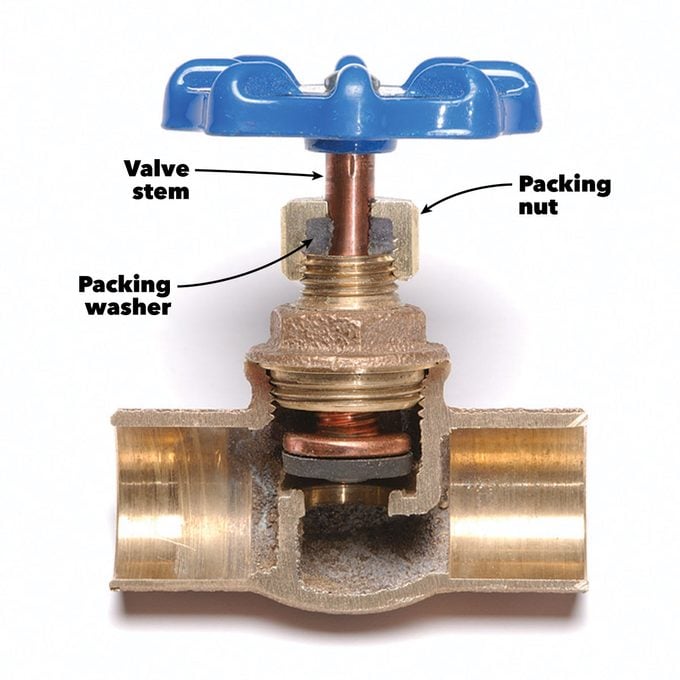
Water valve cutaway showing packing washer
To replace the packing washer, remove the handle and packing nut.
After you are done fixing your leaky water shutoff valve, check out how to fix a leaky shutoff with a supply valve piggyback.
Required Tools for this Project
Have the necessary tools for this DIY project lined up before you start—you’ll save time and frustration.
- 4-in-1 screwdriver
- Adjustable wrench
Required Materials for this Project
Avoid last-minute shopping trips by having all your materials ready ahead of time. Here’s a list.
- Packing washer