
Tree Installation: Tips for Trouble-Free Tree Planting
Updated: Feb. 22, 2022
Make sure your new tree gets off to a good start with these tree planting tips.
Plant Trees As If They Were Full Grown
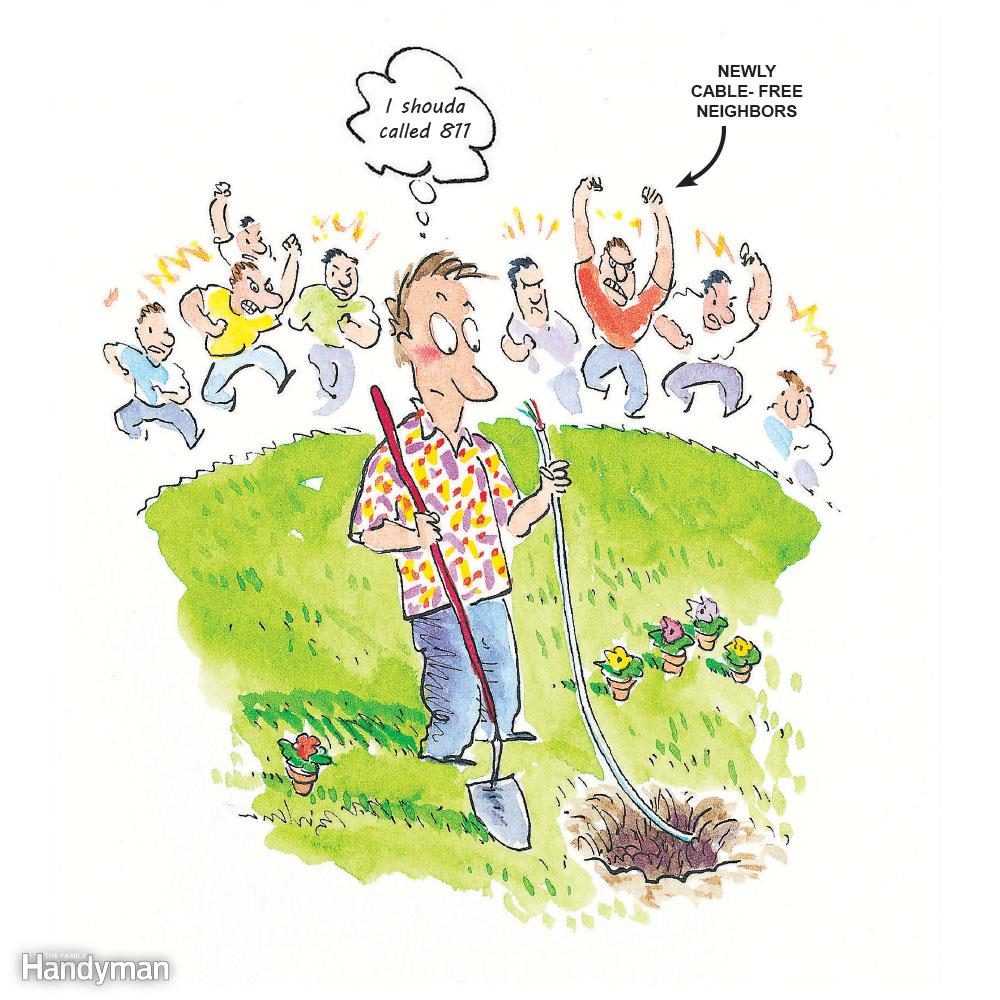
Not Calling Before Digging
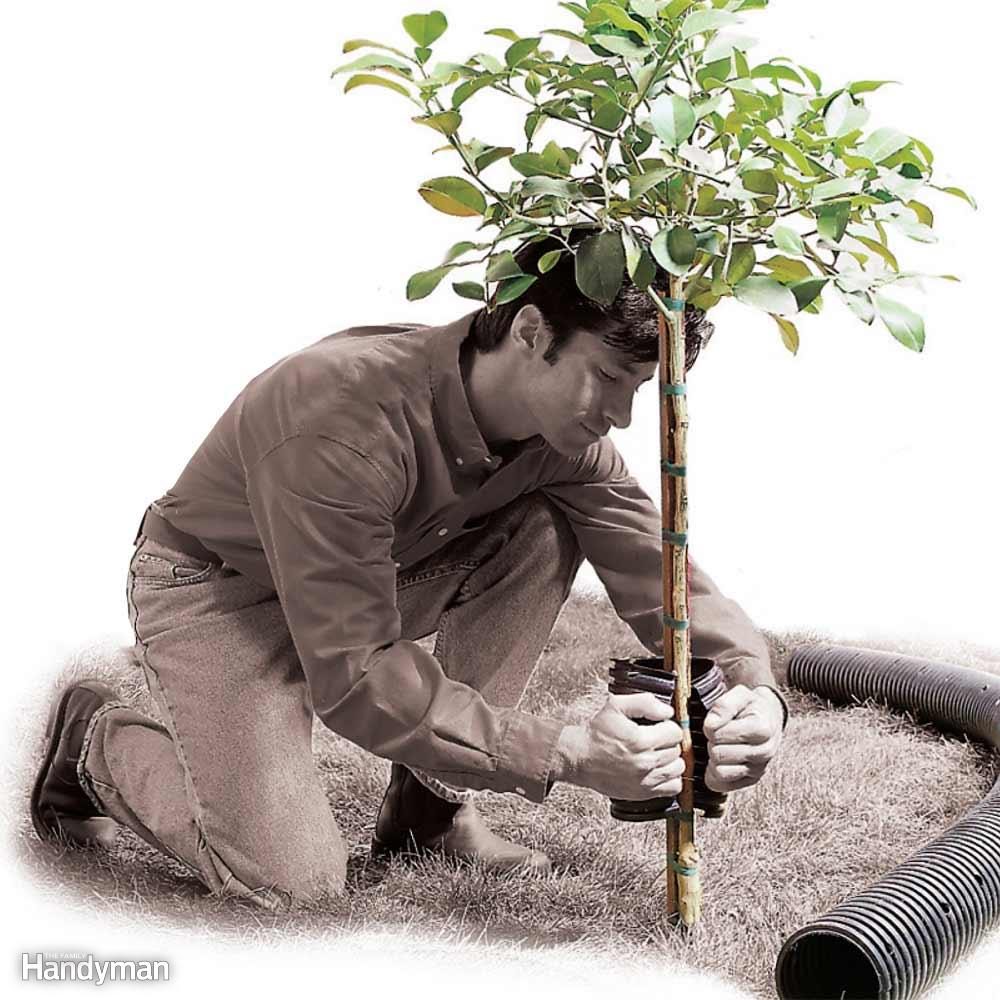
Tree Trunk Protector
Protect the trunks of young trees and bushes from lawn trimmers and critters by using 6-in. flexible plastic drainage pipe. Cut a short piece of pipe, split it along its length, and wrap it around the young tree.
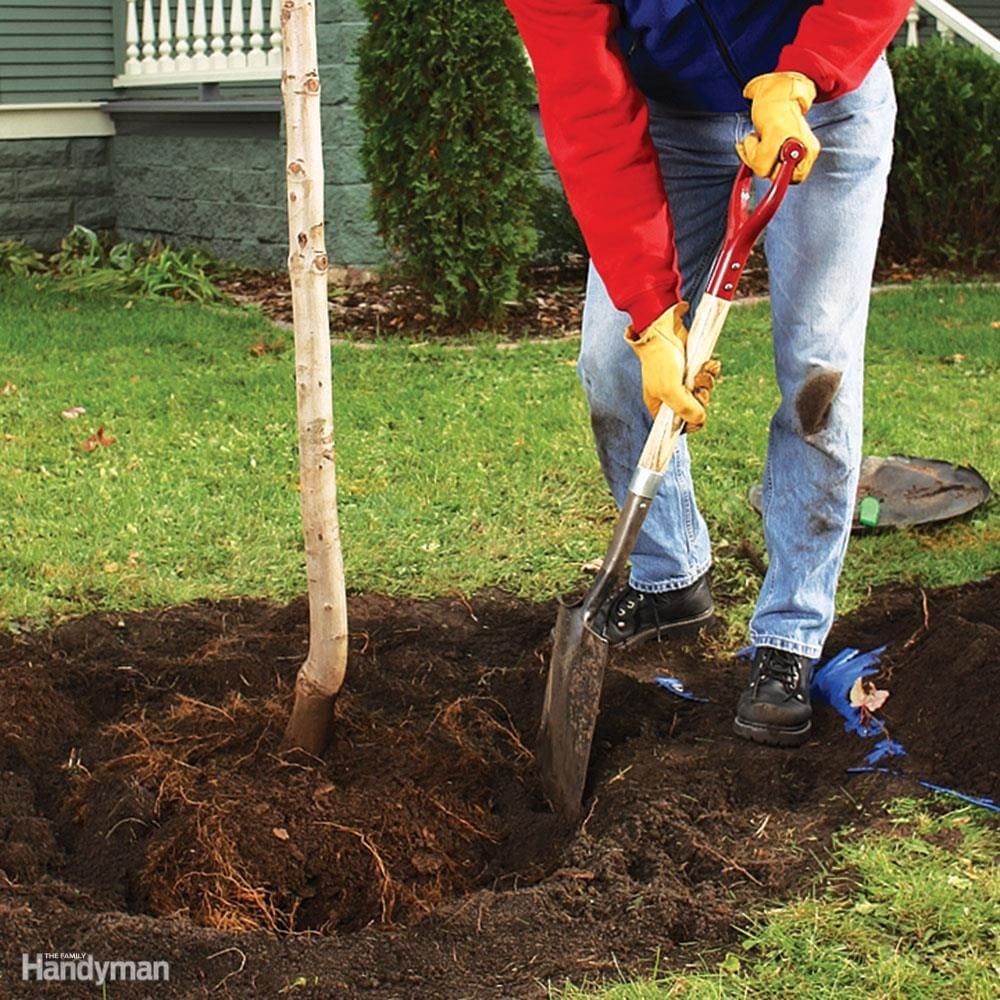
Dig a Saucer-Shaped Hole
Don't Plant Too Deep
Plant the tree so its root collar—the trunk flare right above the root system—is about 1 in. above the soil level. Take the tree out of the container (slitting the container sides) or cut away the wire cage and burlap. Then measure the distance from the root collar to the bottom of the root-ball and dig the hole to that depth. Don't rely on the container size, the wires or the wrapping around the roots as an indication of the depth you want to plant your tree. If the tree is planted too shallow, the roots could be exposed above the ground, especially as the tree grows. But don't plant it too deep either (a common mistake!). New roots can girdle the trunk and they need oxygen to get established.
If you're planting a bare-root tree, leave a cone of soil at the bottom of the planting hole and set the root system on top. Place the handle of your shovel flat across the hole from one side to the other to make sure the crown is level with the surrounding soil.You should be able to partially see the root collar, or trunk flare, after the tree is planted.

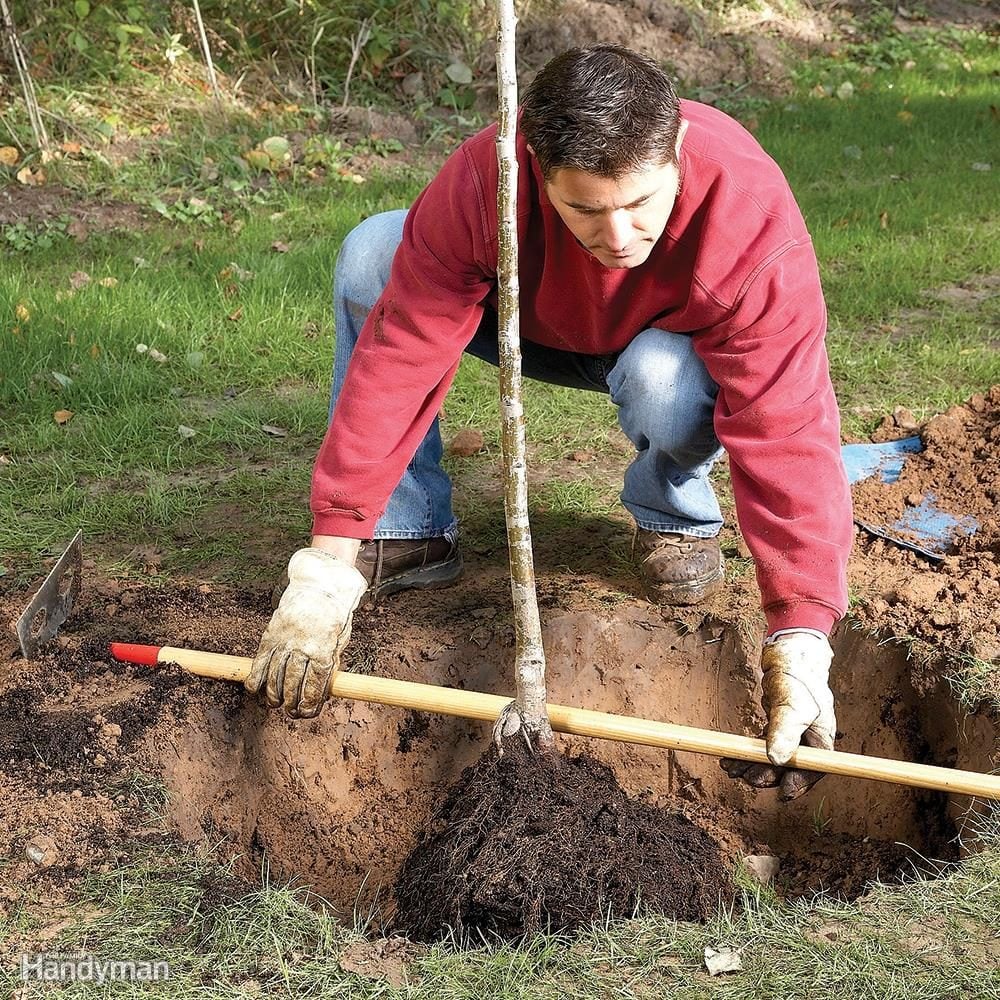
Set the Roots Free
Before placing the tree in the hole, break up the tightly wound root-ball and carefully fan out the roots. Don't pull too hard or the roots will break. It's OK if some of the soil in the root-ball crumbles and falls off. It'll help free the roots. Pulling apart the root-ball encourages the roots to expand into the surrounding soil. If the roots circle the root-ball, but none are thicker than a pencil, use your fingers to tease the root-ball apart.
If the tree is severely root-bound and has circling roots larger than a pencil in diameter, box-cut the root-ball using a pruning saw to shave off all four sides, creating a square root-ball. Once the roots are free, you'll have to be careful when you handle the tree, or what's left of the root-ball will fall apart and you could tear the smaller roots.
Never pick up the tree by its trunk. Instead, support the tree from under or from the side of the root-ball. Set the tree in the center of the hole. Again, keep the root collar about 1 in. above ground level. If it's too high, remove the tree and dig the hole a little deeper. If the trunk flare is too low, add soil under the roots. Cut away all rope, twine, wire, staples and burlap before backfilling (you can leave natural burlap underneath the root-ball if you can't cut it all away).

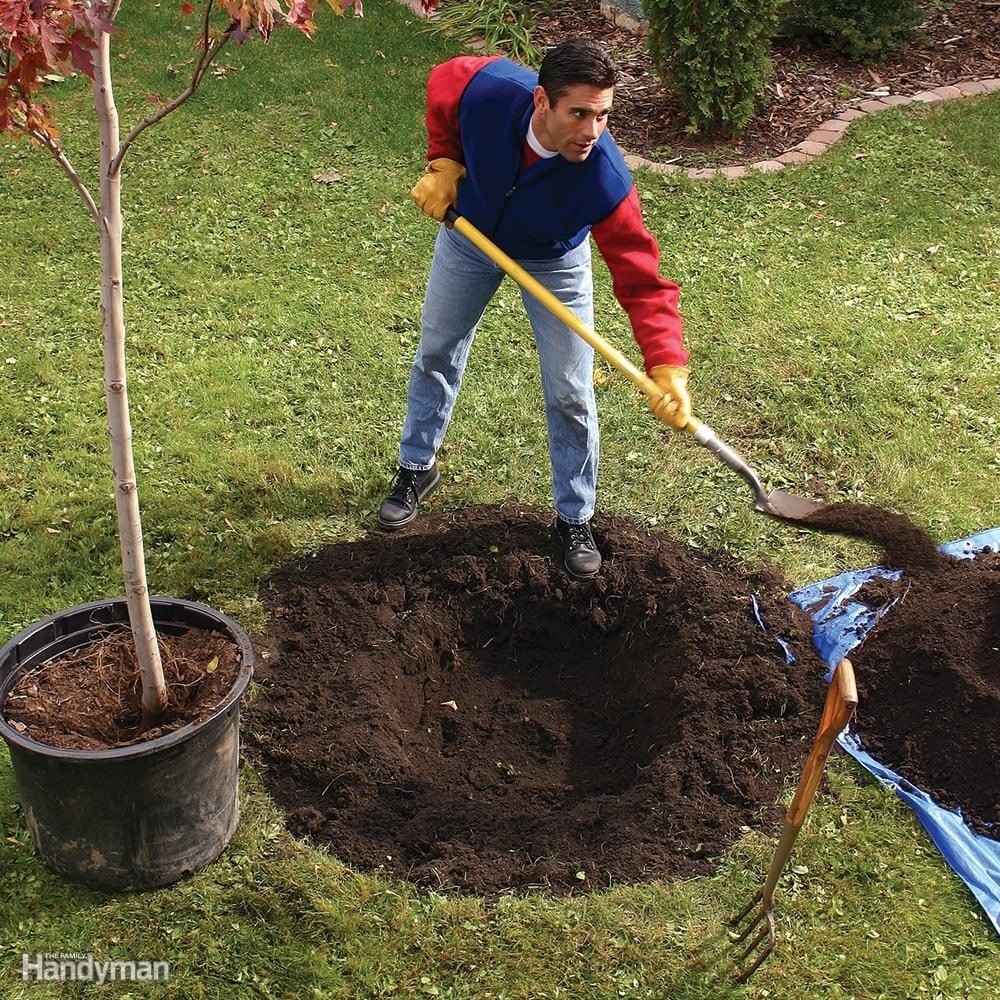
Backfill With the Dirt You Took Out of the Hole
For years, experts recommended adding compost, peat moss or fertilizer to the planting hole. However, most now agree that you shouldn't backfill with anything other than the original soil from the planting hole (despite what the plant tag says). Soil amendments in the planting hole can discourage the tree roots from spreading into the surrounding soil and can cause poor water drainage. Also, in some instances, fertilizers can kill young roots.
Use a spade to backfill around the tree with the dirt you excavated when you dug the hole. Be sure to keep the tree properly in place (right depth, straight up and down) and shovel in the soil evenly around the roots as you backfill. Once the hole is about half filled in, run water around the roots to eliminate air pockets in the soil and continue filling with soil. The tree will move easily until the hole is completely filled.

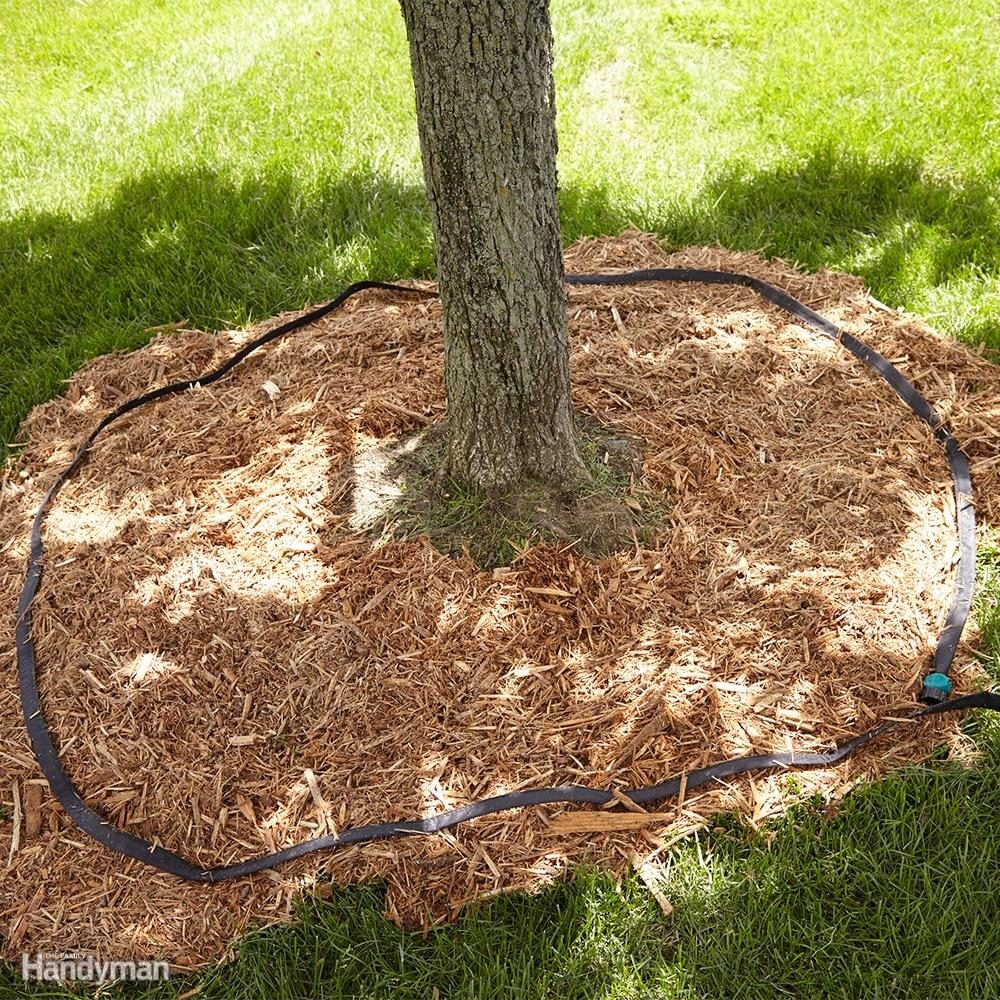
Mulch Wide, But Not Deep
Mulch holds moisture, moderates soil temperatures, reduces competition from grass and weeds, and prevents lawn mowers and trimmers from nicking the trunk. Mulch also helps insulate the ground, keeping it cooler in the summer and warmer in the winter. Make a 3-ft. (or larger) circle of mulch 2 to 4 in. deep around the trunk. But don't mulch too deep. This can create surface drainage problems and deprive roots of oxygen. Keep the mulch 3 or 4 in. from the trunk to avoid disease, rot and pest problems. Mulch, like other organic matter, can have bacteria and fungus, which can spread to the tree and harm or even kill it. Some good mulch choices are shredded bark or composted wood chips. Don't use woven or plastic landscape fabric or other weed barriers underneath the mulch. These can cause major problems later on as seeds grow roots down through these materials and anchor themselves into the barriers.

Leave a Protection Zone
When you plant your tree, leave a circular area around its trunk for a small flower bed. The flowers are not just attractive; the bed also establishes a buffer zone so that lawn mowers and trimmers can't nick or cut the bark. (String trimmers are a young tree's worst enemy!) For added protection, install vinyl edging to keep grass out of the bed.

Don't Choose a Problem Tree

Don't Plant Too Close to a Building
Check Your Soil Before Watering and Water Carefully
There's no magic formula for how much water to give your tree in its first year, so don't rely on a “rule of thumb” for watering. Too little water can kill a tree. But overwatering in clay soil can cause root rot, which can also kill a tree. You'll need to water your new tree until the root system is well established. The right amount of water depends on the weather conditions, your soil and the planting site. The most reliable method for knowing when to water is to stick a popsicle stick (or your finger) 2 to 3 in. into the ground. If the soil is damp down 3 in., you're giving it enough water. If not, water once or twice a day—whatever's needed to keep the soil damp but not saturated around the root-ball. Allow the soil's surface to begin to dry out between waterings.
For the first few weeks, you may have to water every few days depending on the weather. After that, longer (deeper), less frequent watering is much better than shorter (quicker), frequent watering. To help the tree create deep roots to resist drought and wind, encircle it with a soaker hose a few feet out from the trunk and run it on a trickle for an hour.

Match the Tree to the Planting Site
Plant a tree that will grow well given your hardiness zone, existing soil conditions (test if you're not sure), sun exposure and available moisture. Tree species that are native to the place where you live are probably well adapted to the climate in your part of the country. If you're planting a nonnative species, research its site requirements carefully.